Home / Blog / Materials & Construction
Welded vs Stitched Dry Bag Seams
A welded dry bag seam fuses two thermoplastic surfaces into one continuous film, and a 15 mm radio-frequency weld on 0.5 mm TPU typically reaches peel values above 35 N per 25 mm, which is enough that the film tears next to the weld before the weld itself opens. A stitched seam drives a needle through both panels about seven times per inch, so a 60 cm seam carries roughly 165 holes; even with tape over the stitch line, that row is the first place water enters once pressure rises past about one metre of head.
The choice is not a quality argument, it is a physics and economics one. Welding gives a monolithic barrier and dominates serious immersion gear, but every new geometry needs a shaped electrode and a validated cycle. Sewing accepts any pattern at almost no tooling cost, which is why prototypes, low runs and load-bearing attachments still start with a needle. This guide covers how each join is formed, what the strength numbers actually measure, how the two age, and how to write the requirement into a spec.
- The two ways a dry bag panel can be joined
- What actually happens at a needle hole under pressure
- Radio-frequency welding: how the weld is formed
- Hot-air, hot-wedge and ultrasonic joins
- Seam tape is still a stitch: reading bonded seams correctly
- Tear, peel and shear figures side by side
- Failure modes over three years of real use
- Design consequences for pattern and features
- Repair, rework and what failure costs you
- Testing a seam you are evaluating
- Choosing by use case: a decision table
- Writing the seam line into a product brief
- Care habits that extend seam life either way
The two ways a dry bag panel can be joined
Every dry bag has to close the gap between two cut edges, and there are only two families of solution. Fusion joins melt the polymer on both faces so the joint re-solidifies as one mass, whether by radio-frequency energy, hot air, a heated wedge or ultrasonics. Mechanical joins pass a thread through both panels and rely on friction, stitch density and sometimes a covering tape to resist water.
Fusion only works on thermoplastics, which is why TPU and PVC dominate this category. Once TPU has been laminated onto a woven face fabric, the fusing surfaces must still be film against film, so panels are folded, taped or edged to expose the right layer. A woven shell with a thin surface treatment has nothing to melt, and no amount of heat and pressure will turn it into a waterproof barrier.
What actually happens at a needle hole under pressure
A Tex 60 needle leaves a hole around 0.6 to 1.0 mm across, and the thread does not fill it completely. At seven stitches per inch a 60 cm seam carries about 165 rows of holes, each one a potential channel. Standing water does nothing to them; the problem begins when the bag is squeezed, sat on or submerged, because pressure pushes water towards the lowest-energy exit.
At one metre of immersion the differential across the seam is close to 9.8 kPa, which is small in engineering terms but plenty to drive water through a channel of sub-millimetre width. Polyester thread also wicks slowly along its length, so even a seam that holds shape can carry moisture into the interior over an hour. This is why a stitch line that survives a shower test can still fail an overnight ducking.
Thread choice changes the picture without solving it. Bonded polyester resists abrasion better than nylon and absorbs less water, and a bonded filament version reduces linting inside the hole, but none of those improvements closes the channel. Adding a second row of stitches does not help either: two rows mean twice the holes, and the second row usually runs within 6 mm of the first, so it sits in the same weakened zone of fabric.
Radio-frequency welding: how the weld is formed
In radio-frequency welding the two films are clamped between a shaped brass or aluminium electrode and a grounded bed, then exposed to a 27.12 MHz field. Polar molecules in the polymer oscillate and generate heat internally rather than from the outside, so both plies reach melt temperature at the same moment. Typical cycles run four to ten seconds at two to five kilowatts, with weld widths anywhere from 10 to 25 mm.
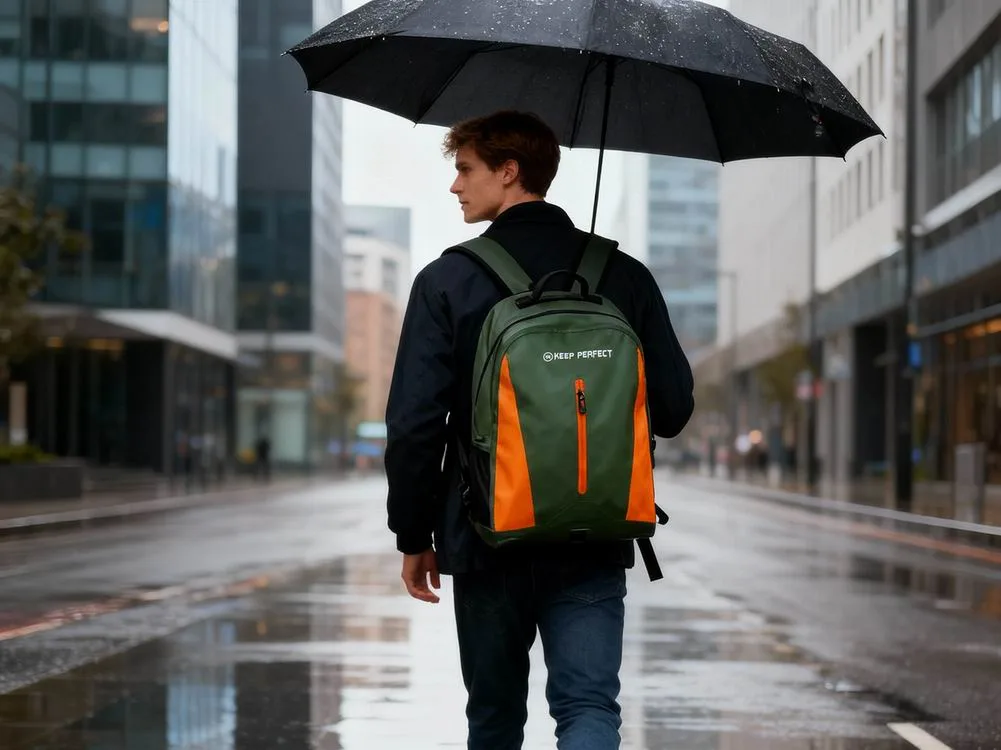
Because heating is volumetric, the weld interface reaches an even melt across its whole width, which is what produces peel strength higher than the surrounding film. The method prefers TPU and PVC, struggles with very thick or highly filled films, and needs an electrode that mirrors the part geometry. A fuller walk-through of tooling, power settings and cycle windows sits in the RF welding explainer.
Hot-air, hot-wedge and ultrasonic joins
Hot-air and hot-wedge machines heat the interface externally, typically delivering air at 350 to 500 °C through a nozzle while a roller pair presses the plies together at two to six metres per minute. Tooling is far cheaper than a shaped radio-frequency electrode, long straight seams run beautifully, and it handles polyethylene and PVC as happily as TPU. Tight curves are harder, because the nozzle needs clearance and the roller needs a consistent nip.
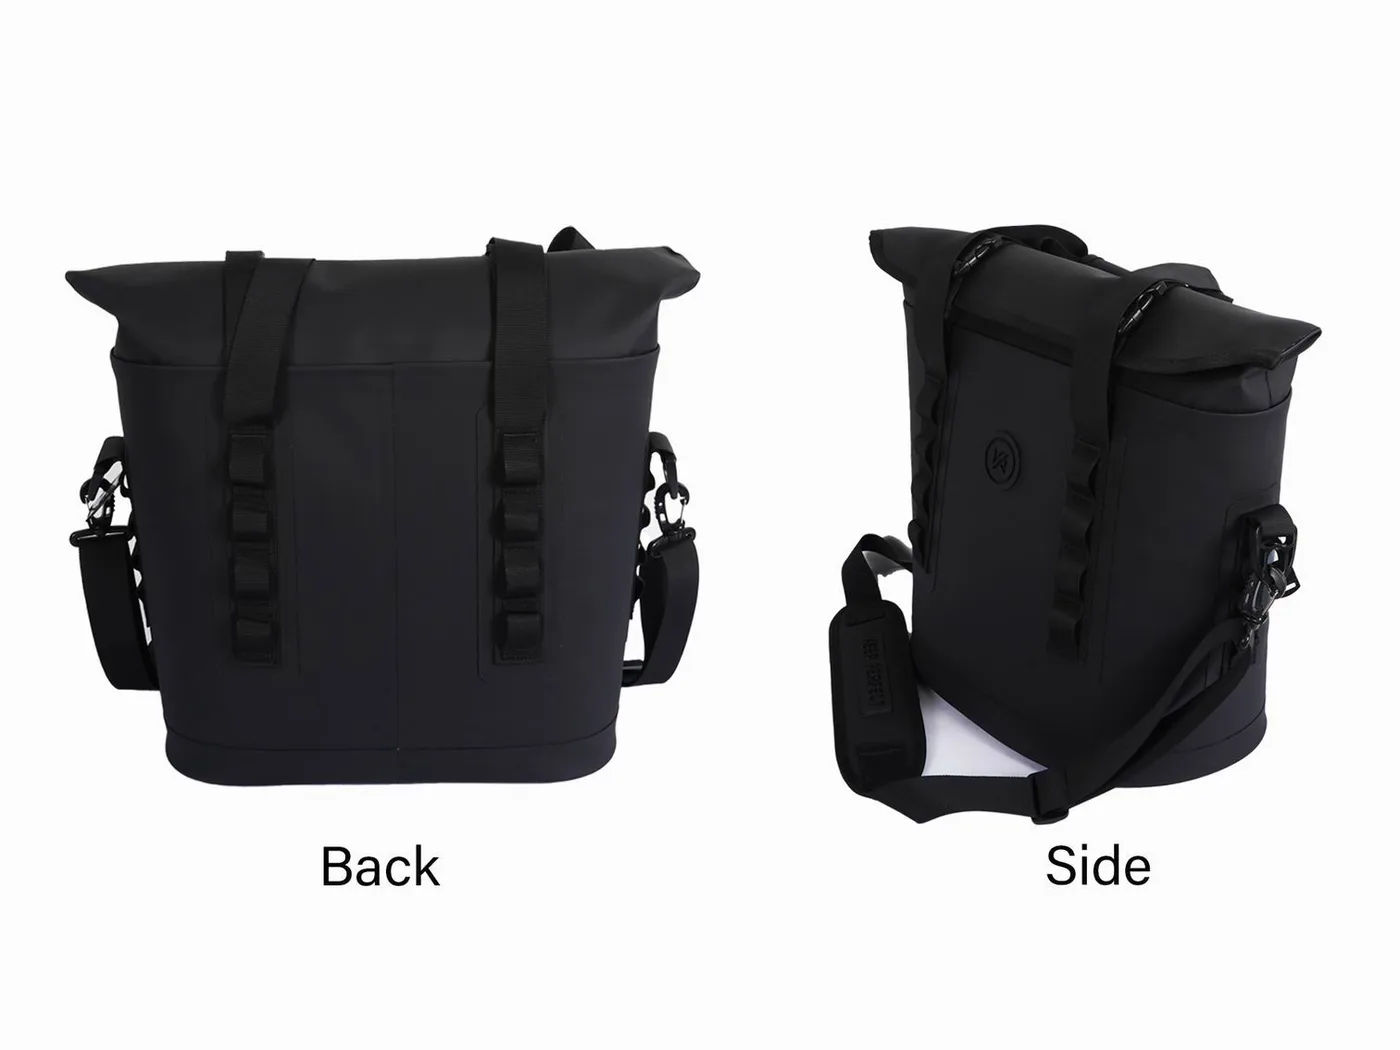
Ultrasonic welding at 20 to 35 kHz is the third option and rarely makes the main body seam. Its strength is localised energy for small hard points: a webbing tab, a valve flange, a strap anchor pressed onto a curved panel in under two seconds. Where a full seam needs consistent heat across 60 cm, ultrasonics excels at a 40 by 25 mm footprint that would be awkward under any platen.
Seam tape is still a stitch: reading bonded seams correctly
A taped seam is a compromise that appears on most mid-market gear: needle and thread carry the mechanical load, then a thermoplastic tape roughly 20 to 22 mm wide is heat-pressed over the stitch line at 120 to 160 °C. Done well, it produces a genuinely waterproof result on flat panels, and it lets a designer keep the strength and geometry freedom of sewing.
The weakness is the adhesive layer, not the tape film. Under heat and humidity those bonds creep; at corners the tape has to fold over itself and tends to lift within one to two seasons. Repeated creasing along the same line breaks the bond even faster, which is why a taped roll-top usually fails at the mouth fold rather than along the side seam. The tape versus weld comparison sets out where each approach earns its place.
Tear, peel and shear figures side by side
Three measurements matter and they are routinely confused. Grab or tongue tear tells you whether the fabric rips; peel tells you whether the joint opens from its edge; shear tells you how much sliding load the seam takes before it shifts. For dry bags, peel is the useful number because real failures almost always start at an edge or a corner and propagate inwards.
Test house protocols such as the coated-fabric methods maintained by ASTM International define how specimens are cut, conditioned and pulled, and the equivalent standards family published by ISO covers the same ground for European specification. Ask which method a figure came from, because a peel value is meaningless without the specimen width, pull speed and conditioning behind it.
| Measurement | RF welded TPU | Hot-wedge welded TPU | Stitched and taped | Untaped stitch |
|---|---|---|---|---|
| Peel strength | 32-48 N per 25 mm | 24-38 N per 25 mm | 18-30 N per 25 mm | Not applicable |
| Seam shear, 50 mm | 380-520 N | 320-450 N | 400-600 N | 400-600 N |
| Typical weld width | 12-25 mm | 15-30 mm | 20-22 mm tape | None |
| First water entry | Above film tear | Above 1.5 m head | 6-18 months service | Immediate |
| Where it opens first | Edge of the weld line | Start of an uneven run | Tape lift at a corner | Every needle hole |
Failure modes over three years of real use
Fresh out of packing, both systems perform. The divergence begins with exposure. Ultraviolet radiation attacks the polymer chain rather than the join, so a bag left on a deck for two summers loses film strength around the seam before the seam itself changes. Flexing does the opposite: repeated folding along one line fatigues the tape bond and the thread, leaving the welded body largely unaffected.
Cold is the other divider. Below about minus 20 °C some plasticised films stiffen and the stress concentration at a weld edge rises sharply, while thread and tape generally stay more tolerant because neither relies on a melted interface. The practical consequence is that a welded high-specification body can still be the right choice everywhere except a single high-flex zone.
| Service stage | Welded seam behaviour | Stitched and taped behaviour | Inspection action |
|---|---|---|---|
| Month 0 to 6 | Stable, no measurable change | Stable, tape fully bonded | Record baseline numbers |
| Month 6 to 18 | Slight polish at fold lines | Tape edge lift begins at corners | Look for whitening weekly |
| Month 18 to 36 | Film fatigue near the mouth fold | Adhesive creep visible under pressure | Press test every outing |
| Two full summers of UV | Film embrittlement around welds | Tape discolouration and cracking | Retire if the film crazes |
| Sub-zero storage | Stiffer, more notch sensitive | Little change in behaviour | Warm before folding |
Whatever the join, the failure sequence is well documented in the seam failure walkthrough and quantified against service age in the seam integrity timeline. Both matter more than the marketing adjective on the hang tag, because a seam does not usually fail all at once; it gives up a few drops per minute for a season before it becomes obvious.
Design consequences for pattern and features
Choosing welding changes what a designer is allowed to draw. Nothing can pierce the waterproof shell without becoming a leak path, so every lash point, strap anchor and handle has to arrive as a welded patch. That constraint produces the clean, tape-free silhouettes seen across modern TPU waterproof backpacks, and it also means features tend to be simple, large and rounded rather than decorative.
Sewing imposes almost no geometry limits, which is why early samples and small numbered runs are usually built on a needle first. The hidden cost sits later: each additional stitch line is another candidate failure point and often another tape operation. As volumes rise past a few thousand units, the recurring labour of taping usually exceeds the one-off cost of shaped tooling, and the economics flip decisively towards fusion.
Repair, rework and what failure costs you
A failed weld region is best repaired as a patch rather than re-fused, because once the film has contaminated or thinned, it will not melt back to specification. A clean room-temperature patch with a suitable adhesive and a rolling pressure step recovers most of the original performance within a day of cure. Field repair options are covered in the seam tear repair guide.
Sewing retains a real advantage here. A split stitch line can be unpicked and re-run by any competent repair shop, and lifted tape can sometimes be re-pressed with a household iron through a silicone sheet. That repairability counts for expedition operators who work three days from the nearest town, even where the original spec preferred a tape-free construction.
Testing a seam you are evaluating
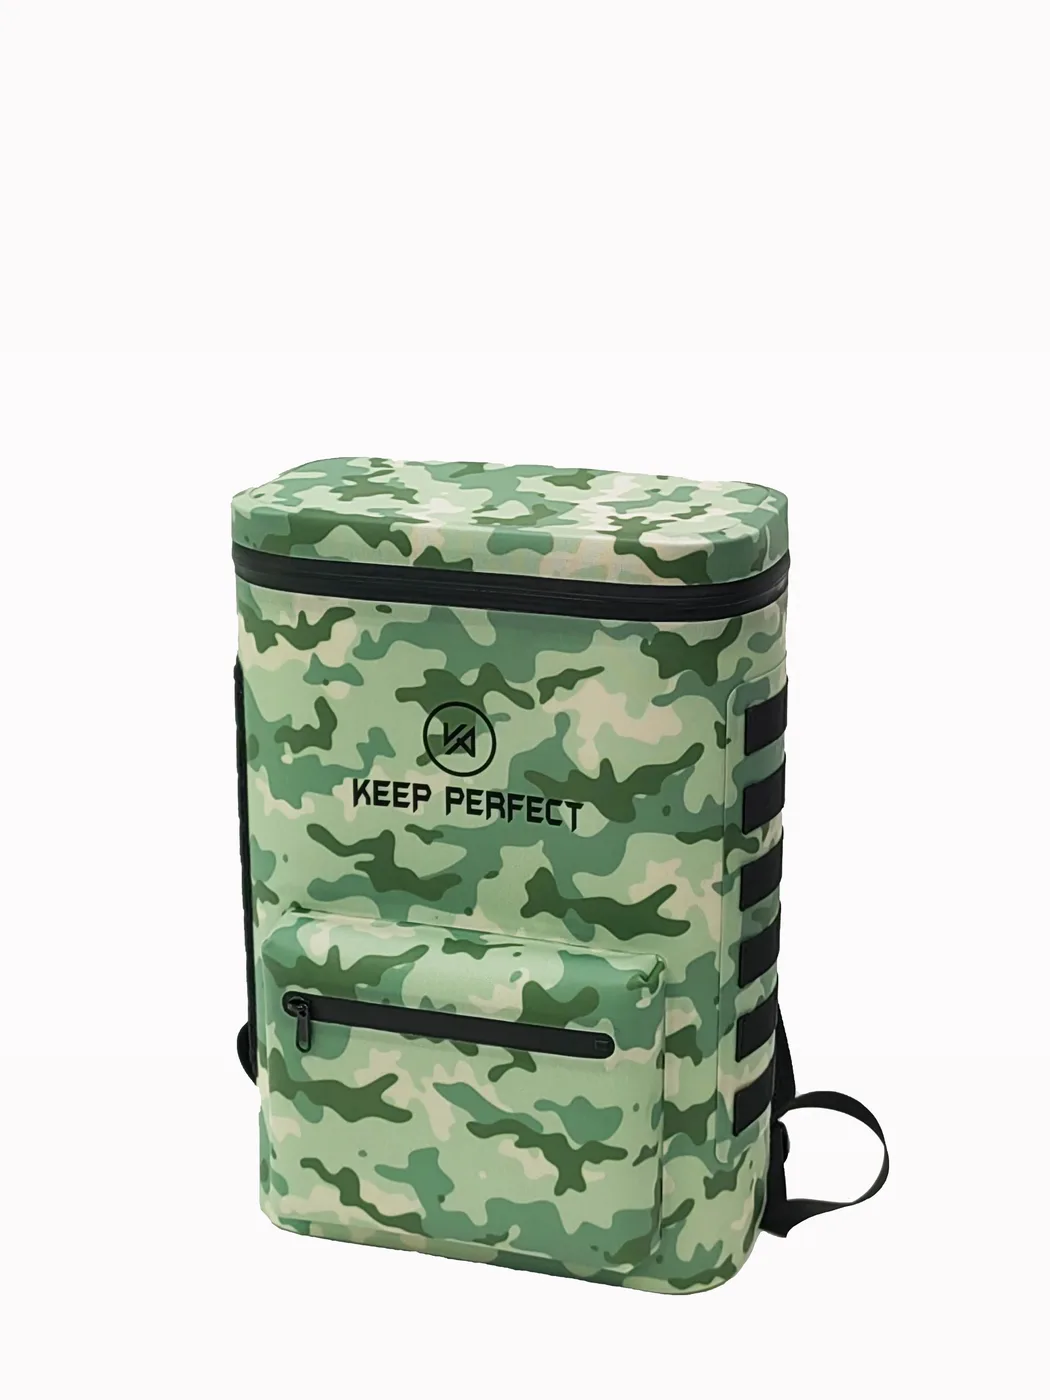
You do not need a laboratory to separate a good join from a poor one. A backlight reveals pinholes and uneven melt immediately, a spring balance gives a usable peel estimate, and thirty minutes under a metre of water with paper towel inside will expose any continuous leak path. Do the checks in that order, because destructive testing on a sample you have not yet inspected visually is wasted information.
For immersion claims specifically, the grading comes from IEC 60529 rather than from a brand slogan, and the definitions are maintained by the IEC. IPX7 describes thirty minutes at one metre, nothing more. A seam that passes can still weep under two hours of drag or against a loaded edge pressing it against a hull.
| Check | Method | Pass target | Equipment |
|---|---|---|---|
| Backlight inspection | Hold the seam to a lamp in a dark room | No pinholes or matte patches | Bright LED panel |
| Peel estimate | Pull a 25 mm strip at 100 mm per minute | Above 25 N without opening | Spring balance and clamp |
| Immersion test | Thirty minutes at one metre depth | Dry towel inside afterwards | Weighted crate or tank |
| Air decay | Inflate to 5 kPa and wait ten minutes | Less than 10 percent loss | Valve adaptor and gauge |
| Flex cycle | Roll and unroll the mouth fifty times | No new pinholes appear | None |
Choosing by use case: a decision table
Most buyers do not need the highest absolute specification; they need the join that survives their specific pattern of abuse. The failures that reach our desk come from three situations: someone creasing the same fold line every day, someone dragging a bag behind a boat, and someone leaving a bag wet and rolled for a month.
Match the join to the dominant risk rather than to the price point. Daily commuting mostly demands tape quality at stress points; sea kayaking demands film integrity under pressure; a rental fleet demands a repair process that any staff member can follow in ten minutes.
| Use profile | Dominant risk | Recommended join | Why it survives that risk |
|---|---|---|---|
| Sea kayaking and rafting | Sustained immersion, 1 m head | RF welded, 15 mm or wider | No thread path, peel above the film tear point |
| Daily urban commute | Abrasion at strap anchors | Welded body, taped stress points | Tape quality at anchors matters more than body joins |
| Expedition three days from help | Any failure far from a repair shop | Stitched with reinforced tape | Any competent repair shop can unpick and re-run it |
| Rental and hire fleet | Operator misuse and fast turnaround | Welded body with simple patch process | One adhesive patch recovers most performance overnight |
| Cold-climate winter work | Folding a stiffened film | Taped seam on a flexible base | Thread tolerates low temperature better than a notch-sensitive weld |
| High-volume retail programme | Unit cost at 5,000 pieces plus | RF welded with shared tooling | Recurring taping labour exceeds one-off electrode cost |
Writing the seam line into a product brief
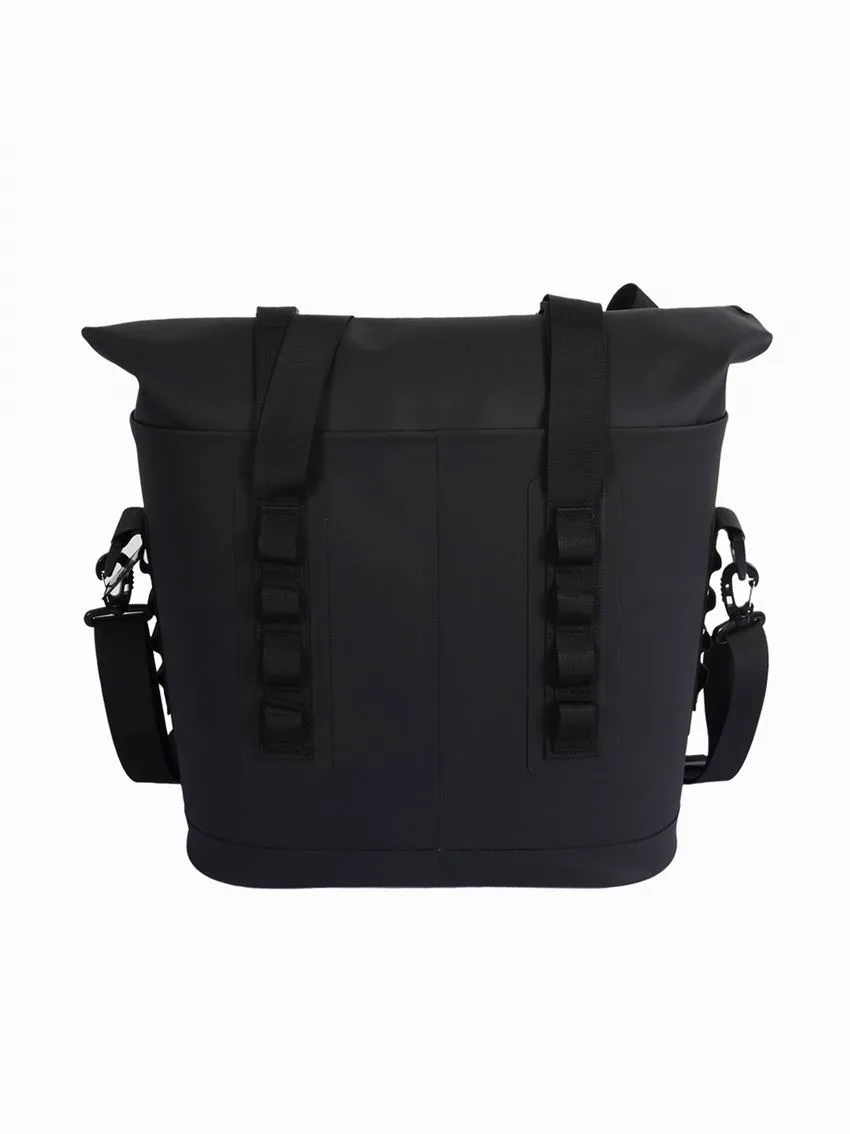
Specify the join as a performance requirement rather than a preference. Name the process, minimum weld width, peel target and test method, then require validation pieces rather than accepting a certificate alone. Terms like AQL 2.5 describe how samples are drawn for inspection; they say nothing about the design unless you also state what constitutes a defect at the seam.
Cost drivers are predictable once you know them: shaped electrodes scale with part geometry, cycle times of four to ten seconds set hourly throughput, and the rejection rate at first article usually falls sharply after the first hundred pieces. Our production has run since 2014 in an SGS-verified 4,950 m² facility with 7 lines, 149 machines and 137 staff turning out around 200,000 pieces a month; standard terms are a 500-piece minimum, sampling in 6 to 10 working days, bulk in 35 to 50 days, FOB Xiamen, T/T 30/70. We document the full process from sampling to bulk for every programme, and current line specifications sit alongside the product range.
One caution on spec writing: do not mix rating systems. A hydrostatic head figure, an ingress protection grade and a spray test describe three different things, and quoting whichever happens to look best is how products end up returned. Pick one primary test, name secondary evidence, and require the same protocol on every production batch.
Care habits that extend seam life either way
Most premature seam failure is caused by storage rather than by the water. A bag compressed into the bottom of a locker with the same three creases every week will fail at those creases whether the panels are welded or sewn. Store bodies loosely rolled, rotate the fold line every few weeks, and never leave a wet bag sealed shut for longer than a day.
Clean with fresh water at ambient temperature, because hot water accelerates hydrolysis in adhesives and plasticisers, and avoid solvents entirely on taped seams since one wipe with alcohol-based cleaner can soften the bond line permanently. Full washing detail is set out in the roll-top cleaning guide. A seam inspected monthly in thirty seconds will outlast one that is never looked at, regardless of which join you chose.
Frequently asked questions
Q1. Are welded dry bag seams better than stitched ones?
For immersion, yes. A welded join leaves no needle holes and typically exceeds 35 N per 25 mm peel on 0.5 mm TPU, so the film tears before the seam opens. Stitched seams remain stronger in pure shear and are far easier to repair in the field.
Q2. Why does a stitched dry bag leak along the seam?
A needle leaves holes around 0.6 to 1.0 mm wide, roughly 165 of them along a 60 cm seam at seven stitches per inch. Water only enters under pressure, which is why the same seam survives rain but weeps after sustained submersion.
Q3. What is RF welding on a dry bag?
Radio-frequency welding exposes clamped films to a 27.12 MHz field so polar molecules heat internally. Cycles typically run four to ten seconds at two to five kilowatts, producing a continuous 12 to 25 mm join with no thread.
Q4. Can a welded seam come apart?
Yes, usually from fatigue rather than from a single event. The common pattern is the film embrittling under ultraviolet exposure near the mouth fold and then cracking alongside the weld rather than through it.
Q5. How strong is a sewn seam compared with a welded seam?
Sewing wins on shear, often 400 to 600 N per 50 mm against 380 to 520 N for a weld. Welding wins decisively on peel and on water entry, which are the measurements that decide whether a dry bag stays dry.
Q6. Is seam tape as good as a weld?
On flat panels, well-applied tape can be fully waterproof for the first season or two. Its limitation is the adhesive layer, which creeps under heat and lifts at corners after six to eighteen months of regular use.
Q7. Which ultrasound and hot-wedge methods suit small workshops?
Hot-air and hot-wedge machines suit smaller runs because tooling is cheap and changeovers are quick. Ultrasonic units suit localised work such as strap tabs, with cycles often under two seconds per attachment.
Q8. How can I test whether my dry bag seam is failing?
Inflate the bag to around 5 kPa and wait ten minutes; more than 10 percent pressure loss indicates a leak. Then backlight the seam in a dark room and look for pinholes, matte patches or lifted tape edges.
Q9. Does IPX7 mean the seam cannot leak?
No. IPX7 describes thirty minutes at one metre under IEC 60529. It does not cover sustained drag, deeper water, or hard objects pressing the seam against a hull for hours at a time.
Q10. Can you repair a leaking taped seam?
Often. Clean the area, warm the tape through a silicone sheet with a household iron, and press along the full length. If the adhesive has hydrolysed and gone powdery, replace the section or patch over the top instead.
Q11. Which seam type suits saltwater paddling best?
A radio-frequency welded seam on 0.5 mm TPU, because there is no thread to wick salt and no adhesive to hydrolyse. Rinse nevertheless: salt crystals left at a fold line abrade the film from outside.
Q12. Are expensive bags always welded?
No. Construction correlates with intended use rather than with price. Some very costly expedition duffels use stitched and taped seams because bulky moulded components are easier to fit mechanically than to weld cleanly.
Q13. What peel strength should I ask for in a spec?
Specify above 30 N per 25 mm for TPU body seams, and name the method and specimen width so the figure is comparable. Below 20 N per 25 mm the joint will open at corners long before the film wears out.
Q14. Is welding restricted to certain fabrics?
Yes. Only thermoplastics fuse reliably, primarily TPU, PVC and polyethylene. A woven face with a light surface treatment has nothing to melt and must be sewn, then taped if the result has to shed water.
Q15. How long should either seam last?
With rinsing, shaded drying and loose rolling, three years of regular weekend use is a realistic expectation. Ignoring those three habits halves it, and the reduction comes from the storage, not the water.
Q16. Does cold weather damage welded seams?
It raises stress concentration at the weld edge. Some plasticised films stiffen markedly below about minus 20 °C, so warm the bag fully before rolling it rather than forcing a fold while it is frozen rigid.
People also ask
What is the strongest seam on a dry bag?
For shear loads, sewn panels can carry more, up to 600 N per 50 mm. For keeping water out, a radio-frequency weld wins because it has no needle holes and peels higher than most taped constructions.
Why does my dry bag leak at the seam but not the fabric?
Because the fabric is impermeable and the join is not. Every needle hole is a channel, and tape adhesive eventually creeps, so the seam is always the first path water takes under sustained pressure.
How do you tell a welded seam from a taped one?
Look at the inside edge. A weld leaves a single smooth band with no raised lip and no thread anywhere. A taped seam shows a slightly raised film with a visible stitch row running underneath it.
Can hot-air welded seams match RF welded ones?
They come close on straight runs, typically reaching 24 to 38 N per 25 mm peel against 32 to 48 N for RF. The gap widens on curves, where uneven heat leaves soft spots along the seam.
Does a sewn dry bag need seam tape?
If it claims waterproof rather than splash resistant, yes. Untaped stitches admit water immediately under pressure, so tape is what converts a strong mechanical join into a sealed one.
How do you check a dry bag seam before buying?
Backlight the join, press it for air leaks, and run a nail along the weld line. Uneven width, a matte surface or a lifting edge all indicate insufficient heat or pressure during the original cycle.
Need this in production volume?
QUANZHOU JUNYUAN BAGS has produced waterproof bags since 2014 in an SGS-verified 4,950 m2 facility in Fujian, China. Minimum order 500 pieces, sampling in 6–10 working days, bulk in 35–50 days, FOB Xiamen — write to service@junyuanbags.com with your spec and target market.