Can a Dry Bag Be Used as a Cooler?
Yes, a dry bag works as a cooler, but it buys hours rather than days. Two kilograms of ice in a 20L roll-top bag at 30 °C ambient keeps contents below 10 °C for roughly five hours; the same ice load in a 25 mm insulated soft cooler lasts eighteen to twenty-four hours. The reason is simple: a roll-top bag is a waterproof container with no insulation layer, so it stops water getting out and does almost nothing to slow heat getting in. Used for a five-hour beach morning or an afternoon on a boat, it is genuinely good; used for a two-day camping trip, it is the wrong tool.
This guide gives the melt numbers by ice type and bag size, explains why frozen bottles outperform loose cubes in a bag with no insulation, and sets out the food safety rules that matter once meltwater appears. It also covers the two problems people do not expect: condensation soaking the outside of everything, and the carrying weight of a realistic ice load. Finish with the test you can run at home in an hour before you trust the setup on a trip.
- Waterproof is not insulated: what each property does
- The melt curve: how long ice actually lasts
- Condensation: the wet outside nobody expects
- Food safety: meltwater, raw meat and direct contact
- Which sizes work as a cooler
- How to pack a dry bag as a cooler
- Tricks that add hours, ranked by value
- Weight: what a realistic ice load does to the carry
- When the water comes from inside
- Cleaning a bag after food and drink
- When to buy a real cooler instead
- How to test your setup at home
Waterproof is not insulated: what each property does
The two properties are unrelated and it is worth separating them before anything else. Waterproof describes whether liquid crosses the wall in either direction. Insulation describes how slowly heat crosses it. A TPU laminate is excellent at the first and poor at the second, because a 0.5 mm film has almost no thermal resistance. A closed-cell foam layer has the opposite profile: it resists heat flow well but has no meaningful water barrier on its own.
That is why the best coolers combine both, a waterproof liner over an insulating core. A dry bag gives you half of that structure, which is genuinely useful when the alternative is no cooling at all or a bag that leaks meltwater down your back. It is less useful when you need temperature to hold overnight.
| Property | Roll-top dry bag | Soft insulated cooler | Hard cooler |
|---|---|---|---|
| Thermal resistance | Very low | Moderate | High |
| Water barrier | High, IPX6 to IPX7 | Moderate, welded liner | High, drain plug |
| Ice life at 30 °C | 4-6 h with 2 kg | 18-24 h with 2 kg | 36-60 h with 2 kg |
| Empty weight, 20L | 380 g | 900-1,300 g | 3.5-6 kg |
| Packs flat when empty | Yes | No | No |
| Meltwater handling | Keeps it in | Keeps it in | Drains out |
The last row is the one people forget. A dry bag has no drain, so all meltwater stays inside with the food. That is fine for sealed bottles and tins and it is a genuine problem for anything unwrapped, which is why packing method matters more in a dry bag than in a cooler with a plug.
The melt curve: how long ice actually lasts
Ice does not hold temperature and then abruptly give out; contents climb steadily as the ice mass shrinks. The useful planning figure is time below 10 °C, which is the point at which chilled food stops being safe and drinks stop being pleasant. In a dry bag that threshold is reached in three to six hours depending on ice form, load and whether the bag is in the shade.
| Ice form | Load | Ambient air | Hours below 10 °C | Meltwater at hour 4 |
|---|---|---|---|---|
| Cubed ice, loose | 1.5 kg | 24 °C | 3.5 h | 1.1 L |
| Cubed ice, sealed bags | 1.5 kg | 24 °C | 4.0 h | 0.5 L |
| Block ice, 2 kg | 2.0 kg | 28 °C | 5.5 h | 0.9 L |
| Two frozen 1 L bottles | 2.0 kg | 30 °C | 4.5 h | None |
| Frozen bottles plus shade | 2.0 kg | 30 °C | 6.5 h | None |
| Gel pack only | 0.8 kg | 28 °C | 2.0 h | None |
Frozen bottles win in a dry bag for a reason that has nothing to do with thermodynamics: they produce no meltwater. In an uninsulated bag, water at 0 °C surrounding the food accelerates warming of anything not sealed, and it makes the whole load unpleasant to unpack. Frozen bottles stay sealed, then become drinking water as they thaw, so the cold mass pays for itself twice.
Shade is worth more than an extra kilogram of ice. The same load held under a parasol rather than in direct sun gains roughly two hours, because solar gain on a dark bag surface can be worth 8 to 10 °C of local air temperature. If you only change one thing about your setup, move the bag out of the sun.
Condensation: the wet outside nobody expects
A cold bag in warm humid air collects water on its outside, and a waterproof bag collects it in a way an absorbent one does not. On a 30 °C day at 70% relative humidity, a bag holding ice will run with condensation within twenty minutes, leaving a puddle under it and a wet film over every surface it touches. This is not a leak; it is physics, and it surprises people into thinking the bag has failed.
The fix is a barrier layer. Put the bag on a towel, a mat or a low stool rather than directly on a deck, a car seat or a wooden table, and keep it away from anything that must stay dry. On a boat, a condensation-soaked bag in a cockpit will wet a cushion faster than a wave will, because it happens continuously rather than in bursts.
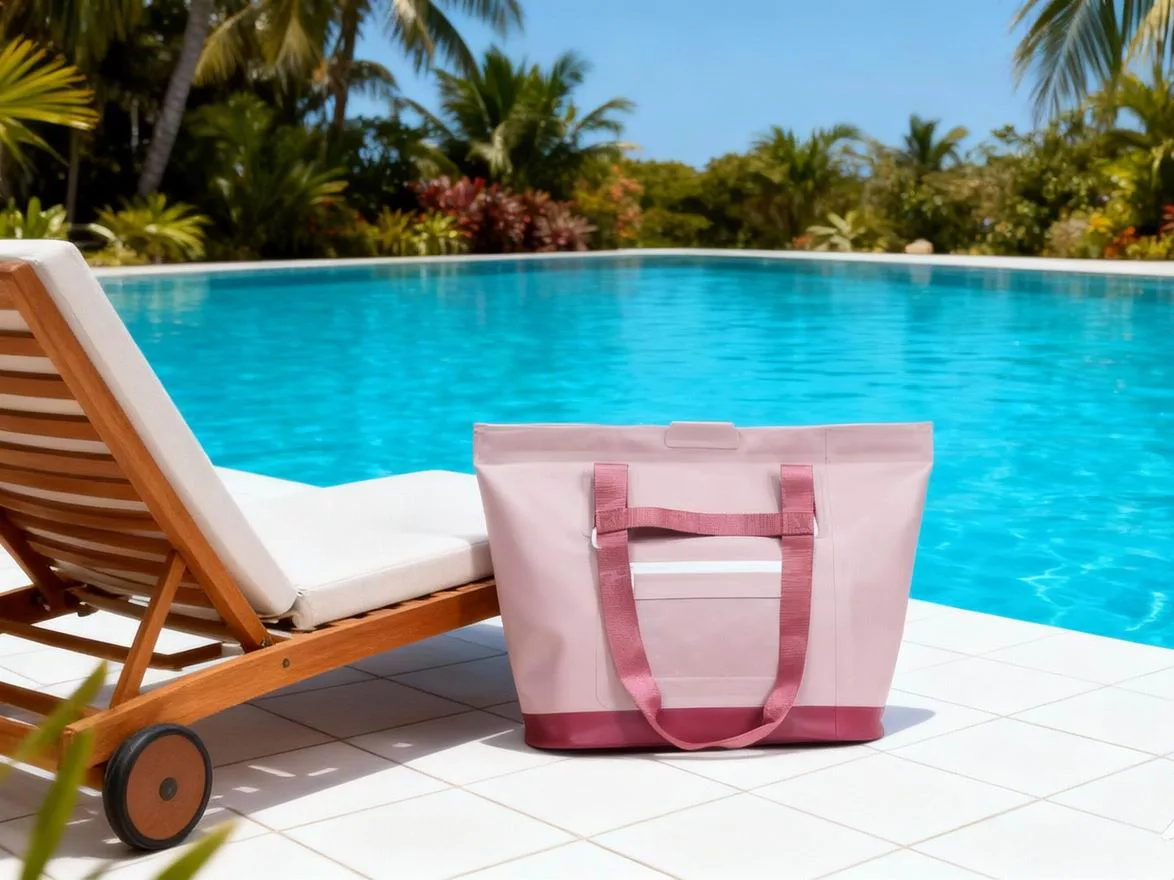
Inside the bag the same process works in reverse and produces less trouble than people fear: a sealed bag actually reduces interior condensation compared with a breathable one, because humid outside air cannot enter. The interior stays dry but humid, which is why unwrapped bread and soft fruit go limp quickly even while staying cold.
Food safety: meltwater, raw meat and direct contact
Once ice melts, everything in the bag is sitting in water at roughly 0 to 4 °C, which is safe for a few hours and unsafe beyond that. The rule that matters is separation: raw meat, poultry and fish must never share meltwater with food that will be eaten without cooking. In a cooler with a drain this is a nuisance; in a sealed dry bag it is a contamination route, because the water cannot be poured off.
| Risk | Why it happens in a dry bag | Safe approach |
|---|---|---|
| Raw meat in meltwater | No drain, water cannot be removed | Double-bag raw meat, keep it below everything else |
| Unwrapped food soaking | All meltwater stays in the bag | Use sealed containers for everything |
| Temperature above 10 °C | Ice mass exhausted after 4-6 h | Throw out perishable food at that point |
| Refreezing thawed food | Partial thaw is common by hour 5 | Cook or discard, never refreeze |
| Cross-contamination | One shared water bath | Separate bag for raw items |
The CDC publishes food safety guidance on the temperature danger zone and on handling raw meat, and the WHO publishes the five keys to safer food, both of which are worth reading before packing a mixed load. The short version: keep cold food below 5 °C, keep raw food separate, and discard perishables that have spent more than two hours above 10 °C.
A practical habit is a two-bag split. One bag holds the ice and the drinks, which are sealed and can sit in water indefinitely. A second, smaller bag holds food, with a frozen bottle or two as the cold source so no free water is ever present. That arrangement costs a little volume and removes almost every food safety question. More detail on materials is in the food-safe materials guide.
Which sizes work as a cooler
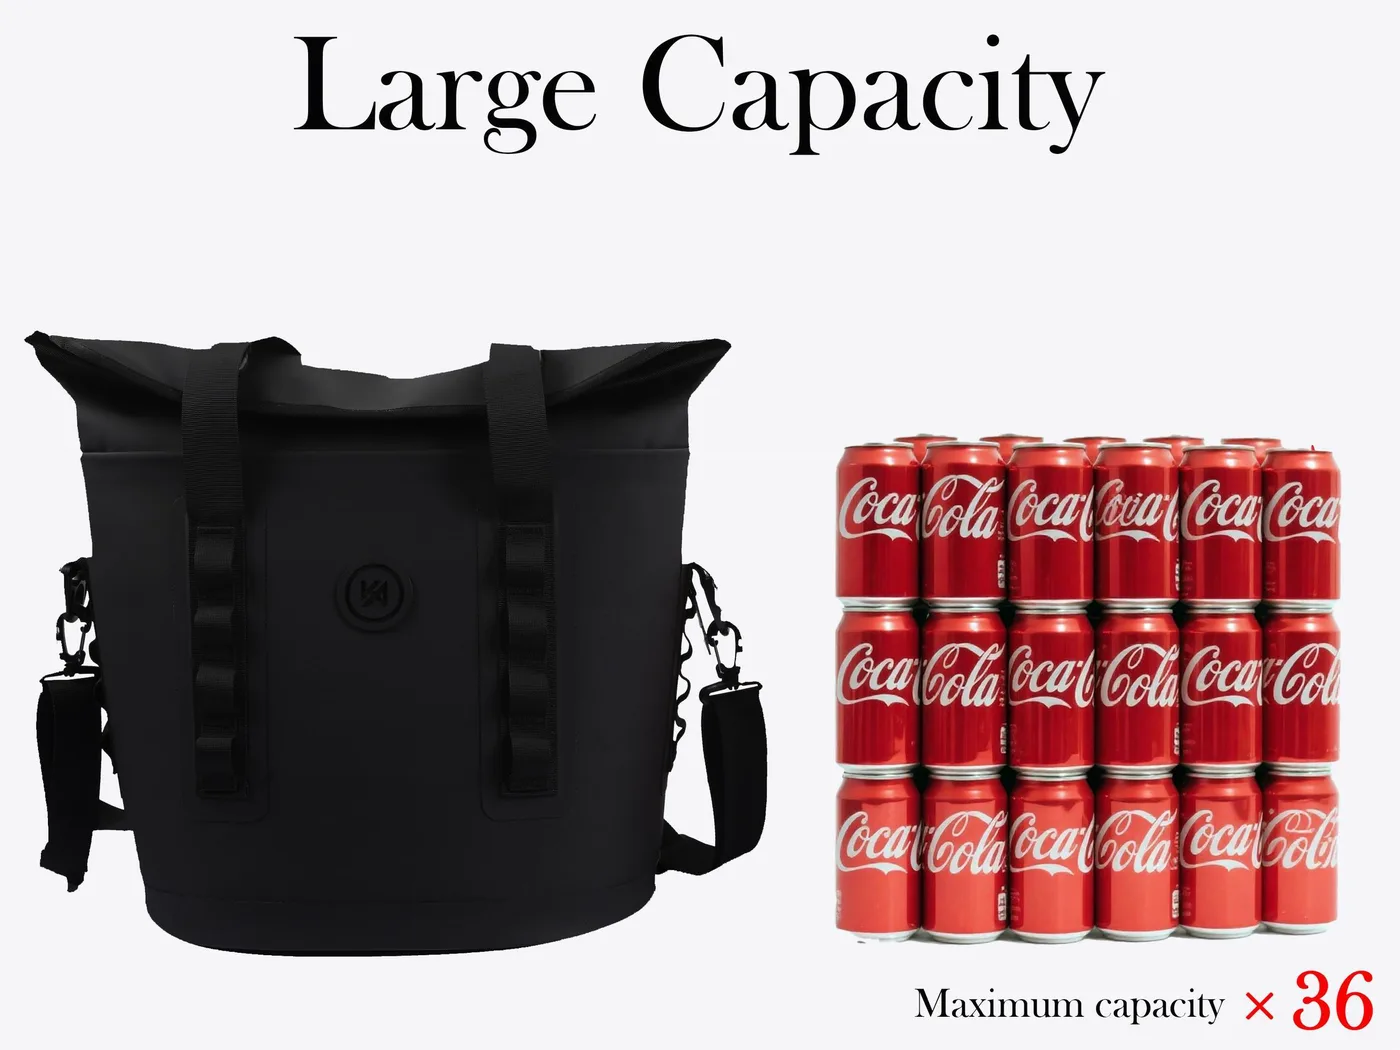
Size choice is a trade-off between cold mass and carrying weight. A bag that is mostly ice carries nothing else, and a bag that is mostly food warms quickly because the ratio of cold mass to contents drops. Roughly a third of the volume in ice or frozen bottles is the working ratio, which means a 20L bag carries about 6 litres of ice and 10 litres of food and drink.
| Bag size | Ice or frozen load | Drinks and food | Hours below 10 °C | Loaded weight |
|---|---|---|---|---|
| 5 L | 0.8 kg | 2 cans, snacks | 2.5 h | 1.8 kg |
| 10 L | 1.5 kg | 6 cans, lunch | 3.5 h | 3.4 kg |
| 20 L | 3.0 kg | 12 cans, lunch for two | 5.0 h | 7.1 kg |
| 30 L | 5.0 kg | 18 cans, lunch for four | 6.5 h | 11.6 kg |
| 40 L | 7.0 kg | 24 cans, day group kit | 7.5 h | 16.0 kg |
The 20L is the sweet spot for two people on a day out, and it is the size most people already own. It is worth noting that usable volume is smaller than the nominal figure: three folds on a 20L remove about 80 mm of height and roughly 3.5 litres, so a bag sold as 20L holds about 16.5 litres when closed. Sizing detail is in the 20L guide.
How to pack a dry bag as a cooler
- Freeze two 1 L bottles solid the night before; they are the cold source and the drinking water.
- Pre-chill everything in a fridge overnight so the ice is not spent cooling warm contents.
- Put the frozen bottles at the bottom, since cold sinks and this keeps the whole load even.
- Pack sealed cans and bottles around the bottles, filling gaps so air pockets do not form.
- Set food in sealed containers on top, never loose, and keep raw items double-bagged and lowest.
- Press the air out, roll three folds, close the buckle, and get the bag into the shade immediately.
Pre-chilling is the step most people skip and it is worth about ninety minutes of ice life. Starting with contents at 4 °C instead of 22 °C removes roughly two thirds of the heat the ice has to absorb, which in an uninsulated bag is the difference between lunch being cold and lunch being warm.
Air is the enemy of cold retention. A bag with large air gaps warms faster because the air circulates and because each opening dumps the cold air out. Fill the gaps with soft items or a damp tea towel, and open the bag as few times as possible: every opening in a 30 °C breeze costs about ten minutes of ice life.
Tricks that add hours, ranked by value
Not every cooling hack earns its weight. Some add hours, some add nothing, and a few make the situation worse by adding mass that then has to be chilled. The table ranks the common ones by hours gained against the effort and weight they cost, measured in a 20L bag at 30 °C ambient.
| Trick | Hours added | Effort and weight | Drawback |
|---|---|---|---|
| Move the bag into shade | +2.0 h | None | Needs a spot that stays shaded |
| Pre-chill contents overnight | +1.5 h | Fridge space | Requires planning the day before |
| Frozen bottles over loose cubes | +1.0 h | Freezer space | Bottles take a day to freeze |
| Wrap the bag in a towel | +0.8 h | 300 g | Towel gets wet from condensation |
| Add a mylar emergency blanket | +0.5 h | 60 g | Reflective layer looks odd in public |
| Double the ice load | +2.5 h | 2 kg more | Leaves less room for food |
| Add loose water and ice slurry | +0.2 h | 1 kg | Soaks everything, poor value |
Notice that the three best tricks cost no weight at all. Shade, pre-chilling and frozen bottles together add four and a half hours, which doubles the useful life of the setup without making the bag any heavier to carry. Doubling the ice is the expensive option and the one most people reach for first.
Weight: what a realistic ice load does to the carry
Ice is heavy and it is usually underestimated. A 20L bag with 3 kg of frozen bottles and 4 kg of cans and food weighs about 7 kg, which is a manageable one-handed carry for 100 m and an unpleasant one for 600 m. A 30L setup at 11.6 kg needs a harness, and a 40L at 16 kg needs two people or a trolley.
Weight also changes the failure mode. A heavy bag lifted by a single strap puts a shock load on the weld at the handle patch, and a 16 kg bag dropped 200 mm onto a hard surface generates far more force than the same bag dropped empty. If you are using a large bag as a cooler regularly, carry it by the body or by two handles rather than swinging it from one point.
When the water comes from inside
A bag used as a cooler will eventually be opened over something, and meltwater is the most common way a dry bag appears to fail. Two litres of meltwater poured out on a boat deck looks exactly like a leak, and it is worth knowing the difference: leak water arrives through a weld or a closure, meltwater arrives when you open the bag.
If you genuinely suspect a leak, the air test settles it in a minute. Roll the bag closed with nothing inside, squeeze it firmly and listen for a hiss, then submerge it in a bath for thirty seconds and look for a steady stream of bubbles rather than the few that cling to the film. A bag that passes this test and still produces water inside is producing condensation or meltwater, not a leak. Full method in the home testing guide.
Cleaning a bag after food and drink
Food residue left in a sealed bag turns sour fast, and sugary drink residue turns faster. Rinse the bag with fresh water the same day, then wash with warm water and a drop of mild unscented soap, paying attention to the fold line where liquid collects. Do not use dish soap with perfume or citrus oils; the residue clings to TPU and attracts the next spill.
Dry it completely with the mouth open before storage. A bag that is put away with a film of moisture inside will smell within a week and can develop mildew at the corners within a month. If odour has already taken hold, the safe deodorising methods are set out in the deodorising guide, and mildew removal is covered in the mildew guide.
When to buy a real cooler instead
- Any trip where food must stay cold overnight, since a dry bag gives four to six hours.
- Trips above 32 °C ambient, where the melt curve steepens sharply.
- Loads with raw meat, unless you are running a separate bag for it.
- Multi-day camping, where you would need ice replaced every evening.
- Situations with no shade available, such as an open boat at midday.
- When carrying weight is not a constraint and a hard box can be wheeled.
The dry bag keeps its advantages in the opposite cases: when the bag has to pack flat afterwards, when it has to survive being dropped in the water, when weight matters on the walk in, and when you want one bag that serves as a dry bag for the other fifty weeks of the year. That versatility is the real argument for using one as a cooler, and it is a good one.
How to test your setup at home
- Freeze two 1 L bottles and chill the drinks and food you actually plan to carry.
- Pack the bag exactly as you would on the day, using the order in the packing list above.
- Put a thermometer or a probe in the middle of the load, or use a phone sensor in a sealed pouch.
- Set the bag where it will really sit: in the shade if that is the plan, not in a cool hallway.
- Log the internal temperature every hour and note when it crosses 10 °C.
- Unpack, weigh the remaining ice, and note how much meltwater appeared.
One hour of setup and a morning of logging replaces guesswork with a number you can plan around. Most people find their real figure is shorter than they assumed, which is useful: it tells you to pre-chill, to use frozen bottles, or to move the bag into shade, rather than discovering it at lunchtime on a hot day two hours from the car.
Everything in this guide applies to any well-made roll-top bag with welded seams, which is the only construction worth using for this job: a stitched bag with a coating will weep meltwater through the needle holes long before the ice has finished. Our range has been produced since 2014 in an SGS-verified 4,950 m2 facility, and the cooler-style roll-top bags in it use the same 0.5 mm TPU film and 20 mm welds as the rest of the line.Sizes are listed under products, and the closure range is described in the roll-top section.
Two related questions come up alongside this one. Whether a dry bag holds water in as well as out is answered in the water-in guide, which is the meltwater question looked at from the other direction, and the temperature limits of the materials themselves are set out in the temperature guide. If you are weighing up whether a waterproof rating actually means anything for this use, the waterproof claim guide explains what the tests do and do not cover.
Frequently asked questions
Q1. Can a dry bag be used as a cooler?
Yes, for about three to six hours. Two kilograms of ice in a 20L roll-top keeps contents below 10 °C for roughly five hours at 30 °C ambient, against eighteen to twenty-four hours in an insulated cooler of the same size.
Q2. How long does ice last in a dry bag?
Roughly three and a half hours for 1.5 kg of cubed ice at 24 °C, four and a half hours for two frozen 1 L bottles at 30 °C, and about six and a half hours if the bag is kept in shade. Block ice lasts slightly longer than cubes.
Q3. Is frozen ice better than cubed ice in a dry bag?
Frozen bottles are better because they produce no meltwater. In a bag with no drain, meltwater soaks everything and warms unwrapped food faster, and sealed bottles become drinking water as they thaw.
Q4. Why does my dry bag get wet on the outside?
Condensation. A cold bag in warm humid air collects water on its outer surface within about twenty minutes at 30 °C and 70% humidity. It is not a leak; put a towel or mat underneath to protect the surface below.
Q5. Can I put raw meat in a dry bag with ice?
Only double-bagged and kept below everything else. A dry bag has no drain, so meltwater cannot be poured off, and raw meat sharing that water with ready-to-eat food is a contamination route.
Q6. What size dry bag works best as a cooler?
A 20L for two people on a day out: about 3 kg of frozen bottles plus 12 cans and lunch, holding below 10 °C for five hours. Usable volume is about 16.5 litres once three folds are rolled.
Q7. How do I keep food cold longer in a dry bag?
Move it into shade, pre-chill contents overnight, and use frozen bottles instead of cubes. Those three add about four and a half hours between them and cost no extra weight, unlike adding more ice.
Q8. Does a dry bag keep drinks as cold as a cooler?
No. A dry bag has almost no thermal resistance, so it slows heat transfer very little. It keeps drinks cold for a morning rather than a day, which is enough for a beach trip and not for an overnight one.
Q9. Will meltwater damage the bag?
No, but it will soak the contents. TPU film is unaffected by cold water, and the bag is designed to hold water. The practical problem is unwrapped food sitting in it, not damage to the bag itself.
Q10. How much does a dry bag cooler load weigh?
About 7 kg for a 20L with 3 kg of ice and 4 kg of contents, and about 11.6 kg for a 30L. Beyond roughly 8 kg, carry the bag by the body or with a harness rather than swinging it from one strap.
Q11. Can I use a dry bag as a cooler on a boat?
Yes, and it is a good fit because the bag will not leak in a wet cockpit and packs flat afterwards. Watch the condensation, which will wet a cushion faster than spray will, and keep the bag shaded.
Q12. How do I clean a dry bag after using it for food?
Rinse the same day, wash with warm water and mild unscented soap, paying attention to the fold line, then dry fully with the mouth open. Avoid perfumed or citrus soaps, which leave a residue that clings to the film.
Q13. Is a dry bag food safe?
The film can be, but the bag as a whole is only food safe if the material has been declared for food contact and the bag is cleaned properly. Check the material declaration rather than assuming, especially for direct contact.
Q14. What temperature should I worry about for food?
Keep cold food below 5 °C and discard perishables that have spent more than two hours above 10 °C. In a dry bag that point is reached after roughly four to six hours, so plan to eat or discard by then.
Q15. Should I add water to make an ice slurry?
No. A slurry adds about twelve minutes of cooling for a kilogram of weight and it soaks everything in the bag. Frozen bottles or block ice are far better value in a bag with no drain.
Q16. When should I buy a proper cooler instead?
When food must stay cold overnight, when ambient temperature is above 32 °C, when raw meat is involved, or on a multi-day trip. The dry bag wins on weight, packability and versatility for day use.
People also ask
How do you use a dry bag as a cooler?
Freeze two 1 L bottles as the cold source, pre-chill the contents overnight, pack sealed items around the bottles, press the air out, roll three folds and keep the bag in shade. Expect four to six hours below 10 °C.
Why does ice melt so fast in a dry bag?
Because a TPU laminate has almost no thermal resistance. The bag is waterproof rather than insulated, so heat enters nearly as fast as it would through a single layer of fabric.
Is a dry bag as good as a cooler for camping?
No. A dry bag gives four to six hours while a hard cooler gives thirty-six to sixty hours with the same ice. For multi-day camping you would need fresh ice every evening.
Can you put ice directly in a dry bag?
Yes, but sealed frozen bottles are better. Loose ice leaves one to two litres of meltwater in a bag with no drain, which soaks food and speeds up warming of anything unsealed.
How do you stop condensation from a cold dry bag?
Put a towel, mat or stool under it and keep it off surfaces that must stay dry. Condensation forms on the outside within twenty minutes in warm humid air and is continuous, so a barrier is the only answer.
What size dry bag holds a day of drinks and ice?
A 20L: about 3 kg of frozen bottles, 12 cans and lunch for two, weighing roughly 7 kg loaded and holding below 10 °C for about five hours at 30 °C.
Need this in production volume?
QUANZHOU JUNYUAN BAGS has produced waterproof bags since 2014 in an SGS-verified 4,950 m2 facility in Fujian, China. Minimum order 500 pieces, sampling in 6–10 working days, bulk in 35–50 days, FOB Xiamen — write to service@junyuanbags.com with your spec and target market.