Home / Blog / Travel & Packing
Kayak Hatch Packing With Dry Bags
A sea kayak rear hatch holds 60 to 90 litres, but the opening in front of it decides what you can actually load: a 20 cm round hatch accepts a rolled 20L dry bag with about 3 cm to spare, while a 44 x 26 cm oval takes a 40L bag end-first without a fight. Packing therefore starts with two measurements, the internal volume of the compartment and the smallest dimension of the opening, and only then with how much kit you own.
The second constraint is trim. A sea kayak loaded with 11 kg in the stern hatch and nothing forward sits bow-high, weathervanes in a 15 km/h crosswind and loses rudder bite. Spread the same load so that 35 to 45% sits ahead of the cockpit and you keep a neutral waterline and a predictable ferry angle. This guide covers opening geometry, bag selection, loading order, hatch water management and a worked three-day load plan with real litre and kilogram figures.
- Measure the compartment and the opening, in that order
- Hatch opening shapes and what they accept
- Bag geometry: length, diameter and the rolled top
- Soft dry bags versus rigid containers
- Loading order: heavy low, light high, far end first
- Taking the air out before the bag goes in
- One bag or several: splitting by trip length
- Bow, stern and day hatches: assigning cargo
- Trim: checking the waterline after loading
- Water inside the compartment
- A worked load plan for three coastal days
- Access on the water: what stays reachable
- Closing the hatch: the last two minutes
Measure the compartment and the opening, in that order
Every hatch has two numbers and paddlers routinely confuse them. The compartment volume is what the space will hold once bags are squeezed past the rim; the opening is the rigid aperture formed by the rim itself, and it does not flex. A sea kayak stern compartment of 75 litres behind a 20 cm round opening is a very different packing problem from 75 litres behind a 44 x 26 cm oval, and the same kit list produces two completely different load plans.
Take four measurements with a tape and write them down: opening width, opening height, the depth from rim to the far bulkhead, and the depth from rim to the near wall. Compartments are rarely rectangular, so measure depth at the top and at the bottom and use the smaller figure. Photograph the empty compartment with the tape in frame; when you are standing in a shop with a bag in your hands, that picture is worth more than any memory.
Hatch opening shapes and what they accept
Three shapes cover almost every kayak built in the last twenty years. Round screw hatches of 15 to 24 cm are the smallest and are usually found on day hatches and on British-style sea kayaks. Oval rubber hatches around 44 x 26 cm dominate touring boats. Keyhole hatches, which combine a wide oval with a narrow slot, are fitted to some expedition boats and are forgiving in one axis and brutal in the other.
The rule that follows from this is simple: a soft bag will always deform to fit an opening, but it will not compress below the volume of its contents. A 20L bag packed with 16 litres of clothing and food behaves like a firm 16-litre cylinder, roughly 22 cm in diameter, and no amount of squeezing takes it through a 20 cm round rim. That is why opening size, not compartment size, is the number that decides your bag sizes.
| Hatch type | Typical opening | Largest practical bag | Compartment volume | Common position |
|---|---|---|---|---|
| Round screw hatch | 15 cm diameter | 10 L, packed to 7 L | 20-30 L | Day hatch |
| Round screw hatch | 20 cm diameter | 20 L, packed to 16 L | 55-75 L | Stern compartment |
| Round screw hatch | 24 cm diameter | 30 L, packed to 24 L | 70-90 L | Stern compartment |
| Oval rubber hatch | 44 x 26 cm | 40 L, loaded end-first | 60-85 L | Stern compartment |
| Oval rubber hatch | 38 x 22 cm | 30 L, loaded end-first | 40-60 L | Bow compartment |
| Keyhole hatch | 42 x 20 cm with slot | 20 L through the oval | 30-45 L | Bow compartment |
| Rectangular day hatch | 30 x 15 cm | 15 L flat profile | 25-40 L | Behind the seat |
Bag geometry: length, diameter and the rolled top
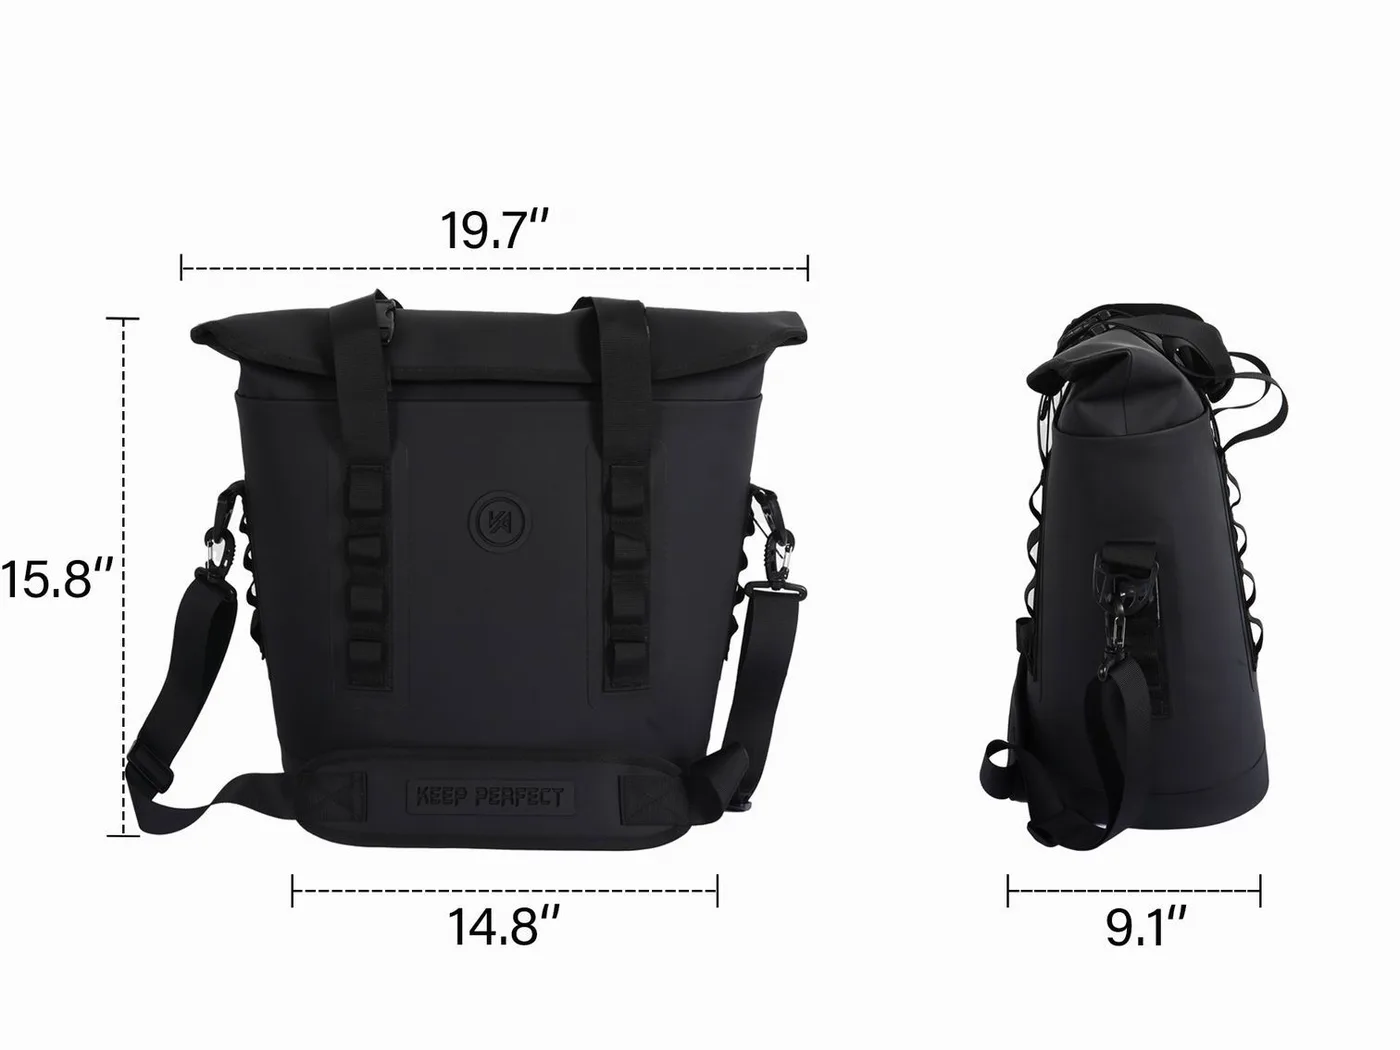
Dry bag sizes are quoted in litres of volume, but what matters at a hatch rim is the cross-section of the packed bag. A 10L roll-top is typically 38 cm long and 18 cm across when filled and rolled; a 20L is around 48 cm long and 24 cm across; a 30L runs 56 cm by 27 cm. Those figures move by 10 to 15% between brands because the aspect ratio differs, so measure your own bags rather than trusting the label.
The rolled top is the stiffest part of any dry bag and the hardest to push through an opening. Three folds of 0.5 mm TPU with a stiffener strip produce a 5 to 7 cm band that is effectively rigid. Load bags top-first or end-first depending on the shape of the aperture, and never force the roll itself through a rim that is narrower than the bag body: a creased fold line is the most common cause of a roll-top that stops sealing.
Length matters as much as diameter in a bow compartment, where the space narrows toward the stem. A long slim 20L bag that is 55 cm long may not seat in a 45 cm deep bow compartment even though its diameter is fine, while a squatter 20L at 42 cm will. If your boat has a shallow bow, buy bags by shape rather than by volume and keep one soft compressible item, usually a sleeping bag in its own sack, to fill the pointed end.
| Nominal size | Packed length | Packed diameter | Clears a 20 cm round rim | Clears a 44 x 26 cm oval |
|---|---|---|---|---|
| 5 L | 30 cm | 15 cm | Yes, easily | Yes |
| 10 L | 38 cm | 18 cm | Yes, with 2 cm spare | Yes |
| 20 L | 48 cm | 24 cm | Only if packed to 16 L | Yes |
| 30 L | 56 cm | 27 cm | No | Yes, end-first |
| 40 L | 62 cm | 30 cm | No | Yes, end-first |
| 60 L | 70 cm | 34 cm | No | Sometimes, soft load only |
Soft dry bags versus rigid containers
Rigid waterproof containers protect crushable kit and slide in and out of a hatch cleanly, but they waste the shape of the compartment. A 60-litre stern compartment will take perhaps 40 litres of rigid boxes because the corners and the tapered ends stay empty. Soft roll-top bags fill the same space to 80 or 90%, which on a three-day trip is the difference between carrying a full stove kit and leaving it behind.
The hybrid approach is what most experienced paddlers converge on. Rigid boxes for the two items that must not be crushed or punctured, typically a camera body and a stove, and soft bags for clothing, sleeping kit and food, which deform into the remaining space. Keep the rigid items nearest the hatch so they come out first, and push the soft bags past them to fill the far end. Soft bags also fail gracefully: a punctured roll-top loses a bag of clothing, whereas a split rigid container can drain into the compartment.
Loading order: heavy low, light high, far end first
Load the compartment from the far end backwards. The first bag in is the one you need least, which on a three-day trip is the sleeping system; the last bag in is the one you might want on the water, such as a lunch bag or a rain shell. This sounds obvious and is violated constantly, usually because the person packing starts with the item in their hand rather than with a plan.
Weight placement inside the compartment follows the same logic as the boat as a whole. Dense items such as water, tinned food and fuel bottles belong low and close to the bulkhead, because water held 3 kg high in a stern compartment raises the roll centre and makes the boat feel tender in a beam sea. Soft, light items fill the upper voids and act as packing, stopping the dense bags from shifting when the boat is turned over on a beach.
- Push the sleeping bag and dry clothing to the far end of the compartment first.
- Seat water containers and dense food low against the bulkhead, wedged with a soft item.
- Load the mid-weight bags, clothing and stove, filling the voids around the dense items.
- Place the bag you may need on the water last, directly behind the hatch rim.
- Add one compressible filler bag to stop everything shifting; a rolled dry bag with air works.
- Close the hatch, then check that nothing presses against the cover from inside.
Taking the air out before the bag goes in
A bag full of air is a bag that will not go in. A 20L dry bag packed to 14 litres but closed with 6 litres of trapped air is effectively a 20-litre object and will fight a rim that a properly compressed bag slides through. Purge valves help, but the simplest technique is to pack, press the bag flat with your knee to expel most of the air, then roll the top down through the last of the air rather than sealing it in.
Compression straps are the other tool. Two straps on a 30L bag reduce its effective diameter by 3 to 5 cm and hold the contents as a firm block that slides along the compartment floor rather than bunching. If your bag has no straps, a length of 20 mm webbing with a cam buckle does the same job for a few grams. Be aware that a bag compressed hard will round out over an hour as fabric relaxes, so build in a 2 cm margin at the rim.
One bag or several: splitting by trip length
One large bag is faster to load and wastes less space. Several smaller bags give redundancy, better organisation and easier access. The right answer depends on how long you are out and how wet the trip is. On a day paddle, one 20L plus a 5L deck bag is standard. On a three-day coastal trip, four to six bags of 10 to 20 litres beat two 40L bags, because a single seal failure then costs you a sleeping bag rather than a holiday.
Colour coding is underrated. Four identical black bags in a 75-litre compartment means opening three of them to find the stove. Assign a colour per category, clothing in one, food in another, sleeping kit in a third, and write the category on the bag with a permanent marker rather than relying on memory. On a wet beach at dusk, that system saves ten minutes a day and a lot of swearing.
| Trip length | Total waterproof volume | Bag split | Typical loaded weight | Hatches used |
|---|---|---|---|---|
| Day paddle | 10-15 L | 1 x 10 L + 1 x 5 L | 2.0-2.8 kg | Day hatch and deck |
| Overnight | 30-40 L | 2 x 15 L + 1 x 5 L | 6-8 kg | Stern and day hatch |
| Two days | 45-60 L | 3 x 15 L + 1 x 10 L | 9-12 kg | Stern, bow and day hatch |
| Three to four days | 65-85 L | 4 x 15 L + 2 x 10 L | 13-17 kg | All compartments |
| Expedition, seven days | 110-140 L | 6 x 20 L + 3 x 10 L | 22-30 kg | All compartments plus deck |
Bow, stern and day hatches: assigning cargo
Each compartment has a job determined by how reachable it is on the water. The day hatch behind the seat is the only one you can open while seated, so it holds what you need between landings: water, food for the day, a rain shell, sunscreen and the camera. The stern compartment holds the bulk of the load and is never opened at sea. The bow compartment is the least accessible and therefore holds soft, light, rarely needed items.
That assignment also happens to suit trim. Bulk and dense items aft keeps the stern from squatting too much only if some weight goes forward, which is why the bow compartment should not be left empty on a loaded boat. Aim for roughly 35 to 45% of total cargo weight forward of the cockpit on a touring kayak; the exact figure depends on hull shape, so test it in flat water and adjust once, then note the result in your trip log.
| Compartment | Accessibility at sea | Best cargo | Weight share | Bag sizes |
|---|---|---|---|---|
| Day hatch | Full access while seated | Water, food, shell, camera | 10-15% | 5-15 L |
| Stern compartment | None at sea | Sleeping kit, clothing, stove | 40-50% | 15-40 L |
| Bow compartment | None at sea | Soft spares, tent, dry bags of clothing | 35-45% | 10-30 L |
| Deck bungees | Full access | Grab bag, pump, paddle float | Under 3 kg | 2-5 L |
Trim: checking the waterline after loading
Load the boat, carry it to flat water, float it and step back ten metres. Sight along the hull from the side: the waterline should sit within about 2 cm of parallel fore and aft. A bow riding more than 3 cm high makes the boat weathercock into the wind and wander on a ferry glide; a stern that squats pushes the bow down and makes the boat broach in following seas.
Fixing trim is a five-minute job if you planned for it. Move one 10L bag from the stern to the bow and re-check. Keep a note of which bag went where, because the same boat with the same kit should load the same way every time. Also check the rudder or skeg: a stern-heavy boat needs more skeg to hold a line, which adds drag and masks the real problem rather than solving it.
Water inside the compartment
Water in a hatch is normal and comes from three sources: a small amount through the cover seal, condensation on the inside of the hull when warm air meets cold water, and whatever drips off the bags you load on a wet beach. A well-fitted rubber cover on a clean rim lets in 50 to 200 ml on a day of surfing; a cover with sand on the sealing surface can let in several litres, which is the difference between damp bags and a wet sleeping system.
Manage it rather than denying it. Wipe the rim and the cover sealing surface with the flat of your hand before closing, and re-wipe after every landing on a sandy beach. Put a sponge in the compartment and squeeze it out each morning. Keep the most water-sensitive item, typically the sleeping bag, in a bag that sits above the bilge rather than on the compartment floor, and never place electronics directly against the hull where condensation collects.
If a pool forms at the low point, check the hatch cover before blaming the bags. A cover that has taken a set, a rim with a chip in the gelcoat, or a hinge that has lost tension will all admit water regardless of what is inside. Carry a spare cover on trips longer than three days; it weighs 90 g and resolves the most common wet-compartment complaint in the field.
A worked load plan for three coastal days
Two paddlers, one 5.4 m touring kayak each, 75-litre stern compartment behind a 44 x 26 cm oval, 35-litre bow compartment behind a 38 x 22 cm oval, and a 25-litre day hatch. Total cargo per boat is about 15 kg including 4 litres of water. The plan below assumes no resupply and no fresh water ashore, which is the conservative case on a rocky coast.
| Compartment | Contents | Bags | Volume | Weight |
|---|---|---|---|---|
| Stern, far end | Sleeping bag, sleeping mat, dry clothing | 1 x 20 L + 1 x 15 L | 28 L | 4.2 kg |
| Stern, mid | Stove, fuel, pan, dry food | 1 x 10 L rigid box + 1 x 10 L | 18 L | 4.6 kg |
| Stern, near rim | Wash kit, repair pouch, first aid | 1 x 5 L | 4 L | 1.1 kg |
| Bow compartment | Tent and fly, spares, spare paddle jacket | 2 x 15 L | 26 L | 3.4 kg |
| Day hatch | Water 4 L, day food, rain shell, camera | 1 x 10 L + 1 x 5 L | 14 L | 5.9 kg |
| Deck lines | Pump, paddle float, grab snack | 1 x 5 L | 4 L | 1.8 kg |
That plan leaves roughly 12 litres of unused stern space, which is deliberate. A compartment packed to 100% cannot be closed without forcing the hatch cover, and a forced cover is a leaking cover. The empty space also absorbs the rearrangement that happens after the first day, when a wet tent goes back in a new bag and nothing fits the way it did in the car park.
Access on the water: what stays reachable
Anything you might need between landings must be in the day hatch or on the deck. That includes water, food for the next three hours, sun protection, a rain shell, a compass and a means of calling for help. Everything else belongs in a compartment you cannot open without landing. On a coast with few landing spots, this rule matters more than any packing efficiency trick.
Rehearse the reach. Sitting in the boat on flat water, open the day hatch and retrieve a water bottle without changing your grip on the paddle. If you have to twist or let go, the hatch is in the wrong place or the bag inside is the wrong shape. Move the water forward or swap to a flatter bag; a 10-minute rehearsal in a marina prevents a genuinely unpleasant moment in a 20 km/h wind.
Closing the hatch: the last two minutes
- Wipe the rim and the cover sealing surface with a dry hand; one grain of sand is enough to leak.
- Check that no bag presses outward against the cover from inside the compartment.
- Seat the cover evenly all the way round before engaging any clips or straps.
- Tension straps finger-tight, not with a tool; over-tension distorts the seal.
- Tug each bag you can see to confirm that nothing will fall out when the hatch opens.
- Note the load plan in your log so the next trip with the same kit takes half the time.
Two habits separate people whose kit stays dry from people whose kit does not. The first is packing the night before on a dry floor rather than on a wet beach at dawn, when everything you touch is already soaked. The second is a consistent bag system, where each colour and size means the same thing trip after trip, so you can pack by feel and check the load by weight without opening anything.
Weather and tide planning change the load as much as the kit list does. A leg that ends against a 2 m tide needs a boat that lands quickly, which argues for a lighter, better-lashed deck rather than a heavier day hatch; check predictions through NOAA before committing to a schedule. Cold-water paddlers should also read the immersion guidance published by the CDC, because a dry sleeping bag does not help a paddler who has been in the water for ten minutes.
Our own sizing work covers the same questions from the bag side rather than the boat side: day kayaking sizing for short trips, sea kayaking capacity when the trip stretches past a weekend, and packing a 20L bag for two days for the compression technique. If you are loading a canoe rather than a kayak, the canoe camping load plan covers the same maths in a much larger hull. The roll-top range spans 5L to 90L on one closure system, so a fleet can standardise and share spares.
For programmes where the bags are specified rather than bought off a shelf, the three numbers that matter most are the opening you have to clear, the compartment depth you have to fill, and the weight split you need for trim. Give a bag maker those three figures and the rest of the spec follows.
Frequently asked questions
Q1. What size dry bag fits through a kayak hatch?
A 20 cm round rim takes a 20L bag packed to about 16 litres, and a 15 cm rim takes a 10L packed to 7 litres. A 44 x 26 cm oval takes a 40L bag loaded end-first. Always measure the opening, not the compartment volume.
Q2. How many dry bags do I need for a three-day kayak trip?
Plan on six bags of 10 to 20 litres, roughly 65 to 85 litres and 13 to 17 kg per boat. Smaller bags fill compartment voids better than two large ones and limit the damage if one seal fails.
Q3. Should I put heavy gear in the bow or the stern?
Split it, with 35 to 45% of cargo weight forward of the cockpit. All-heavy-aft loading makes the bow ride high and the boat weathercock in a crosswind; all-forward loading squats the stern and encourages broaching in following seas.
Q4. Do I need rigid containers inside a kayak hatch?
Only for crushable or sharp items such as a camera body or a stove. Rigid boxes waste compartment shape, filling perhaps 40 of a 60-litre space, so use soft roll-top bags for clothing, sleeping kit and food.
Q5. Why is my hatch compartment full of water?
Three sources: a cover seal contaminated with sand, condensation on the inside of the hull, and water dripping off bags loaded on a wet beach. Wipe the rim and cover before closing and keep a sponge in the compartment.
Q6. How do I get air out of a dry bag before packing it in?
Press the bag flat with your knee to expel most of the air, then roll the top down through what remains rather than sealing it in. Compression straps cut the effective diameter by 3 to 5 cm.
Q7. Can I open a stern hatch while paddling?
No. Treat the stern and bow compartments as sealed at sea and keep everything you might need within three hours in the day hatch or on the deck. Rehearse the reach on flat water before you rely on it.
Q8. How much weight can a kayak hatch compartment hold?
A touring kayak stern compartment comfortably takes 8 to 12 kg, a bow compartment 5 to 8 kg and a day hatch 6 to 9 kg, provided the total load keeps the waterline within about 2 cm of parallel.
Q9. Should I pack the night before or on the beach?
The night before, on a dry floor. Everything you touch on a wet beach is already soaked, and packing in a hurry is how a roll-top gets closed over a fold full of sand.
Q10. Do compression straps damage a dry bag?
Not if used correctly. Two straps reduce diameter by 3 to 5 cm and hold the contents as a block. Do not tension over the roll-top closure itself, because that creases the fold line where the seal is made.
Q11. How do I stop bags shifting inside the compartment?
Pack dense items low and wedge them with soft bags, then add one partly inflated filler bag last. A load that can move changes the trim of the boat when you edge or surf.
Q12. Is one 40L bag better than two 20L bags in a kayak?
Two 20L bags, almost always. They deform into voids, spread the risk of a seal failure, and let you keep one bag accessible near the rim while the other stays at the far end.
Q13. How dry does gear actually stay in a hatch?
With a clean cover seal and properly rolled bags, gear stays dry for an entire trip. Expect 50 to 200 ml of water in the compartment per day of surfing and keep the sleeping bag above the bilge, never on the floor.
Q14. What should go in the day hatch?
Water, food for the next three hours, a rain shell, sun protection, a compass and a means of calling for help. Anything you retrieve between landings belongs there or on the deck.
Q15. How do I check trim after loading?
Float the loaded boat in flat water and sight along the waterline from ten metres away. If the bow sits more than 3 cm higher than the stern, move a 10L bag forward and re-check.
Q16. Can I use the same dry bags in a canoe and a kayak?
Yes, and that is an argument for standardising on mid sizes. Canoe compartments are far larger, so the kayak constraint is always the hatch opening; buy to the smallest boat you paddle. See the canoe load plan for the larger hull case.
People also ask
How do you pack a kayak hatch efficiently?
Pack the far end first with what you need least, seat dense items low against the bulkhead, fill voids with soft bags, and place the bag you may want on the water last, directly behind the rim.
What size dry bag fits in a sea kayak?
A 20 cm round hatch takes 20L packed to 16 litres, a 24 cm rim takes 30L, and a 44 x 26 cm oval takes 40L loaded end-first. Most sea kayak stern compartments hold 60 to 90 litres in total.
Why does my kayak sit bow-high when loaded?
Too much weight is aft. Aim for 35 to 45% of cargo forward of the cockpit, then float the boat and sight along the waterline; a bow more than 3 cm high will weathercock in a crosswind.
How much gear fits in a kayak day hatch?
A 25 to 40-litre day hatch takes about 14 litres of bagged kit comfortably: 4 litres of water, day food, a rain shell and a camera, at roughly 6 kg. Keep it to items you need before the next landing.
Should dry bags be compressed before going in a hatch?
Yes. Press the air out with your knee, roll the top down through the remainder, and use compression straps to hold a firm block. A bag packed to 14 litres with 6 litres of air behaves like a 20-litre object.
Do you need a hatch cover spare on a long trip?
Carry one on trips longer than three days. A cover weighs about 90 g and a distorted, sand-contaminated or slack-hinged cover is the most common cause of a wet compartment in the field.
Need this in production volume?
QUANZHOU JUNYUAN BAGS has produced waterproof bags since 2014 in an SGS-verified 4,950 m2 facility in Fujian, China. Minimum order 500 pieces, sampling in 6–10 working days, bulk in 35–50 days, FOB Xiamen — write to service@junyuanbags.com with your spec and target market.