Fixing Damage From Luggage Handling
Checked bags are dropped, crushed and dragged: a typical intercontinental trip puts a bag through 5 to 8 transfers, with conveyor drops from 0.6 to 1.2 metres and belt speeds near 0.3 metres per second against metal guide rails. The damage that reaches a waterproof bag is usually an abraded panel, a split weld, a crushed buckle or a torn handle anchor, and four out of five of those are repairable at home.
This guide covers triage first, because repairing a bag that should be retired wastes an afternoon and fails on the next trip. Then it works through each damage type with the method, the materials and the cure time that actually hold, plus a test protocol so you know whether the repair is waterproof before you pack it again.
- What baggage systems actually do to a bag
- Triage: repair or retire
- Damage types and where they occur
- Cleaning and preparing the damage site
- Patching a puncture in TPU film
- Repairing a seam or weld that has opened
- Replacing a crushed buckle
- Reattaching a torn handle or strap anchor
- Field repairs versus home repairs
- Testing a repair before you trust it
- Preventing the next incident
- When to claim and when to retire
- Repair checklist
What baggage systems actually do to a bag
Airport baggage handling is hard on soft goods for three reasons: impact, abrasion and compression. Bags fall from conveyor to conveyor, slide along stainless guides, and are stacked under other bags that can weigh 32 kg each. A waterproof bag survives all of it better than a soft suitcase, because welded film has no stitching to burst, but the film is not immune to abrasion and the hardware is not immune to crushing.
The damage pattern is predictable. Abrasion appears on the base corners and along the panel that rides face-down on the belt. Split welds appear where a bag has been folded under load, usually near a corner radius. Buckles crack when a strap is caught in a roller. Handle anchors tear when a bag is lifted by one strap with 25 kg inside it.
Waterproofing rarely fails structurally in transit. What fails is the trim and the surface, and that matters because a bag with a split corner weld has lost the very property you bought it for. The good news is that the failure is usually local and clean, which is exactly the kind of damage a patch handles well.
Triage: repair or retire
Spend two minutes on triage before you open the repair kit. Ask three questions: is the damage in a load-bearing area, is the film degraded beyond the visible damage, and is the bag still under a warranty that a repair would void? If the answer to the first two is no and the third is not relevant, repair it. If the film around a tear has gone chalky or sticky, the polymer itself is degrading and no patch will hold for long.
| Damage | Where it happens | Repair route | Expected success | Time needed |
|---|---|---|---|---|
| Surface abrasion, film intact | Base corners, belt face | Clean and monitor | N/A | 10 minutes |
| Puncture under 10 mm | Any flat panel | Patch both sides | 90% | 1 hour plus 24 h cure |
| Split weld under 40 mm | Corner radius | Patch over the weld | 80% | 1 hour plus 24 h cure |
| Torn handle anchor | Top of the bag | Weld a reinforcement panel | 75% | 90 minutes |
| Crushed buckle | Closure or strap | Replace the buckle | 95% | 15 minutes |
| Film chalky or sticky | Anywhere | Retire the bag | 0% | N/A |
The success figures above assume the repair is done on a clean, dry bag at room temperature with the right adhesive. Field repairs done on a damp bag in a hotel room succeed less often, which is why a temporary fix should always be followed by a proper repair at home. A patch that gets you through a trip is not the same as a patch that lasts three more years.
One more triage point: check whether the bag is worth the effort against its replacement cost. A patch kit costs a few pounds and lasts for many repairs; an hour of your time is the real expense. Patch the good bag, retire the degraded one, and do not spend an afternoon rescuing a bag that was already at the end of its life.
Damage types and where they occur
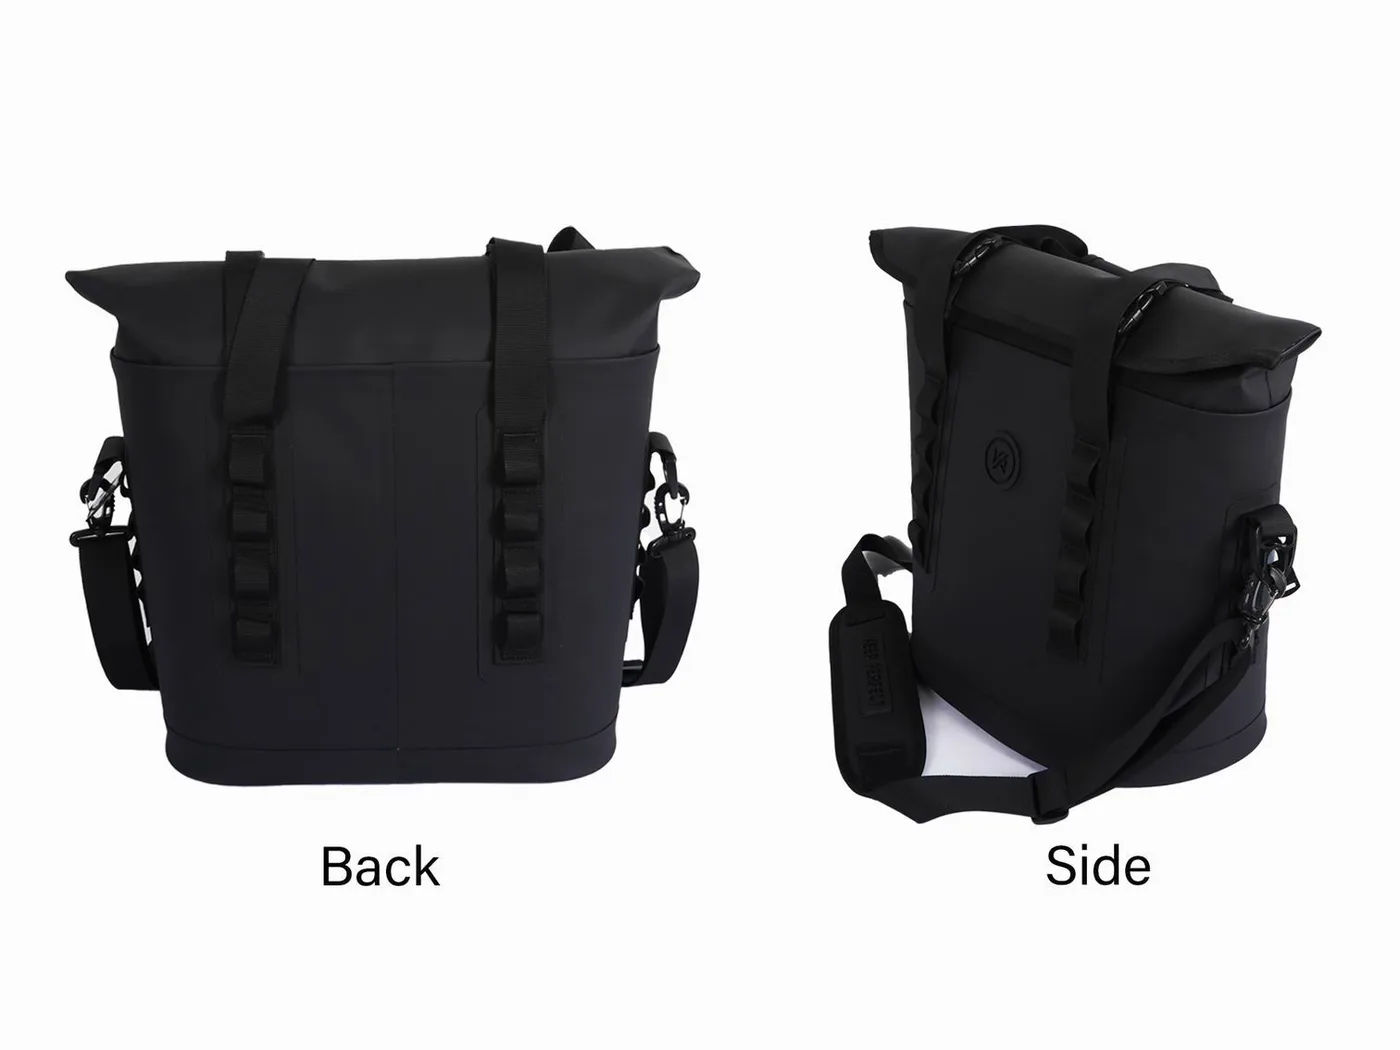
Knowing where to look saves time at the carousel. Run your hand along the four base corners first, because that is where conveyor impact concentrates and where abrasion breaks through a 0.3 mm film in as little as two trips. Then flex each corner weld and look for a white line in the film, which is the first sign of a weld that has started to separate.
Next, work the hardware. Open and close every buckle under load and listen for a crack rather than a click. Spin each D-ring and check that the weld pad around it has not lifted. Finally, pull each handle and strap anchor firmly away from the body; an anchor that has begun to tear will show a small crescent of lifted film before it goes completely.
Cleaning and preparing the damage site
Preparation decides whether a patch holds, and it is the step most people rush. Remove all surface contamination: baggage belt grime, oils and the release agents left on new fabric. Wipe the area with isopropyl alcohol on a lint-free cloth, then abrade lightly with 320-grit paper to give the adhesive something to key into, then wipe again with alcohol and let it flash off for two minutes.
Do not use acetone on TPU. It attacks the surface and leaves a soft, swollen layer that bonds poorly and can craze. Do not use abrasive pads either, because they remove far more film than 320-grit paper and leave deep scratches that become stress risers. The goal is a dull, uniform surface, not a rough one.
Temperature matters during preparation and during cure. Adhesives and solvent welds both work best between 18 °C and 25 °C. Below 10 °C the cure slows dramatically and the bond starts weak; above 35 °C solvents flash off before they can soften the film. If you are repairing in a cold garage, warm the panel with a hair dryer on low before you start, not during the cure.
Patching a puncture in TPU film
A puncture under about 10 mm responds well to a double-sided patch: one patch on the outside and one on the inside, each overlapping the damage by at least 25 mm in every direction. The inner patch carries the water pressure and the outer patch protects the bond line from abrasion. Single-sided patches fail at roughly three times the rate of double-sided ones in pressure testing.
- Round the corners of both patches; a square corner lifts first.
- Abrade and degrease both the patch and the bag surface.
- Apply a thin, even coat of urethane adhesive to both faces.
- Wait the specified open time, usually 3 to 5 minutes, until the film is tacky.
- Press from the centre outward, then roll with a hard roller to expel air.
- Weight the repair flat and leave it for 24 hours at room temperature.
Heat welding is the alternative and, done with the right kit, gives a bond stronger than the film around it. TPU softens between roughly 120 °C and 150 °C depending on the grade, so a household iron set to a synthetic setting with a silicone sheet and a PTFE barrier works for flat panels. Hold for 8 to 12 seconds per area, then cool under pressure. Practise on a scrap first: too little heat gives a peelable bond, too much melts through.
Where the puncture is on a curved or folded area, cut the patch as a lens shape rather than a rectangle so it lies flat without creasing, and use slightly more overlap, around 35 mm. Patches on creases fail earlier because the film flexes there with every fold, so avoid placing a patch where the closure rolls if you can move it a few centimetres.
Repairing a seam or weld that has opened
A weld that has separated along its length is different from a puncture, because the two sides are under tension and any patch has to bridge a moving joint. Start by finding the true end of the separation: flex the area and mark where the white stress line stops, then extend your repair 20 mm past that mark, because separations propagate under load.
| Repair method | Bond mechanism | Cure time | Typical peel strength | Best for |
|---|---|---|---|---|
| Solvent weld, THF or MEK blend | Softens and fuses the film | 12-24 h | Near parent film | Clean weld separations |
| Urethane adhesive, two-part | Chemical cross-link | 24 h | 60-80% of film | Punctures and patches |
| Heat weld with an iron | Thermal fusion | Instant, cool 10 min | Near parent film | Flat panels, straight welds |
| TPU repair tape, pressure sensitive | Adhesive layer | 1 h to grip, 24 h full | 30-40% of film | Field and temporary fixes |
| Silicone or general-purpose glue | Surface adhesion only | 24 h | Under 20% of film | Not recommended |
Peel strength figures are indicative, measured as force per 25 mm of bond width against a clean TPU laminate. They explain why solvent and heat welds are worth learning: they approach the strength of the material itself, while pressure-sensitive tape is a get-you-home measure. Standard peel and adhesion test methods are maintained by ASTM International.
If the separation runs through a corner radius, consider a welded reinforcement panel rather than a strip patch. A patch cut as a rounded triangle covering the whole corner spreads the load instead of concentrating it at the end of a crack, and it survives being dragged across a belt far better. Full seam procedures are in repairing a seam tear.
Replacing a crushed buckle
Buckles are the cheapest and most satisfying repair on the list. Most roll-top closures use a side-release buckle or a ladder lock on 20 mm or 25 mm webbing; both are standard parts available from any outdoor shop. Note the webbing width before you buy, and check whether the webbing is sewn closed at the end, because a sewn loop means you need to cut and re-sew rather than slide a new buckle on.
Fit the replacement by threading the webbing through in the same orientation as the original, then pull the tail through any keeper and check that the buckle releases under one-handed load. A buckle that is difficult to release with cold hands will be left done up, which is how straps get overloaded. Replacement takes about 15 minutes with no adhesive and no cure time.
While you are there, inspect the webbing itself. A strap that has been caught in a roller shows a shiny, flattened section where the weave has been crushed, and that section has lost a meaningful share of its tensile strength. If the damage is within 50 mm of the buckle, shorten the strap and re-fit; if it is mid-strap, replace the whole length. Detailed fitting notes are in replacing a buckle.
Reattaching a torn handle or strap anchor
A torn anchor is the most serious repair on this list because anchors carry dynamic load: a 25 kg bag dropped 0.3 metres generates a shock load several times its static weight. The fix is not to glue the anchor back where it was, but to weld or bond a larger reinforcement panel over the original area and attach the anchor to that panel, spreading the load across more film.
Cut the reinforcement from a scrap of the same material if you have one, or from a heavier 500D TPU laminate. Round every corner, overlap the original anchor footprint by at least 30 mm, and use a heat weld if the panel is flat enough for an iron. Bond the anchor webbing into the panel with a bar-tack stitch through both layers, then seal the stitch line with a thin urethane bead.
Test the repair progressively rather than all at once. Hang 10 kg from the handle for a minute, then 20 kg, then the full load, checking the weld edges after each step. A repair that is going to fail usually shows a lifted edge at the first load step, which is much easier to deal with in the workshop than at an airport.
Field repairs versus home repairs
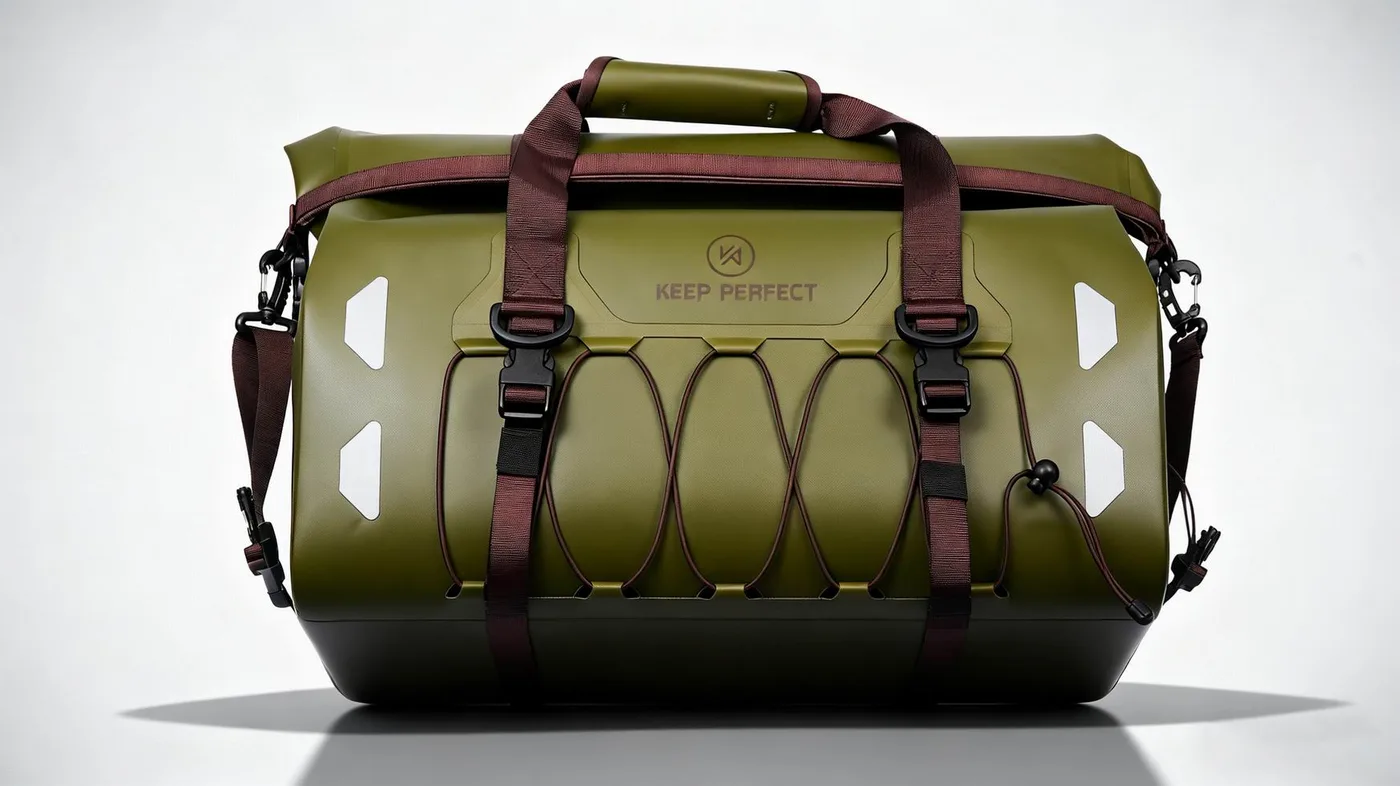
A field repair has one job: get the bag working until you get home. Speed beats permanence, and the repair will be done on a surface you cannot properly prepare. Carry a small kit: a 100 mm square of TPU repair tape, a few alcohol wipes, a 25 mm buckle, a short length of cord and a small pair of scissors. That kit weighs under 60 grams and handles most travel damage.
Home repairs are the opposite: slow, clean and permanent. Strip any field tape off with gentle heat, degrease again, and do the job properly with adhesive or heat. A field patch left in place for months tends to collect dirt at its edges and slowly peel, which then contaminates the surface for the permanent repair, so do not put it off indefinitely.
The dividing line is whether the bag needs to be immersed. A field patch will keep rain out of a bag in a hotel room and will probably survive a shower. It will not survive submersion. If the trip involves water, field-patch for the journey and repack the contents into a second bag until you can do the permanent repair. Kit lists are covered in a travel repair kit.
Testing a repair before you trust it
Never take a repaired bag into the field untested. Start dry: inflate the bag through the mouth, close it, and squeeze it while listening and feeling for escaping air around the patch. A leak you cannot hear can often be found with a drop of soapy water on the bond line, which will bubble at the failure point.
Then test wet. Put dry paper towel inside, close the bag properly, and submerge it in a bath for 30 minutes with a weight on top so the patch is under about 0.3 metres of head. Open it away from the water and check the towel. If it is dry, the repair has passed the condition that corresponds to IPX7, whose grades are defined by the ISO and IEC in the 60529 standard.
Finally, re-test after a week of use. Adhesive bonds continue to develop for a day or two, but they also reveal poor preparation within the first few flex cycles. A patch that is lifting after a week was probably applied to a contaminated surface and will not improve; strip it and redo it rather than adding a second patch on top.
Preventing the next incident
Most handling damage is avoidable with three cheap habits. First, do not check a bag that can be carried on: a 40L roll-top at half load fits most cabin allowances and never sees a belt. Second, if you must check it, put it inside a cheap outer bag or a slip cover, which takes the abrasion that would otherwise go into your film. Third, pack it so that nothing hard presses against one panel.
| Preventive measure | Cost | Damage reduction seen | Effort | Worth it for |
|---|---|---|---|---|
| Carry on instead of checking | 0 | Near total | Repack smaller | Trips under a week |
| Outer slip cover or laundry bag | Under 10 | 60-70% of abrasion | 30 seconds | Every checked trip |
| Pack soft items against the panels | 0 | 30-40% of punctures | 5 minutes | Trips with hard kit |
| Remove or tape down loose straps | 0 | Most strap-catch damage | 1 minute | Duffels and backpacks |
| Photograph the bag before check-in | 0 | Claim success up sharply | 30 seconds | All checked trips |
Loose straps are the most underrated item on that list. A dangling 300 mm webbing tail is exactly what gets caught in a roller, and the resulting yank can tear an anchor that would otherwise have lasted a decade. Tape or tuck every strap flat before the bag goes on the belt, including the shoulder straps on a convertible duffel.
Consider choosing a heavier film if you check bags regularly. The jump from 0.3 mm to 0.5 mm TPU adds roughly 90 grams to a 20L bag and roughly triples the abrasion life in belt-contact testing. For a bag that flies four times a year, that is the cheapest durability you can buy. Our product range lists film build for every size.
When to claim and when to retire
Airlines adjudicate damage claims on evidence, so build it before you travel. Photograph the bag from four sides at check-in, keep the baggage tag, and report damage at the airport rather than by email a week later. Most carriers require notification within seven days, and a photograph timestamped at departure removes the argument about whether the damage pre-existed.
Retire rather than repair when the film itself has degraded. The signs are unmistakable once you know them: a chalky white surface that rubs off on your hand, a tacky or sticky feel, a smell of plasticiser, or a film that cracks when folded rather than flexing. Those are chemical changes, not mechanical damage, and they continue spreading under any patch.
There is also an age rule of thumb. A TPU bag that has been used hard for eight to ten years has absorbed enough ultraviolet dose and flex cycles that new failures will keep appearing in new places. Repairing one spot on such a bag is usually the first of several repairs. General retirement guidance is in when to retire a dry bag.
Repair checklist
- Triage first: check whether the film is chalky, sticky or cracking before patching.
- Degrease with isopropyl alcohol and abrade with 320-grit paper, never acetone.
- Patch punctures from both sides with 25 mm of overlap and rounded corners.
- Extend seam repairs 20 mm past the visible end of the separation.
- Reinforce torn anchors with a larger panel rather than gluing the anchor back.
- Cure for 24 hours at 18 to 25 °C, then pressure test before the next trip.
Worked example: a 40L duffel came off a long-haul flight with a 30 mm split at a base corner weld and a crushed 25 mm buckle. The buckle was replaced in 15 minutes from a standard part. The split was cleaned, abraded, solvent welded and then covered with a rounded reinforcement panel, cured for 24 hours, and pressure tested at 0.3 metres of head for 30 minutes. It flew four more times that year without leaking.
For puncture-specific technique, see repairing a punctured dry bag, and for the materials to carry, read building a patch kit. If you are deciding whether a waterproof bag belongs in the hold at all, checking a dry bag on a plane covers the airline angle. Answers to common care questions sit on the frequently asked page.
Frequently asked questions
Q1. Can a dry bag damaged by an airline be repaired?
Usually yes. Abraded panels, punctures under 10 mm, split welds under 40 mm, crushed buckles and torn anchors are all repairable at home with a patch kit, adhesive or heat welding, and most repairs succeed if the film itself is still sound.
Q2. How do I patch a puncture in a TPU dry bag?
Clean with isopropyl alcohol, abrade with 320-grit paper, then bond a rounded patch on both sides with at least 25 mm of overlap. Press from the centre outward, weight it flat, and cure for 24 hours at 18 to 25 °C before testing.
Q3. Can I use superglue on a dry bag?
No. Cyanoacrylate bonds poorly to flexible TPU and cracks on the first fold. Use a urethane adhesive, a solvent weld or heat welding, which fuse or cross-link with the film instead of sitting on top of it.
Q4. How long does a dry bag repair need to cure?
24 hours at room temperature for urethane adhesives and solvent welds. Heat welds are instant but need 10 minutes of cooling under pressure. Repair tape grips within an hour but reaches full strength after a day.
Q5. What temperature should I repair a dry bag at?
Between 18 °C and 25 °C. Below 10 °C the cure slows and the bond starts weak; above 35 °C solvents flash off before they soften the film. Warm the panel before you start, not during the cure.
Q6. Is acetone safe for cleaning TPU before patching?
No. Acetone attacks the surface, leaves a swollen layer that bonds badly and can craze the film. Use isopropyl alcohol on a lint-free cloth, then abrade lightly and wipe again.
Q7. How do I test whether a repair is waterproof?
Inflate the bag and squeeze it while listening for air, then put dry paper towel inside, close it properly and submerge for 30 minutes under about 0.3 metres of head. Open it away from the water and check the towel.
Q8. Can a crushed buckle be replaced?
Yes, in about 15 minutes. Note the webbing width, usually 20 mm or 25 mm, and whether the webbing end is sewn closed. Slide or re-sew the new buckle in the same orientation and check that it releases under one-handed load.
Q9. What do I do if a handle anchor tears off?
Do not glue it back. Weld or bond a rounded reinforcement panel over the original footprint with at least 30 mm of overlap, bar-tack the webbing through both layers, seal the stitch line, then test progressively at 10 kg, 20 kg and full load.
Q10. Is repair tape a permanent fix?
No. Pressure-sensitive TPU tape reaches only about 30% to 40% of the film peel strength and is a field measure. Strip it off with gentle heat when you get home and do a proper adhesive or heat weld repair.
Q11. When should I retire a dry bag instead of repairing it?
When the film itself has degraded: a chalky surface that rubs off, a sticky feel, a plasticiser smell, or cracking when folded rather than flexing. Those changes spread under any patch and the next failure will be somewhere new.
Q12. How do I stop baggage handling damaging my bag?
Carry it on if you can, use a cheap outer slip cover, pack soft items against the panels, tape or tuck all loose straps flat, and photograph the bag from four sides at check-in. Straps are the most common cause of serious damage.
Q13. Does a thicker film resist baggage damage better?
Yes. Moving from 0.3 mm to 0.5 mm TPU adds about 90 grams to a 20L bag and roughly triples abrasion life in belt-contact testing, which is cheap durability for a bag that flies several times a year.
Q14. Can I claim for airline damage to a dry bag?
Yes, if you have evidence. Photograph the bag at check-in, keep the baggage tag, and report the damage at the airport, since most carriers require notification within seven days. A timestamped photograph settles the pre-existing damage argument.
Q15. Will a repair survive being submerged?
A properly cured adhesive or heat weld repair will, if it passes a 30-minute submersion test at 0.3 metres of head. A field tape patch will not; it keeps rain out but is not immersion rated.
Q16. How much weight can a repaired strap anchor take?
Test progressively rather than assuming. A reinforced anchor should hold 10 kg for a minute with no edge lift, then 20 kg, then full load. Any lifting at the first step means the surface was contaminated and the repair should be stripped and redone.
People also ask
How do you fix a hole in a dry bag?
Degrease with isopropyl alcohol, abrade lightly with 320-grit paper, and bond a rounded patch on both sides of the film with at least 25 mm of overlap. Press out air from the centre, weight it flat, cure for 24 hours, then submersion test it.
Can a torn dry bag strap be repaired?
Yes, by welding or bonding a larger reinforcement panel over the original anchor footprint rather than gluing the anchor back. Bar-tack the webbing through both layers and load test progressively before use.
What glue works on TPU dry bags?
Two-part urethane adhesive, a solvent weld based on THF or MEK, or heat welding at 120 to 150 °C. Avoid cyanoacrylate, silicone and general-purpose glues, which sit on the surface and peel.
Do airlines cover damage to waterproof bags?
They do under the same rules as any baggage, provided you report it promptly and can show the damage happened in transit. Photographs taken at check-in and a report filed at the airport make the claim straightforward.
How do you stop a checked bag getting scuffed?
Use a cheap outer slip cover, remove or tape down loose straps, pack soft items against the panels, and carry the bag on when the trip is short. The cover absorbs the abrasion that would otherwise go into the film.
Is a punctured dry bag still waterproof?
Not until it is repaired. Even a 3 mm hole admits water under pressure, and the bag should be patched and submersion tested before it goes near water again. Until then, use it as a dry storage bag only.
Need this in production volume?
QUANZHOU JUNYUAN BAGS has produced waterproof bags since 2014 in an SGS-verified 4,950 m2 facility in Fujian, China. Minimum order 500 pieces, sampling in 6–10 working days, bulk in 35–50 days, FOB Xiamen — write to service@junyuanbags.com with your spec and target market.