Protecting Gear During Caving
A six-hour cave trip exposes gear to three things rain never does: limestone sharp enough to score a 500D face fabric in a single drag, mud that packs into every closure and buckle, and constant 95% humidity at 10 to 14 °C. Plan on 8 to 12 litres of welded waterproof capacity split across two bags, because one large bag will not pass a 30 cm squeeze and one small bag cannot carry both a warm layer and a first-aid kit. Mud, not immersion, is what actually gets water into a cave bag.
This guide covers what genuinely has to stay dry underground, the bag profiles that pass tight sections, how limestone abrasion compares between film thicknesses, and the wash routine that keeps a bag serviceable after a muddy trip. Every figure below comes from real kit: a 1.4 kg first-aid and repair pouch, a 900 g battery and lighting load, and a 620 g insulation layer for the cold hour that follows a long crawl.
- Why a cave is harder on gear than a storm
- What genuinely has to stay dry underground
- Bag profiles that pass a squeeze
- Abrasion: what limestone does to fabric
- Mud management and the double-bag rule
- Closures you can work with numb hands
- Cold, water and battery behaviour
- Colour, markings and finding kit in the dark
- Lashing and hauling bags on a rope
- Water crossings, waterfalls and sumps
- Carry position and harness balance
- The wash routine after a muddy trip
- Specifying caving bags for a club or a retail range
Why a cave is harder on gear than a storm
Rain is intermittent and falls from above. A cave is continuous, three-dimensional wet: you crawl through it, you kneel in it, and you drag your bag across it. Water arrives as thin mud films that work into zips, folds and buckle mechanisms rather than as a jet you can plan around. Add 100% relative humidity and there is no drying phase during the trip, so anything damp stays damp for six hours.
The second difference is abrasion. Limestone and sandstone in a crawl have edges measured in millimetres, and a bag dragged 200 metres through a muddy passage accumulates more surface damage than a season of kayaking. That is why fabric choice here is an abrasion decision first and a waterproofing decision second, and why the failure mode you should design against is a scored film rather than a failed seam.
The third difference is consequence. Underground, a wet spare layer is a hypothermia risk rather than a discomfort, and a failed headlamp battery is a navigation problem. Cavers carry redundancy for light and for warmth, and a dry bag is the container that makes redundancy possible. The bag itself is cheap; what it protects is not.
What genuinely has to stay dry underground
Sort the kit into three tiers. Tier one is survival: spare batteries, a backup light, a warm insulation layer and a first-aid pouch. Tier two is comfort and food. Tier three is optional survey or photography kit. Only tier one belongs in a welded bag with a rolled closure; tier two can live in a lighter splash-resistant sack; tier three gets a bag only if the trip is dry enough to justify it.
| Item | Why it must stay dry | Packed volume | Weight | Bag tier |
|---|---|---|---|---|
| Spare headlamp batteries | Cold and wet kill capacity | 0.4 L | 240 g | Tier 1, welded |
| Backup light | Second source if the first floods | 0.5 L | 180 g | Tier 1, welded |
| Insulation layer | Wet down conducts heat away | 2.4 L | 620 g | Tier 1, welded |
| First-aid and repair pouch | Dressings fail when soaked | 1.8 L | 1.4 kg | Tier 1, welded |
| Food and water | Contamination risk from mud | 2.6 L | 1.1 kg | Tier 2, splash sack |
| Survey notebook and camera | Single-trip loss | 1.5 L | 0.9 kg | Tier 3, optional |
Weights matter more underground than anywhere else because you carry everything through sections where your hands are busy. A tier-one load of 2.4 kg in a 5L welded bag is a realistic minimum for a competent group. Add 1.1 kg of food and you are at the point where two bags split the load better than one, both for squeeze geometry and for the way weight hangs off a harness.
Bag profiles that pass a squeeze
Volume is the wrong first question underground. Profile is. A tall 20L bag with a 26 cm diameter will not pass a 30 cm tight section, while a 10L bag with a 20 cm diameter will, even though the smaller bag holds less. Cavers choose by diameter and length, then check whether the volume that geometry gives them is enough. Slim and long beats wide and short nearly every time.
| Bag | Diameter | Length packed | Passes 30 cm squeeze | Usable volume |
|---|---|---|---|---|
| 2 L roll-top | 11 cm | 26 cm | Yes, easily | 1.6 L |
| 5 L roll-top | 16 cm | 34 cm | Yes | 4.1 L |
| 10 L roll-top | 20 cm | 42 cm | Yes, with care | 8.3 L |
| 20 L roll-top | 26 cm | 52 cm | Often no | 16.8 L |
| 20 L dry duffel | 24 cm flat | 58 cm | Rarely | 18.0 L |
Note the usable-volume column, which is 15 to 18% below the label once three folds are taken. A 10L bag gives you 8.3 litres, which is exactly the tier-one load plus food for one person. That is why the common caving answer is one 10L bag for the group kit and one 5L personal bag each, rather than a single 20L bag that has to be passed hand to hand through every tight section.
Abrasion: what limestone does to fabric
Drag resistance is a function of film thickness and face fabric together. A 0.3 mm TPU film on a 210D face scores visibly after about 40 metres of muddy crawl, because the film is thin enough that a sharp edge reaches the weave and cuts filaments. A 0.5 mm film on a 420D or 500D face survives several full trips before the surface shows more than polish, and a 0.7 mm film is what we specify for bags that are hauled rather than carried.
| Construction | Film thickness | Drag distance to visible scoring | Weight per bag | Best cave role |
|---|---|---|---|---|
| 210D face, light film | 0.3 mm | 30-45 m | 180 g | Inner pouch only |
| 420D face, TPU | 0.4 mm | 90-140 m | 290 g | Personal 5 L bag |
| 500D face, TPU | 0.5 mm | 200-320 m | 380 g | Group 10 L bag |
| 500D face, heavy film | 0.7 mm | 450-600 m | 520 g | Haul bag |
| PVC coated 500D | 0.55 mm | 150-240 m | 470 g | Wet vertical work |
Laboratory abrasion testing gives repeatable numbers where a crawl does not, which is why we quote cycles to a standard method rather than metres of passage. The ASTM publishes abrasion test methods for coated fabrics, and a bag maker who can quote cycles to a named method is quoting something you can compare. Field detail on that testing is in our abrasion guide.
Construction detail changes the result as much as thickness. A bag with welded corners rather than folded-and-stitched corners has no thread to abrade, and a bag with the weld on the inside of the base keeps the seam off the rock. Look at where the seams sit before you buy: a seam that runs along the bottom of the bag is a seam you will grind into every crawl.
Mud management and the double-bag rule
Mud is the delivery mechanism for almost every water ingress underground. It packs into the fold line, holds grit against the film and wicks moisture along the closure by capillary action. A bag that is clean and dry on the outside before you roll will seal; the same bag rolled with a film of mud on the fold will seep steadily for hours.
- Wipe the fold line with a wet hand or a cloth before every roll.
- Roll away from your body so mud on the outside never touches the inside face.
- Keep tier-one kit in an inner 2 L pouch inside the 10 L outer bag.
- Clip muddy bags to the outside of the pack, never inside it.
- Rinse the closure first when you reach a stream, before you drink or eat.
The double-bag rule is not paranoia, it is a recognition of how closures fail. The outer bag gets muddy and may seep; the inner pouch stays clean because it is only ever opened inside a tent or at the surface. Two seals cost 240 grams and turn a potential hypothermia problem into a wet bag you dry out later.
Closures you can work with numb hands
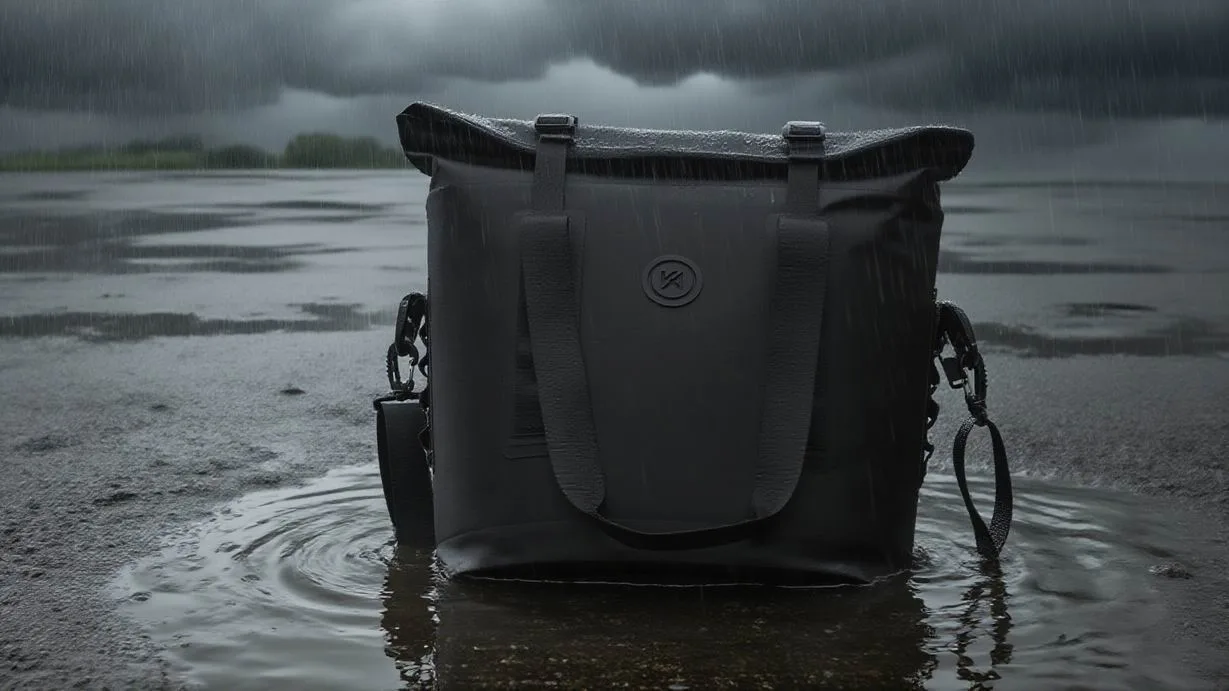
After two hours in 11 °C water your fingers lose fine dexterity, and a closure that requires pinching a stiff clip becomes genuinely hard to operate. Side-squeeze buckles with a 40 mm webbing tail are the practical answer: they release with a palm press and they can be tightened by pulling the tail with a gloved hand. Small centre-release clips on lightweight bags are the wrong choice underground.
Two rolls instead of three is a reasonable compromise for a bag you open often, provided the bag is carried rather than submerged. Three folds remain the rule for anything that will be hauled through a waterfall or dunked in a sump. Write the rule on the bag if you share kit: a group with mixed habits will otherwise seal the same bag differently every trip.
Cold, water and battery behaviour
Battery capacity falls with temperature, and cavers feel this as a light that dims in the last hour. An alkaline cell at 5 °C delivers noticeably less of its rated capacity than the same cell at 20 °C, and a lithium cell holds up far better in the same conditions. Keep spare cells in an inner pouch close to your body rather than in the outer bag, where they sit in the coldest position on the harness.
| Cell type | Usable capacity at 20 °C | Usable capacity at 5 °C | Wet-handling tolerance | Cave recommendation |
|---|---|---|---|---|
| Alkaline AA | 100% | 55-65% | Poor, corrodes if damp | Backup only |
| NiMH rechargeable | 100% | 60-70% | Moderate | Fine for short trips |
| Lithium primary | 100% | 85-92% | Good | Best for cold caves |
| Li-ion 18650 | 100% | 75-85% | Poor if the wrapper tears | Main light, in a pouch |
Store cells in a rigid container inside the pouch so they cannot be crushed against rock, and never carry loose cells in a pocket where a metal key can bridge the terminals. A shorted cell in a bag is a fire risk that no amount of waterproofing helps with. This is also the argument for keeping the pouch small: fewer items, less chance of contact.
Colour, markings and finding kit in the dark
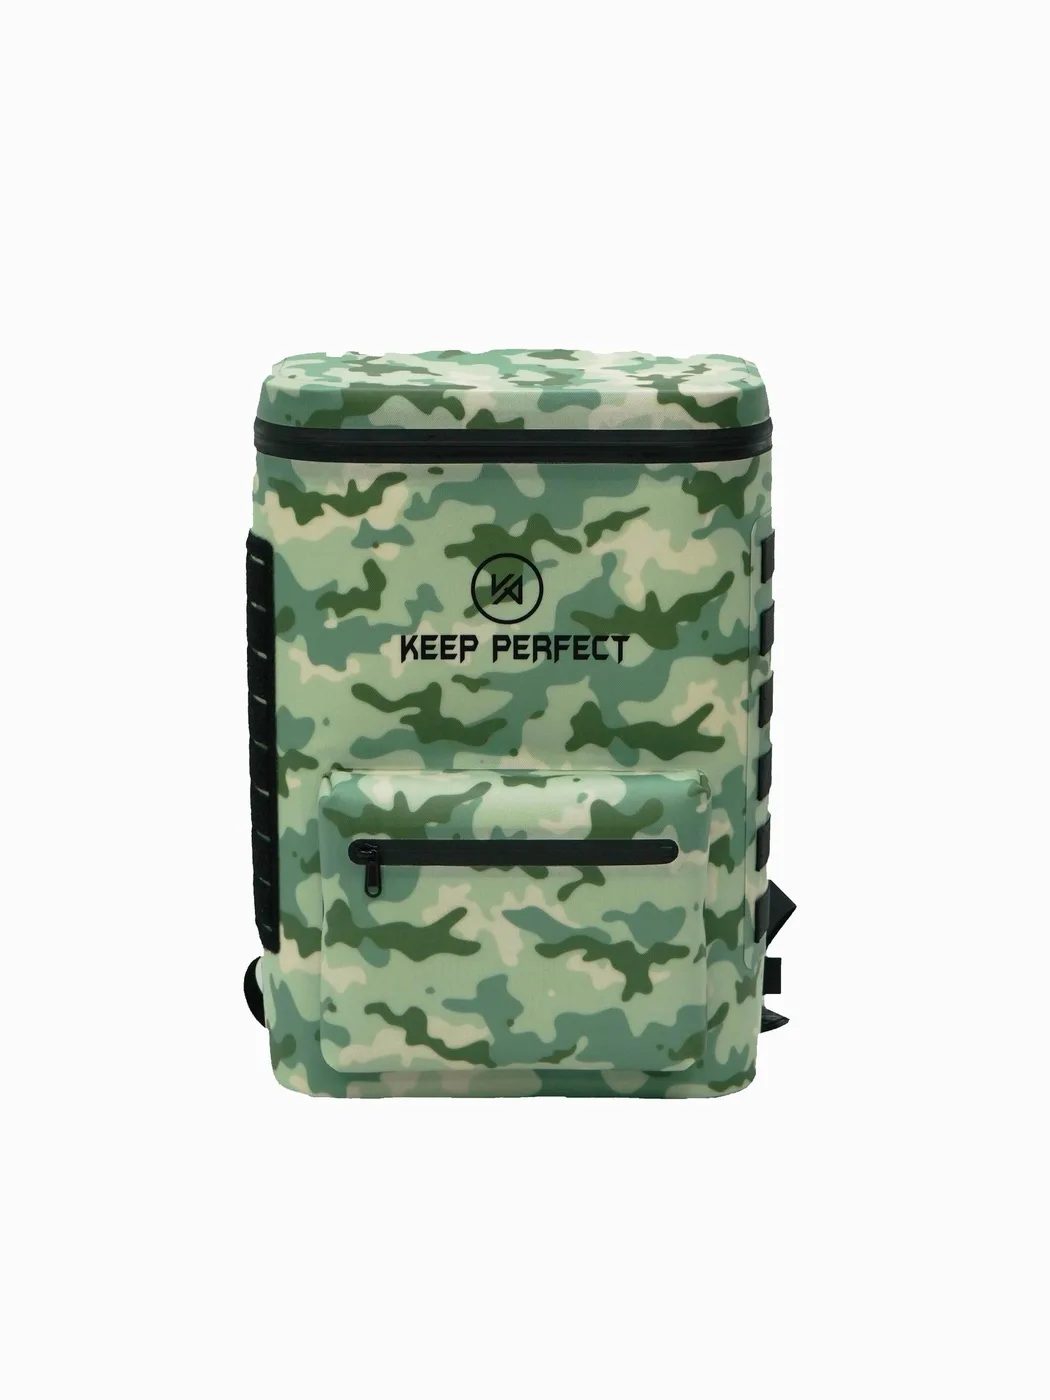
Visibility underground is a safety feature. A black bag dropped in a muddy passage is genuinely hard to find even with a good headlamp, because wet black film reflects almost nothing. A mint, orange or pale blue bag is visible at 10 metres with a 300 lumen beam, which is the difference between a two-minute search and a lost group kit.
Reflective piping helps when a bag is clipped to the outside of a pack and catches the beam at an angle, but it is not a substitute for a light colour. Mark every bag with a durable code rather than a paper label, since paper labels dissolve in a muddy bag within an hour. Groups running shared kit should colour-code by content: one colour for first aid, another for food, another for group spares.
Lashing and hauling bags on a rope
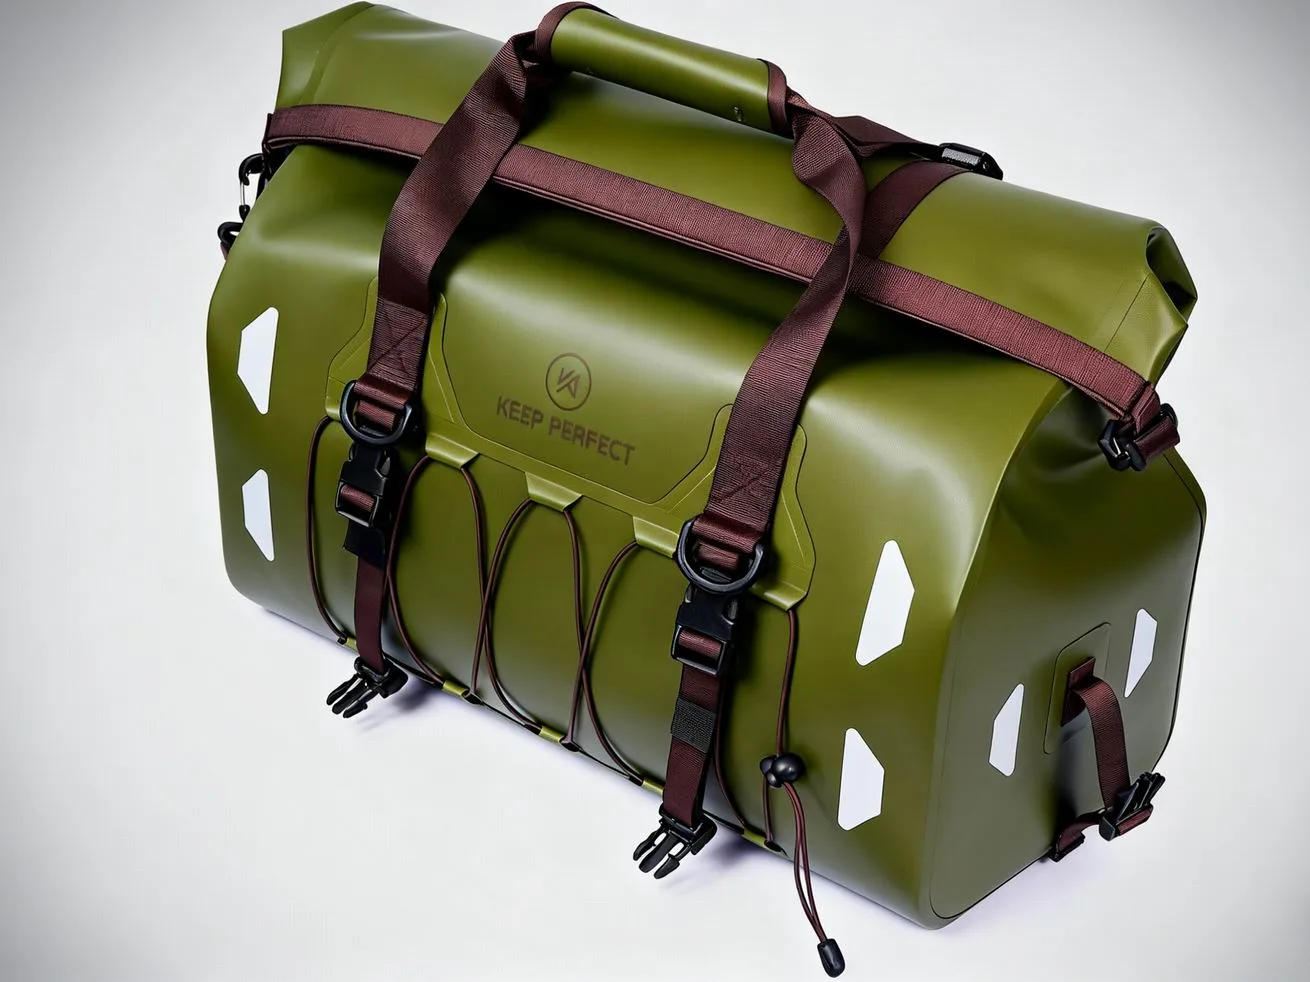
Anything hauled up a pitch needs hard points rated for the job, and this is where lightweight bags fail. A welded D-ring on a TPU bag takes a 40 mm strap and a shock load without deforming; a sewn webbing loop on a cheap bag can tear at 60 to 80 kg. If a bag will be hauled, check that the load path runs through a welded point and not through a seam.
Haul bags also need a closure that will not invert when the bag swings. Roll the closure down towards the base, tape the fold with a short strip of cloth tape for long hauls, and keep the bag upright with a small weight at the bottom. A bag that swings and inverts on a 20 metre pitch usually arrives with the closure unrolled and the contents spread across the pitch floor.
Water crossings, waterfalls and sumps
Caves put bags under water in ways other activities do not: a waterfall in a vertical descent, a chest-deep canal, or a short sump where the bag is pushed ahead of you. Each is a compression event as much as an immersion event, because the bag is squeezed between rock and body while submerged. That is exactly the condition a coated, stitched bag fails and a welded bag survives.
For planned immersion, aim for IPX7 with a 0.5 mm film or heavier, three folds, and a bag packed to no more than 80% so the film has room to flex. Expel air before the final fold so the bag does not fight you in a narrow passage. If the trip includes a known sump, read the immersion material in our canyoneering packing list, which covers the same problem at higher flow rates.
Carry position and harness balance
Where a bag sits on the body decides how much it slows you down. A 3 kg bag clipped to the back of a harness is stable in a crawl and keeps your hands free, but it adds height that catches on low ceilings. A bag carried in front is easier to monitor and to pass through a squeeze ahead of you, at the cost of blocking your own view of the floor. Most experienced cavers run one bag on the back and one small pouch on a chest strap.
Weight distribution matters in vertical work. A bag that hangs below the seat on a long cowstail swings on every move and bruises the thigh; the same bag clipped short to the harness hip point moves with you and stays out of the rope path. Keep the total hanging load under 4 kg and never clip a bag to the same point as a rack or a descender, where it can be trapped during a changeover.
Inside a crawl the rule is simple: push the bag ahead rather than dragging it beside you, and push it on its side so the weld seam along the base is not the contact surface. Pushing takes more effort for the first 20 minutes and then becomes automatic, and it typically halves the abrasion a bag accumulates over a six-hour trip. Groups should agree the convention before the first tight section rather than improvising underground.
The wash routine after a muddy trip
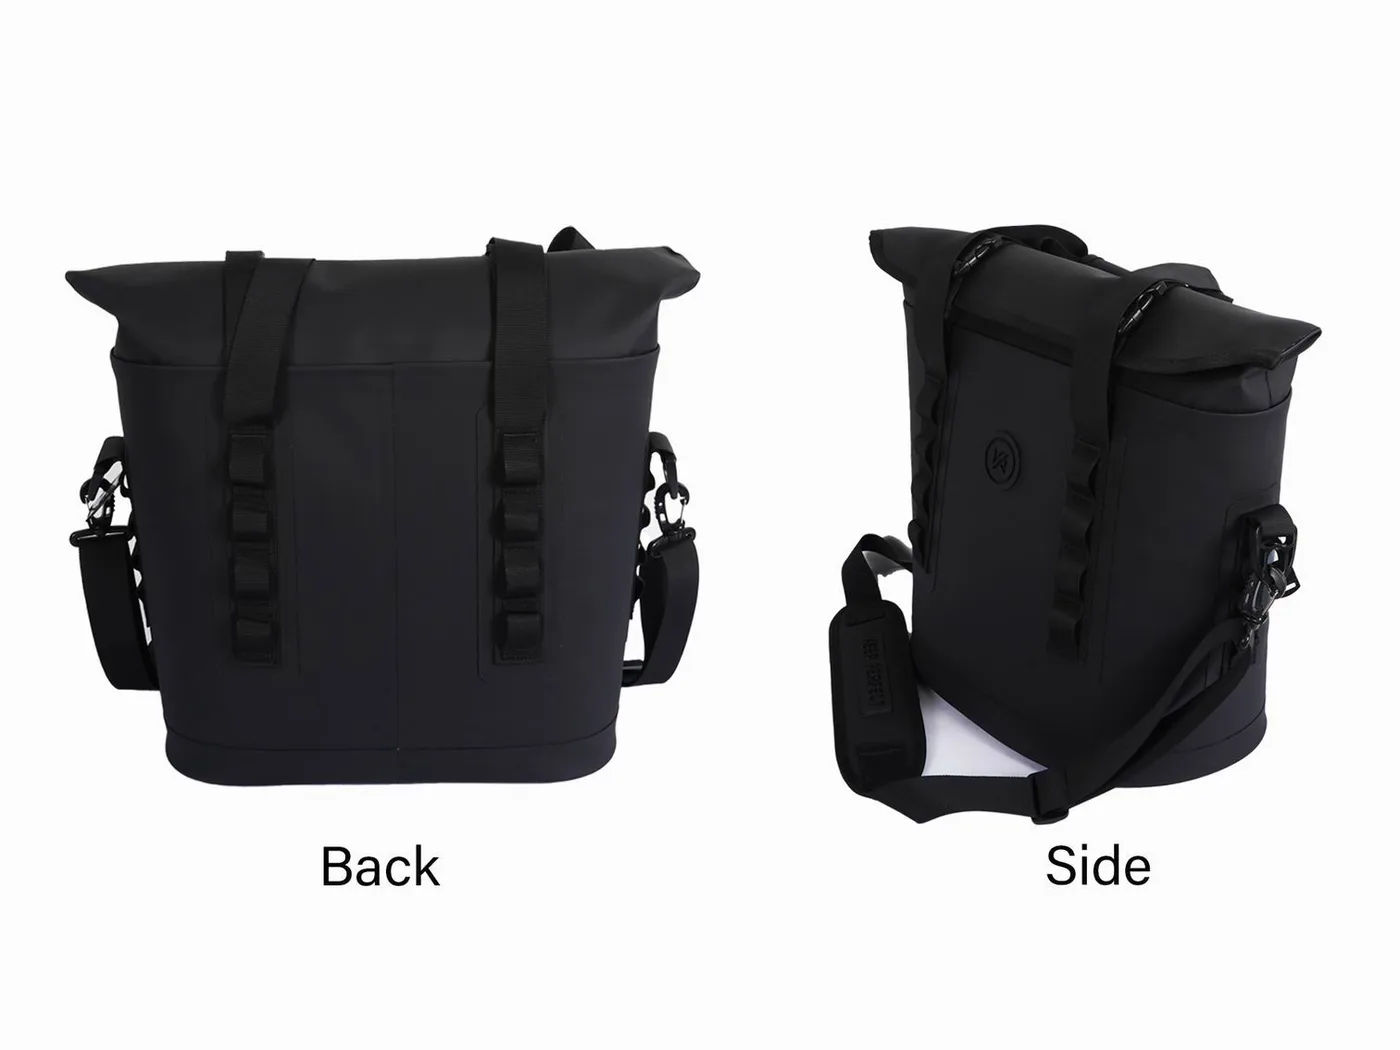
- Hose the bag down outside before it dries; dried cave mud is far harder to remove.
- Open the closure fully and flush the fold line with fresh water at ambient temperature.
- Turn the bag inside out and wipe the interior with a soft cloth and clean water.
- Work every buckle through its full travel while wet to push grit out of the mechanism.
- Dry in shade with the mouth open for at least six hours, then store loosely rolled.
- Inspect the weld corners and the base before the next trip; that is where scoring starts.
Never use a pressure washer on a welded bag, and never use a solvent to remove mud. High pressure can lift a weld edge, and solvents attack the film and the print in the same pass. Warm water, a soft brush and patience remove everything a cave can deposit, and a bag treated this way lasts far longer than one that is scrubbed hard.
Health matters too. Cave mud and standing water can carry organisms that cause illness, so wash hands and any skin contact thoroughly after a trip and keep drinking water separate from anything that touched the passage. The CDC publishes guidance on water and soil-borne exposure that is worth reading before a first expedition.
Specifying caving bags for a club or a retail range
A club fleet is the hardest test a bag faces: shared kit, mixed handling habits, muddy storage and no owner to notice early wear. Specify 0.5 mm film minimum, 500D face, welded D-rings, side-squeeze buckles, a light colourway and a print that survives washing. Those five lines decide whether a fleet lasts one season or five, and they cost less than 15% more than a light-duty build.
For a retail range, the same spec reads differently on the hang tag: drag distance, wash cycles and closure type are the numbers cavers actually compare. We have built waterproof bags since 2014 in an SGS-verified 4,950 m2 facility with 137 staff across seven production lines, sampling in 6 to 10 working days and bulk in 35 to 50 days.
Start from the current product line for sizes and film options, then match volume to your trip profile with our first-aid kit sizing notes and the rock climbing guide, since vertical work shares the same hauling and abrasion problems. Our roll-top range covers the slim profiles that actually pass a tight section.
Frequently asked questions
Q1. Do you need dry bags for caving?
Yes. Caves combine constant wet, mud that contaminates closures and rock that abrades fabric. A welded 5 L personal bag plus a 10 L group bag covers a six-hour trip for most teams.
Q2. What size dry bag is right for a six-hour cave trip?
One 10 L bag for group kit and one 5 L bag per person. The 10 L passes a 30 cm squeeze with care and gives about 8.3 litres once three folds are taken.
Q3. Can a dry bag survive being dragged over limestone?
A 0.5 mm TPU film on a 500D face survives 200 to 320 metres of muddy drag before visible scoring. A 0.3 mm film on a 210D face scores in 30 to 45 metres and is an inner pouch only.
Q4. How do you keep a first-aid kit dry underground?
Use a welded 2 L pouch inside the main bag, keep dressings in their own sealed wrap, and wipe the fold line before every roll. Two independent seals are standard practice for group medical kit.
Q5. Should caving bags be bright or dark?
Bright. A wet black bag reflects almost nothing under a headlamp, while a mint or orange bag is visible at 10 metres with a 300 lumen beam. Colour-code by content across the group.
Q6. Do dry bags work in flooded passages?
Yes if they are welded, rated IPX7 and packed to about 80%. Flooded sections compress the bag between rock and body, which is the condition where coated and stitched bags fail.
Q7. How do you clean mud off a dry bag?
Hose it before the mud dries, flush the fold line with fresh water at ambient temperature, and wipe the interior with a soft cloth. No pressure washers and no solvents on welded film.
Q8. Can you haul a dry bag up a pitch?
Yes, through a welded D-ring with a 40 mm strap, never through a sewn loop. Roll the closure down, keep the bag upright with a weight at the bottom, and tape the fold for long hauls.
Q9. What happens to batteries in a cold cave?
Alkaline cells drop to 55-65% of usable capacity at 5 °C, while lithium primaries hold 85-92%. Keep spares in an inner pouch near the body and carry them in a rigid container.
Q10. Is TPU or PVC better for caving?
TPU. It stays flexible in cold passages, welds cleanly and resists the plasticiser loss that makes PVC stiff after repeated wetting and drying. A 500D face with 0.5 mm TPU is the practical cave build.
Q11. How many rolls for a caving dry bag?
Three folds for anything hauled, dunked or left in a stream. Two folds is acceptable for a bag you open repeatedly and carry, but it will not survive compression in a narrow passage.
Q12. Do you need a purge valve underground?
No. A valve is one more seal to clog with mud and one more part to damage on rock. Compress the bag by hand before the final fold instead.
Q13. Will a dry bag fit through a tight squeeze?
Only if the profile is right. A 10 L bag with a 20 cm diameter passes a 30 cm section; a 20 L bag with a 26 cm diameter usually does not. Choose by diameter, then check volume.
Q14. How do you stop a bag smelling after a cave trip?
Wash it within 24 hours, dry it fully open in shade for at least six hours, and store it loosely rolled rather than folded. Smell comes from damp organic matter left inside, not from the film.
Q15. What should never go in a caving dry bag?
Anything damp from the passage, and any food or drink container that touched cave water. Wet gear raises internal humidity to saturation and contaminates whatever is packed beside it.
Q16. How long does a dry bag last in caving use?
With washing after every trip, a 500D and 0.5 mm build typically gives three to five seasons before the film scores through at the base corners. Club fleets with mixed handling see roughly half that.
People also ask
How do you protect gear while caving?
Split kit into two welded bags, keep survival items in an inner pouch, wipe the fold line before every roll, and choose a 0.5 mm film on a 500D face for abrasion. Wash and dry the bags within 24 hours.
What size dry bag do you need for caving?
A 10 L bag for group kit and a 5 L bag per person. Profile matters more than volume: a 20 cm diameter passes most squeezes, while a 26 cm diameter does not.
Are dry bags abrasion resistant?
Quality varies. A 0.5 mm TPU film on a 500D face handles 200 to 320 metres of muddy drag, while a 0.3 mm film on a 210D face scores in under 45 metres and suits inner pouches only.
Can you haul a dry bag up a rope?
Yes, if the load runs through a welded D-ring rather than a sewn loop. Keep the bag upright, roll the closure down, and expect a sewn loop to fail somewhere between 60 and 80 kg of shock load.
How do you clean caving gear after a trip?
Hose bags before the mud dries, flush the closure with fresh water, wipe the interior with a soft cloth, work the buckles while wet, and dry open in shade for at least six hours.
Do headlamp batteries need a dry bag?
Yes, and a warm one. Spare cells lose 35-45% of usable capacity at 5 °C if alkaline, so keep them in an inner pouch near the body and choose lithium primaries for long cold trips.
Need this in production volume?
QUANZHOU JUNYUAN BAGS has produced waterproof bags since 2014 in an SGS-verified 4,950 m2 facility in Fujian, China. Minimum order 500 pieces, sampling in 6–10 working days, bulk in 35–50 days, FOB Xiamen — write to service@junyuanbags.com with your spec and target market.