Home / Blog / Capacity & Sizing
Dry Bag Size for a First Aid Kit
A first aid kit needs 2 litres for a solo day trip, 3 to 5 litres for a pair or a family, and 8 to 10 litres for a group of six on a multi-day trip, once you allow for dressings, bandages, blister care, a 200 g medication pouch and a foil blanket. Weight runs from 350 g for the solo kit to 1.9 kg for the group kit, and the bag should be sized so the kit fills about 70% of it, because a kit that is packed tight cannot be searched in an emergency.
Volume is only half the problem. A first aid kit has to be found in under 20 seconds by someone who is cold, wet and stressed, which makes colour, labelling and closure design more important than litre count. This guide sets out the contents list with real packed volumes, the bag sizes that suit each group, how to keep medications dry and legible, and the maintenance cycle that stops a kit becoming a bag of expired plasters.
- What a first aid kit asks of a bag
- Sizing by group size and trip length
- The solo day kit: what fits in 2 litres
- The pair and family kit: 3L to 5L
- Group and expedition kits: 8L to 12L
- Contents list with volumes and weights
- Keeping medications dry, legible and separated
- Colour, labelling and finding the kit in 20 seconds
- Closure and access: how fast can you open it
- Where the kit rides in a boat, pack or vehicle
- Maintenance: expiry, restocking and waterproofing
- Checklist for a waterproof first aid kit
What a first aid kit asks of a bag
Most dry bag loads are packed once and opened at leisure. A first aid kit is the opposite: it is packed once, opened rarely, and when it is opened someone needs one specific item immediately. That single requirement drives the whole design. The bag must be identifiable without being opened, openable with cold or wet hands, and packed so the critical items are at the top rather than at the bottom.
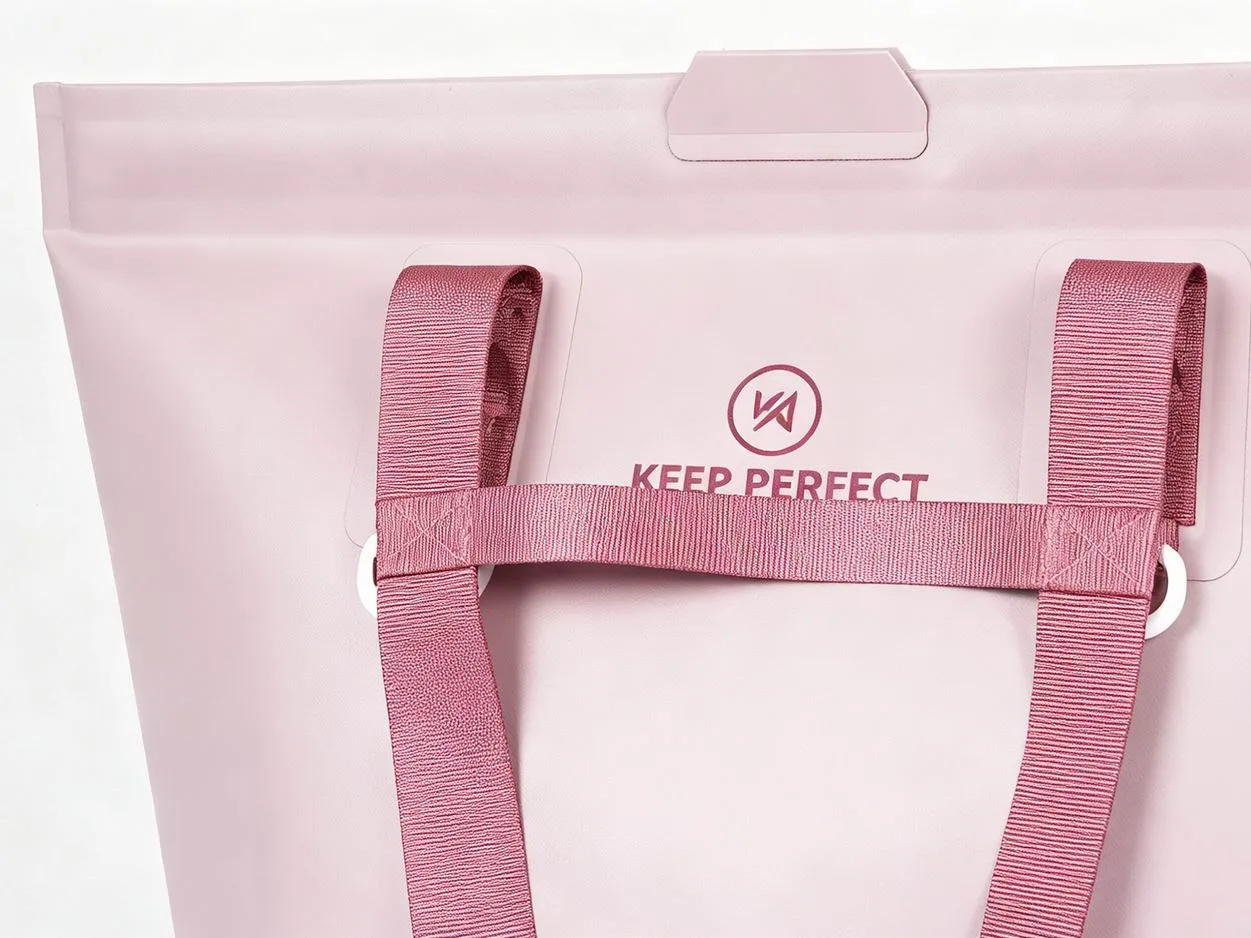
It also has to stay dry for a different reason than usual. Damp dressings are not merely unpleasant, they are useless: an adhesive dressing that has absorbed moisture loses its adhesion, sterile packaging that has been wet through is no longer sterile, and a paper instruction card that has been soaked is unreadable. Waterproofing here protects function rather than comfort, which is why a welded roll-top is worth the extra grams over a coated stuff sack.
Sizing by group size and trip length
Scale the kit by exposure, not only by headcount. Injuries on a day hike are overwhelmingly blisters, sprains, cuts and sun or heat problems, and the consumable load for those scales with the number of people multiplied by the number of days. A useful rule is 0.4 litres per person for a day trip and 1.4 litres per person for a five-day trip, with a 1.2 litre floor for the items that do not scale at all: shears, tape, a blanket and a card.
Distance from help is the second multiplier, and it is the one people forget. A kit carried 40 minutes from a road can be minimal; the same kit carried six hours from a road, or on water where evacuation is slow, should be one tier larger and should include a means of calling for help that is itself waterproofed. Remote trips are also where a second small kit belongs, split so that one bag lost overboard does not remove all of it.
| Group and trip | Consumable volume | Fixed items volume | Packed weight | Recommended bag |
|---|---|---|---|---|
| Solo, day hike | 0.4 L | 1.2 L | 350-450 g | 1 x 2L |
| Pair, day hike | 0.8 L | 1.2 L | 550-700 g | 1 x 3L or 5L |
| Family of four, day | 1.6 L | 1.4 L | 900-1,100 g | 1 x 5L |
| Pair, 5 days remote | 2.8 L | 1.6 L | 1.3-1.6 kg | 1 x 10L |
| Group of six, 3 days | 2.4 L | 2.0 L | 1.5-1.9 kg | 1 x 10L |
| Expedition, six, 10 days | 8.4 L | 2.4 L | 3.4-4.0 kg | 1 x 20L or 2 x 10L |
The solo day kit: what fits in 2 litres
Two litres is genuinely enough for one person on a day trip if you pack deliberately. The list is short: four adhesive dressings, two sterile gauze pads, one conforming bandage, a 5 m roll of tape, a blister kit with six hydrocolloid patches, a small pair of shears, antiseptic wipes, a single-use triangular bandage, a foil blanket and a personal medication blister pack. Packed flat rather than in boxes, that occupies 1.4 to 1.6 litres and weighs about 380 g.
Buy a 2L bag rather than a 1L even though the contents measure 1.5 litres. The spare half litre is what lets you open the bag and see the contents instead of digging, and it gives room for the two things everyone adds after their first real incident: a second bandage and a small torch. A 2L roll-top also closes with three folds without swallowing the contents, which a 1L bag does not.
The pair and family kit: 3L to 5L
Moving from one person to four does not quadruple the volume, because most of the weight and bulk is in fixed items you already carry. What scales is consumables: dressings, gauze, blister patches, tape and wipes. A family kit for a day out carries twelve dressings, six gauze pads, two conforming bandages, a full blister kit, tweezers, shears, a digital thermometer, an instant cold pack and a childrens dosing syringe, and measures 2.8 to 3.4 litres at about 1 kg.
A 5L bag is the right home for that kit, and the extra litre over a 3L is worth having because a family kit is searched by someone who is likely to be distracted. Pack it in three internal pouches, labelled dressings, medications and tools, so that the person looking for a plaster never has to open the medication pouch. Detailed contents for that size are in our 5L bag guide.
Group and expedition kits: 8L to 12L
Above four people the kit changes character. It stops being a plaster tin and starts being a trauma set: two large trauma dressings, a tourniquet or a pressure bandage if the group is trained to use one, four conforming bandages, a SAM splint, a triangular bandage per two people, irrigation solution, and a full blister bar. That set measures 6 to 8 litres and weighs 1.6 to 2.4 kg, and it belongs in a 10L bag.
Expeditions should split it. Two 10L bags, each carrying a complete basic kit plus half the consumables and half the trauma items, means a lost or soaked bag halves your capability rather than removing it. Splitting also fixes the access problem: one kit stays with the leader, one with the sweep, so the person at the back of the group is never more than a shout from dressings.
Contents list with volumes and weights
The table below lists packed volumes measured with items removed from retail boxes and flattened, which is how a kit should always be packed. Boxed plasters occupy roughly 2.5 times the volume of the same plasters decanted into a flat pouch, and that single change often drops a kit one whole bag size. Weights are for the quantities shown, not per item, and they assume cardboard sleeves and plastic trays have been discarded.
Treat the figures as a planning baseline and then adjust for your own group: add 0.1 litres per person for blister care if you are walking all day, add 0.3 litres if anyone carries a prescribed auto-injector, and add 0.2 litres for a burn kit if you are cooking on stoves rather than eating cold food. Write the adjusted list on the contents card so the next person restocking is working from your numbers, not from a printed sheet.
| Item and quantity | Packed volume | Weight | Day kit | Group kit |
|---|---|---|---|---|
| 12 adhesive dressings | 0.15 L | 30 g | Yes | Yes |
| 6 sterile gauze pads, 10 cm | 0.25 L | 60 g | 2 pads | Yes |
| 2 conforming bandages | 0.30 L | 90 g | 1 | Yes |
| Blister kit, 12 patches | 0.20 L | 70 g | 6 patches | Yes |
| Zinc oxide tape, 5 m roll | 0.20 L | 85 g | Yes | Yes |
| Trauma dressing, large | 0.35 L | 140 g | No | 2 |
| SAM splint, rolled | 0.45 L | 120 g | No | Yes |
| Shears and tweezers | 0.15 L | 110 g | Shears only | Yes |
| Irrigation solution, 500 ml | 0.60 L | 540 g | No | Yes |
| Foil blanket, folded | 0.25 L | 60 g | Yes | 2 |
| Medication pouch, sealed | 0.30 L | 200 g | Yes | Yes |
| Instruction card and pencil | 0.05 L | 25 g | Yes | Yes |
Keeping medications dry, legible and separated
Medications fail in a damp bag in two ways: the tablet degrades and the label becomes unreadable. A blister strip kept in its foil is genuinely well protected, but the paper sleeve it came in is not, and a soggy sleeve is how a dose gets misidentified. Decant into a small sealed pouch with the prescription label or a handwritten card, and keep that pouch at the top of the kit where it is the first thing a rescuer sees.
Temperature matters as much as moisture. Most tablets tolerate a wide range, but liquids and auto-injectors do not: adrenaline auto-injectors are typically stored between 15 and 25 °C and must not be frozen, and some creams separate if they freeze and thaw. In cold conditions carry those items inside a jacket rather than in the bag. Storage guidance from the CDC and medicine storage principles from the WHO are the references to check against the specific product.
Colour, labelling and finding the kit in 20 seconds
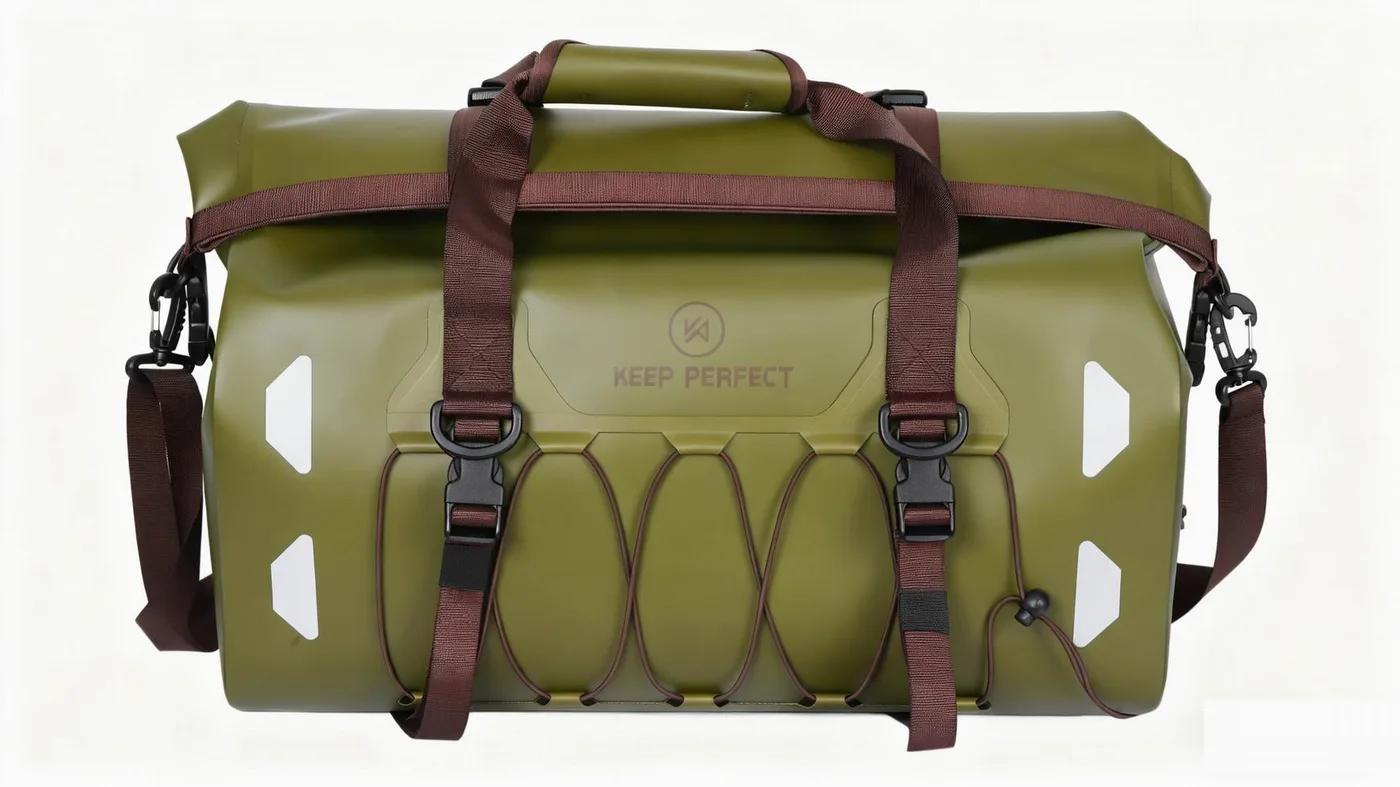
A first aid bag should look unlike every other bag in the group. Red or orange is the obvious choice and the correct one when the group includes people who do not know each other, because recognition matters more than aesthetics. Where a red bag is not available, use a white cross on a high-contrast panel, and make the marking large enough to read from three metres in poor light.
Labelling inside the bag is what actually saves time. Three pouches marked dressings, medications and tools, packed in the same order in every kit you own, mean muscle memory works when fine motor control does not. Add a contents card in the lid pouch, laminated or in a sealed sleeve, with expiry dates written in pencil so it can be updated in the field. Our colour guide and reflective accents guide cover visibility for night retrieval.
Closure and access: how fast can you open it
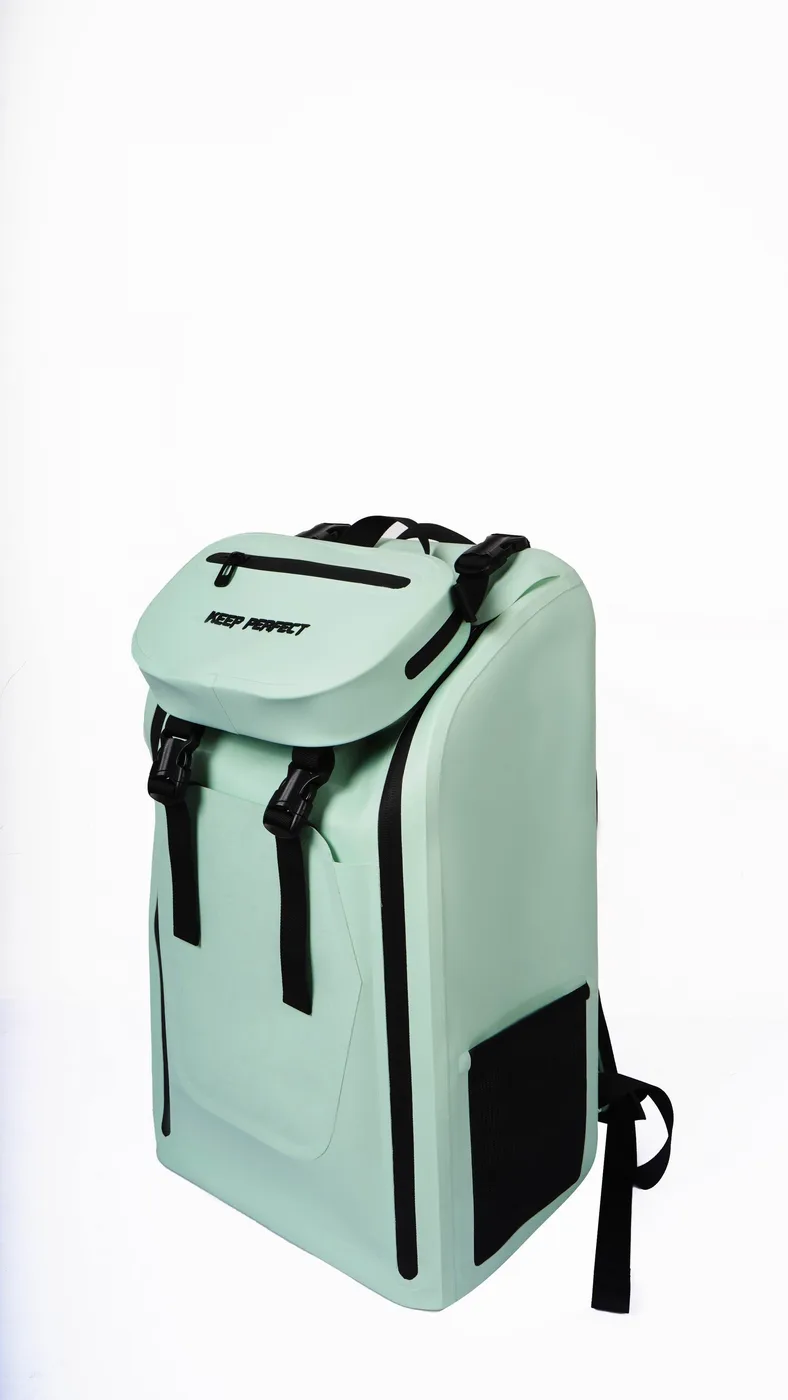
A three-fold roll-top is the right closure for waterproofing and the wrong one for speed, so the compromise is a two-fold closure with the buckle left unclipped while the kit is in transit, plus a colour-coded pull on the buckle. Two folds still keep out rain, spray and a brief dunking, which is all a kit bag in a pack or a cockpit needs, and it opens in roughly three seconds against ten or more for a clipped three-fold.
Where immersion is a real risk, close it fully and accept the slower access. On a whitewater trip or an open-water crossing, a soaked kit is a useless kit, so three folds and a clipped buckle are correct and you plan the extra seconds into your drills. If the kit lives in a kayak day hatch rather than on deck, you can also have both: a fully sealed inner pouch inside a quick-access outer bag.
Where the kit rides in a boat, pack or vehicle
Position decides retrieval time more than bag design does. In a kayak the kit belongs in the day hatch or clipped to the deck within arm reach, never in a rear compartment behind the bulkhead. In a pack it belongs in the lid or an outer pocket, never at the bottom. In a vehicle it belongs in the cab, not in a roof box or a trailer, because the people who need it are the people who can reach the cab.
One rule overrides every other position: the kit must not be secured to the person who might be the casualty. A kit clipped to the leader harness is a kit that goes overboard or ends up at the bottom of a slope with the injured party. Assign it to a second person, tell the group who that is at the start of the day, and re-assign it whenever the group splits.
| Location | Retrieval time | Water exposure | Verdict | Note |
|---|---|---|---|---|
| Kayak day hatch | 15-25 s | Low | Best | Tether it so it cannot float away |
| Kayak front deck | 5-10 s | High | Good | Needs a fully sealed closure |
| Pack lid pocket | 10-20 s | Medium | Good | Not at the bottom of the main compartment |
| Pack hip belt pouch | 3-8 s | Medium | Best for solo | Blister care and dressings only |
| Vehicle cab | 10-20 s | None | Best | Never in a roof box or trailer |
| Roof box or trailer | 2-8 min | None | Avoid | Unreachable when it matters |
Maintenance: expiry, restocking and waterproofing
A kit fails slowly and silently. Nothing looks wrong for months, and then a dressing that expired two seasons ago turns out to be the only one left, or the tape has lost its adhesion because the bag sat in a hot vehicle for a summer. A fixed quarterly cycle is the only reliable defence, and it takes about fifteen minutes per kit once the contents card is in order.
- Set a quarterly reminder and empty the bag completely on a table.
- Check every expiry date; replace anything within three months of expiry.
- Count consumables against the card and restore to the listed quantities.
- Test the closure: roll it, squeeze it, and listen for a hiss.
- Repack in the same order, dressings on top, and update the card in pencil.
Waterproofing itself needs checking twice a year. A kit bag rarely gets the rinse and dry routine that a kayaking bag gets, which means it is usually the most neglected bag in the cupboard and the one most likely to have a stiffened fold or a lifted weld. Run the same seal test you would on any dry bag: roll three times, squeeze, listen, then submerge for 30 seconds with a dry tissue inside. Method detail is in our home testing guide.
Checklist for a waterproof first aid kit
- Size to 70% fill: 2L solo, 5L for a family day, 10L for a group of six.
- Decant everything out of retail boxes; flattening drops most kits one bag size.
- Choose a high-contrast colour and mark it so it reads from three metres.
- Pack three labelled pouches in the same order in every kit you own.
- Keep medications at the top, in a sealed pouch, with a legible label.
- Use two folds unclipped for access, three folded and clipped where immersion is likely.
- Assign the kit to someone other than the leader, every day.
- Compare sizes against the product line before you standardise.
Organisations standardising a kit across a guiding fleet, a club or a vehicle pool should specify the bag the same way they specify the contents: volume, film thickness, closure type, colour and a marked panel, plus the test standard behind the waterproof claim. We have produced waterproof bags since 2014 in an SGS-verified 4,950 m2 facility with seven production lines, a 500-piece minimum and sampling in 6 to 10 working days; the approval path is set out with bulk in 35 to 50 days from FOB Xiamen at AQL 2.5 inspection.
Two size guides finish the job. The 2L guide and the 10L guide give exact contents lists for the two most common kit sizes, and our roll-top range covers both with the same closure geometry so a group can standardise on one system. If the kit travels with documents as well, the document protection guide shows how to keep paper and medication in one sealed bag.
Frequently asked questions
Q1. What size dry bag do I need for a first aid kit?
Two litres for a solo day trip, 3L to 5L for a pair or a family of four, and 8L to 10L for a group of six. Size the bag so the kit fills about 70% of it, because a tightly packed kit cannot be searched quickly.
Q2. What should go in a 2L first aid dry bag?
Four adhesive dressings, two gauze pads, one conforming bandage, a small tape roll, six blister patches, shears, antiseptic wipes, a triangular bandage, a foil blanket and a personal medication pouch. That measures about 1.5 litres and 380 g.
Q3. How much does a group first aid kit weigh?
A kit for six people over three days weighs 1.5 to 1.9 kg including a trauma dressing, a splint, irrigation solution and a full consumable set. An expedition kit for six over ten days reaches 3.4 to 4.0 kg.
Q4. Should a first aid kit be in a waterproof bag?
Yes. Damp dressings lose adhesion, sterile packaging that is wet through is no longer sterile, and a soaked instruction card is unreadable. A welded roll-top with no needle holes is worth the extra weight over a coated sack.
Q5. What colour should a first aid dry bag be?
Red or orange, or any high-contrast colour with a marked white cross panel big enough to read from three metres. Recognition by someone who does not know your kit matters more than how the bag looks.
Q6. Can medications go in a dry bag?
Yes, but keep them in a sealed pouch at the top of the kit with a legible label. Auto-injectors and liquids need temperature care: most are stored between 15 and 25 °C and must not be frozen, so carry them inside a jacket in cold weather.
Q7. How many folds should I use on a first aid dry bag?
Two folds with the buckle unclipped for fast access in a pack or a day hatch, and three folds clipped where immersion is likely, such as whitewater or an open-water crossing. Two folds still keeps out rain and spray.
Q8. Where should the first aid kit go in a kayak?
In the day hatch or clipped to the front deck within arm reach, never in a rear compartment behind a bulkhead. Tether it so it cannot float away, and make sure it is not attached to the person most likely to need it.
Q9. Should I split a first aid kit on an expedition?
Yes, into two bags each carrying a complete basic kit plus half the consumables and half the trauma items. A lost or soaked bag then halves capability instead of removing it, and one kit can stay with the sweep.
Q10. How often should I check a first aid dry bag?
Every three months. Empty it fully, check expiry dates, restore consumable counts, test the closure with a squeeze and a 30 second submersion, then repack in the same order and update the contents card.
Q11. Do I need a trauma dressing in a day kit?
For a solo day hike near a road, no; dressings, tape and blister care cover the likely problems. Add a trauma dressing and a splint whenever you are more than an hour from help or working with sharp tools.
Q12. How do I stop the kit becoming a bag of loose plasters?
Use three labelled internal pouches in a fixed order: dressings, medications, tools. Pack the same way every time and keep a laminated contents card in the lid pouch so restocking is a checklist, not a guess.
Q13. Does a dry bag protect sterile packaging?
Yes, provided the bag itself stays sealed and dry. Sterile packaging is compromised by water ingress, not by the bag, so a welded roll-top rated to IPX7 keeps it intact through rain, spray and a brief dunking.
Q14. Can I put a first aid kit in a backpack hip belt pouch?
For solo use, yes: it gives three to eight second access, which is the fastest of any position. Restrict it to blister care and dressings, and keep the full kit in the lid pocket or day hatch.
Q15. What is the smallest useful first aid dry bag?
A 2L bag. It holds a complete solo day kit with room to search it, and it closes with three folds without swallowing the contents. A 1L bag holds the same items but cannot be opened and searched without unpacking.
Q16. Should a first aid kit be a different size for water trips?
Usually one tier larger, because evacuation is slower and immersion risk is real. A family of four on the water should carry the 8L group kit rather than the 5L day kit, fully closed with three folds.
People also ask
How do you pack a first aid kit in a dry bag?
Decant items out of retail boxes, group them into three labelled pouches in a fixed order, put medications and dressings on top, fill the bag to about 70%, then close with two folds for access or three for immersion.
What size dry bag for a family first aid kit?
A 5L bag for a family of four on a day out. Twelve dressings, six gauze pads, a bandage, a full blister kit, tweezers, shears, a thermometer and a cold pack measure about 3 litres and 1 kg.
Are dry bags good for first aid kits?
Yes, because waterproofing protects function rather than comfort: damp dressings lose adhesion and wet sterile packaging is no longer sterile. Welded seams also mean no needle holes for water to wick through.
How do you keep medications dry in a dry bag?
Keep them in a sealed pouch at the top of the kit with a legible label, since paper sleeves disintegrate and an unlabelled dose is a safety risk. Carry liquids and auto-injectors inside a jacket in cold weather.
Where should a first aid kit be stored on a boat?
In the day hatch or clipped to the deck within arm reach, tethered so it cannot float away. Never in a rear compartment behind a bulkhead, and never attached to the person most likely to need it.
How often should you replace first aid kit contents?
Every three months is the practical cycle: check expiry dates, replace anything within three months of expiry, restore consumable counts, test the closure, and update the contents card in pencil.
Need this in production volume?
QUANZHOU JUNYUAN BAGS has produced waterproof bags since 2014 in an SGS-verified 4,950 m2 facility in Fujian, China. Minimum order 500 pieces, sampling in 6–10 working days, bulk in 35–50 days, FOB Xiamen — write to service@junyuanbags.com with your spec and target market.