Drying Racks and Airflow for Dry Bags
Dry bags dry reliably when held open with at least 100 mm between bodies, moving air around 0.3 to 1.0 m/s, and room temperature near 18 to 25 °C. A rinsed 20 L TPU bag usually needs 4 to 8 hours on a ventilated rack, while the same bag left collapsed can retain moisture beyond 24 hours. Keep airflow continuous, expose the base corners, and avoid heat above 40 °C unless the material specification explicitly permits it.
The rack is not merely storage furniture. Its shape determines whether wet panels touch, whether air reaches the deepest corner, and whether a heavy buckle creases the same spot every day. This guide covers rack geometry for homes, clubs and rental fleets, fan placement, draining, measurement, cleaning and safe overnight operation. It also explains why turning a bag inside out is not always appropriate and how to confirm dryness before long-term storage.
- Why a closed dry bag dries so slowly
- A rack shape that opens rather than stretches
- Spacing bags for useful crossflow
- Fan placement and practical air speed
- Temperature, humidity and drying time
- Drain first so airflow does not do all the work
- Inside-out drying and material limits
- Drying backpacks, duffels and pockets
- Confirming dryness instead of guessing
- Cleaning and maintaining the rack itself
- Home rack, club room or rental fleet planning
- Moving a dry bag from rack to storage
Why a closed dry bag dries so slowly
A waterproof laminate blocks moisture movement through the wall, so almost all water must leave through the opening. When the mouth collapses, evaporation raises internal humidity until the air becomes nearly saturated and drying slows dramatically. Base corners and folded seam intersections retain thin films that are easy to miss by touch. A bag that looks dry at the mouth after two hours can still hold several grams of water at the base, enough to support odour and surface growth during a warm week in storage.
Air exchange matters more than aggressive heat. Moving drier room air into the cavity picks up moisture and carries it away; a hot sealed cavity merely becomes hot and humid. Open the throat to at least one-third of its flat width and create a clear route down one side and back up the other. The same principle follows the wash steps in the roll-top cleaning guide: rinse residue out first, then use geometry and airflow to finish the work.
| Drying condition | 20 L TPU bag | 30 L PVC bag | Residual-risk note |
|---|---|---|---|
| Collapsed on floor | 18-30 h | 24-40 h | Base remains humid |
| Open, still room air | 8-14 h | 12-20 h | Corners dry last |
| Rack, natural crossflow | 6-10 h | 8-14 h | Good home method |
| Rack, 0.5 m/s fan air | 4-7 h | 6-10 h | Check hidden folds |
| Direct heat above 50 °C | Fast but unsafe | Fast but unsafe | Film and seam stress |
A rack shape that opens rather than stretches
The support should keep the bag open without placing a point load on coating or welds. Rounded arms 25 to 40 mm in diameter are gentler than wire hooks, and a broad upside-down U shape creates two vertical air channels. The frame should stop below the roll-top stiffener so it does not flatten the closing zone. For a 20 L cylindrical bag, a support around 300 to 380 mm high usually reaches the body without pressing hard into the base.
Avoid forcing a wide frame into a narrow mouth. The goal is separation, not tension. Contact points should be smooth, washable and free of burrs, exposed screw threads or rust. Powder-coated steel can work if the finish remains intact; polypropylene or sealed hardwood offers a lighter home option. Keep buckle halves hanging free rather than trapped under the body. A rack designed for several sizes should use removable rounded arms, not one oversized prong that distorts every smaller bag.
Spacing bags for useful crossflow
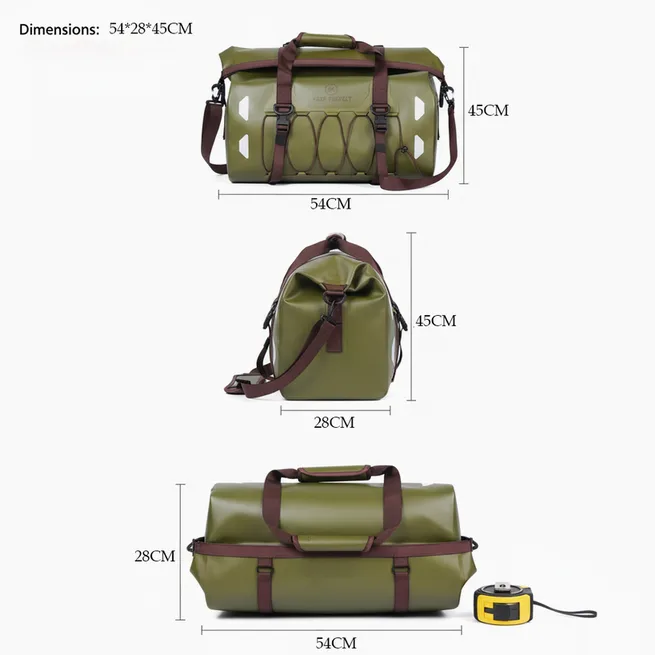
Leave at least 100 mm between small bags and 150 to 200 mm between 40 L or larger bodies. Wet surfaces should never touch. Rows need a clear inlet and outlet rather than a bag wall placed directly against a fan. If two rack tiers are used, offset the upper row so runoff cannot drip into the opening below. The lowest mouth should remain at least 150 mm above a cleanable floor or drain tray to avoid splash-back during rinsing.
Crowding defeats fan capacity. Ten 20 L bags may fit physically on a one-metre rail, yet six can dry faster because each receives a complete air path. Use smoke-free visual streamers or lightweight tissue at empty rack positions to see whether air reaches the far end; do not use smoke or aerosol near clean gear. For fleet planning, calculate positions from the peak daily return volume, then add 20% spare spacing so unusually large duffels do not force wet bodies together.
| Bag class | Minimum side gap | Suggested arm height | Positions per 2 m rail |
|---|---|---|---|
| 2-5 L roll-top | 100 mm | 180-250 mm | 10-12 |
| 10-20 L roll-top | 120 mm | 300-400 mm | 7-9 |
| 25-40 L roll-top | 150 mm | 450-550 mm | 5-6 |
| 50-90 L roll-top | 200 mm | 600-750 mm | 3-4 |
| Dry duffel | 200 mm | Open shelf support | 3-4 |
Fan placement and practical air speed
A low-speed fan should move room air across openings, not blast directly into one wet bag. Position it 1 to 2 m from the rack and aim along the row so flow is shared. Air speed around 0.3 to 1.0 m/s at the mouths is enough to break the humid boundary layer without making bags flap against hardware. Measure with a simple anemometer at the nearest, middle and farthest position; the lowest reading matters more than the impressive value beside the fan.
Oscillation can improve coverage on a short home rack, while a duct or plenum gives a large fleet more even distribution. Do not block the fan intake with towels waiting to dry. Electrical equipment must be positioned away from splash, with cables routed so wet users cannot trip or pull a unit into the wash zone. Guidance from the CDC on damp environments reinforces the central principle: control moisture promptly rather than masking resulting odours after storage.
Check flow with the rack loaded, because empty-space readings can be misleading. Large bags behave like baffles and may create a still pocket behind the first row. Rotate positions halfway through the first few observed cycles and compare drying times; if the far corner is repeatedly two hours slower, change fan angle or remove a position. A second small fan at the outlet may improve exchange more evenly than placing one powerful unit close to the nearest mouth.
Temperature, humidity and drying time
Room temperature between 18 and 25 °C is comfortable for most laminated bags and the people handling them. Relative humidity below 60% accelerates evaporation; above 75%, even a good rack may need much longer. A dehumidifier can help in a closed wet room, but its warm exhaust should mix with room air rather than blowing onto one seam. Record conditions when drying time suddenly changes, because a humid storm day may explain the problem better than a new detergent or bag material.
Heat guns, radiators and tumble dryers are poor shortcuts. Local surface temperature can exceed 70 °C before the operator notices, softening coatings, distorting stiffeners or weakening adhesive details. Sunlight adds UV exposure and can create a steep temperature gradient across a dark bag. The dry bag temperature guide gives material-specific boundaries. In routine care, moderate air movement over a longer period is safer than intense heat for a few minutes.
Place a combined temperature and humidity logger near the middle of the loaded rack rather than beside the room door. Readings every 15 minutes reveal whether humid air builds overnight after ventilation shuts down. A timer can control fans, but it should run beyond the wettest validated bag rather than the average. If condensation appears on windows or metal frames, moisture removal is inadequate even when exposed panels feel dry, and the room needs more air exchange or dehumidification before another batch arrives.
| Room condition | Relative humidity | Air speed | Expected drying response | Action |
|---|---|---|---|---|
| Cool and dry | 35-50% | 0.3 m/s | Steady, 5-8 h | Natural or low fan |
| Warm and humid | 70-85% | 0.5 m/s | Slow, 10-18 h | Add dehumidification |
| Temperate and dry | 40-60% | 0.5 m/s | Fast, 4-7 h | Preferred routine |
| Cold gear room | 60-75% | 0.3 m/s | Very slow, 12-24 h | Warm room gently |
| Hot direct airflow | Below 40% | Above 2 m/s | Fast surface only | Reduce heat and speed |
Drain first so airflow does not do all the work
After rinsing, hold the bag mouth downward for 30 to 60 seconds and rotate it so each base corner drains. Wipe standing droplets with a clean absorbent cloth, using a separate section for dirty exterior water. Removing 20 ml by drainage is faster than asking air to evaporate it. Do not wring, twist or sharply snap a laminated bag; those motions concentrate stress at weld intersections and create creases that remain long after the water has gone.
Set the bag on the rack with its opening downward or sideways only if air can still enter. A completely inverted body may seal against a shelf and trap moisture at the new uppermost base. Angling it 10 to 20 degrees lets droplets leave while preserving an inlet. Keep a removable tray below the rack, empty it after each session and clean it before biofilm develops. The tray should never become a reservoir that raises humidity directly beneath supposedly drying gear.
Inside-out drying and material limits
Some light roll-tops can be eased partly inside out, exposing corners directly. Heavy laminates, reinforced bases, valves and structured backpacks may be damaged by full inversion. Check the construction and stop if a seam must reverse sharply. Never pull an inside-out body by a welded D-ring. A safer compromise is to turn only the upper half, wipe the base with a cloth on a rounded wand, then return the body to its normal shape for airflow.
Inversion is most useful after food, mud or salt contamination because visual access confirms cleaning. It is unnecessary after light rain when only the exterior is wet. Repeatedly reversing a 0.5 mm panel can set creases around a stiff base, so alternate methods according to need rather than making inversion automatic. The warning signs described in the crease-damage guide help distinguish a harmless temporary fold from whitening, delamination or a line that should no longer be stressed.
Drying backpacks, duffels and pockets
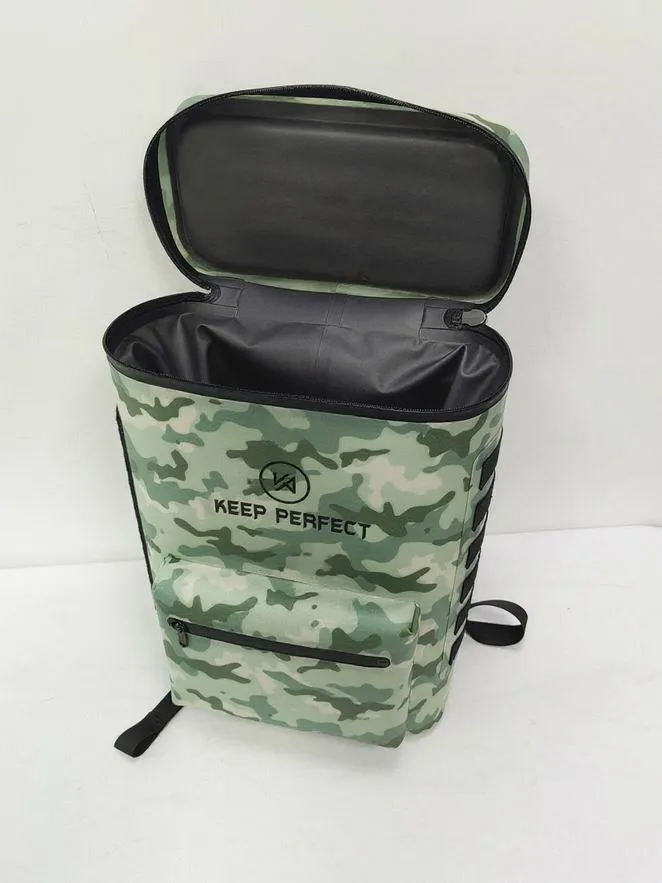
Waterproof backpacks need two drying zones: the sealed cavity and the absorbent harness. Open the roll-top, loosen every strap and separate shoulder pads from the back panel with a spacer. Point airflow across the harness after the interior has a clear path. Foam can hold water long after TPU feels dry, especially under folded webbing. Remove detachable sternum straps or waist pads only when their reassembly is obvious and documented; losing a small buckle component creates a new problem.
Duffels should rest on a slatted shelf with the zipper or roll opening fully supported. Prop end panels apart with rounded inserts, and open external pockets even if they are not waterproof. Drainage openings in tote sleeves must remain clear. Never hang a wet 60 L duffel from one handle, because retained water can multiply the load at its attachment. Browse the waterproof bag formats to identify how opening direction and harness construction change rack support before designing one standard position for every article.
Confirming dryness instead of guessing
Use touch, an absorbent indicator and mass when the consequence of damp storage is high. Press dry white tissue into base corners and around valve cages; any translucent patch shows remaining moisture. For repeated fleet work, weigh a reference bag after rinsing and again during drying. When two readings 30 minutes apart differ by less than 2 g and the tissue stays dry, the article has reached a practical endpoint. The method is especially useful for dark interiors where small droplets are hard to see.
Odour is not a reliable dryness indicator. Fragrance from cleaner may persist after water has gone, while early microbial growth can be invisible and faint. Use a flashlight to inspect seam overlaps and feel the harness foam with a dry glove. If a bag remains damp after the established time, check blocked airflow, room humidity and hidden padding before simply extending the timer. The mildew removal guide is for actual contamination; it should not become a substitute for a dependable drying endpoint.
| Dryness check | Where to apply | Pass sign | Limit |
|---|---|---|---|
| White tissue | Base corners and seams | No translucent patch | Small sampled area |
| Mass stability | Whole bag | Less than 2 g change in 30 min | Needs consistent scale |
| Dry-glove touch | Harness foam and folds | No cool damp transfer | Subjective |
| Visual light check | Dark interior and valve | No droplets or sheen | Misses absorbed water |
| Timed reference | Known size and room | Validated hours completed | Conditions must match |
Cleaning and maintaining the rack itself
A rack can recontaminate every clean bag if runoff, grit and organic residue collect on its arms. Wipe contact surfaces after each muddy or saltwater batch, clean the drain tray daily during heavy use and inspect fasteners monthly. Use a mild cleaner compatible with the rack finish, rinse it and allow it to dry before loading. Rust, peeling paint and rough mineral deposits can abrade laminate, so replace or refinish a damaged support instead of covering it with tape that traps moisture underneath.
Separate dirty intake space from the clean drying side. Brushes and cloths used before rinsing should not touch rack arms afterward. The US EPA publishes broader information on moisture and mould control; for a gear room, the useful operating lesson is to remove water, maintain ventilation and clean surfaces rather than relying on air freshener. Record rack cleaning on the same daily board as fan checks and room humidity so skipped maintenance is visible.
Home rack, club room or rental fleet planning
A home rack may be a freestanding frame for three bags placed near a ventilated utility room, with a washable tray and a small fan on a protected outlet. A paddling club needs labelled positions, space for personal accessories and a rule that all bags arrive rinsed. A rental fleet needs one-way flow from return to wash, drain, dry, inspect and store. Design capacity for the busiest wet day, not the average sunny return, because backlogs cause staff to stack damp bags.
For 40 daily returns with an eight-hour drying cycle, provide at least 48 positions to preserve the 20% spacing reserve. Separate large duffels from small roll-tops so neither blocks airflow. Production experience since 2014 in an SGS-verified 4,950 m2 facility, with 137 staff and 7 lines, informs practical hanging points and openings that are easier to rinse and dry. For wider bag construction context, visit our production team; rack design still needs to be matched to the actual fleet mix.
Moving a dry bag from rack to storage
Remove the bag only after its deepest corner and absorbent components pass the dryness check. Close hardware loosely, leave the roll-top uncompressed and store the body without a hard fold. A ventilated shelf is better than a sealed plastic bin, especially in a humid climate. The advice in storing dry bags rolled or flat helps choose a shape, while off-season storage adds periodic checks for pests, leaks and building humidity.
A good routine is deliberately boring: rinse, drain, space, move air, verify and store. Record normal drying times by size so a delay becomes an early warning of blocked airflow, wet foam or high room humidity. Never trade seam life for speed with concentrated heat, and never assume the outer surface represents the base corner. When the rack supports the bag gently and the room carries humid air away, a few controlled hours prevent the odour, mildew and crease damage caused by days in a collapsed heap.
Post a capacity limit on the rack and resist filling an empty-looking gap if it breaks the spacing rule. At the end of each session, log the room temperature, relative humidity, fan status and time the last bag passed its corner check. These four observations make troubleshooting practical: a whole row that dries slowly points to room conditions or airflow, while one persistently damp article points to trapped water, padding or poor opening geometry. Consistent records also show when seasonal humidity requires an earlier wash schedule or more drying positions.
Frequently asked questions
Q1. How should I dry a dry bag?
Rinse it, drain for 30 to 60 seconds, hold the mouth open on a rounded rack and provide 0.3 to 1.0 m/s airflow at 18 to 25 °C. Check the deepest corners before storage.
Q2. How long does a dry bag take to air dry?
A rinsed 20 L TPU bag often needs 4 to 8 hours on a ventilated rack. Still air, high humidity, thick harness foam or a collapsed opening can extend drying beyond 24 hours.
Q3. Can I dry a dry bag on a radiator?
No. Local heat can soften coatings, distort stiffeners and stress seams. Moderate room-temperature airflow is safer and dries hidden moisture more evenly.
Q4. Should I turn a dry bag inside out to dry it?
Only if its construction permits easy inversion. Heavy laminate, structured bases, valves and backpacks may crease or strain. A supported open mouth with airflow is the safer default.
Q5. What air speed is useful for drying bags?
About 0.3 to 1.0 m/s at the opening is practical. Faster air can make bodies flap without improving flow into shielded corners, while slower air may not exchange humid interior air effectively.
Q6. How far apart should wet bags hang?
Allow at least 100 mm between small bags, 120 to 150 mm for common 10 to 40 L sizes, and around 200 mm for large duffels. Wet surfaces should not touch.
Q7. Should dry bags hang upside down?
A slight downward opening helps drainage, but a fully inverted mouth can seal against a shelf. Angle the body so water leaves while air still has a clear inlet and outlet.
Q8. How do I know the inside is fully dry?
Press white tissue into base corners and around valves. For repeat work, confirm that weight changes by less than 2 g over 30 minutes and inspect harness foam separately.
Q9. Can I use a hair dryer?
Avoid it. The outlet can produce concentrated heat well above safe room conditions and may damage one spot while leaving deep corners damp.
Q10. What humidity is best for drying gear?
Relative humidity below 60% supports useful evaporation. Above 75%, increase dehumidification or allow much more time while keeping airflow continuous.
Q11. How do I dry a waterproof backpack harness?
Loosen all webbing, separate pads from the back panel with smooth spacers and direct crossflow around both sides. Foam often needs longer than the waterproof body.
Q12. Why does my dry bag smell after drying?
It may still hold moisture in corners or foam, or residue may remain from incomplete cleaning. Re-rinse, improve airflow and verify dryness rather than covering odour with fragrance.
Q13. Can sunlight speed up drying?
It can, but UV and high surface temperatures age coatings and colours. Dry in shade with moving air instead of leaving a dark bag in direct sun.
Q14. What material should a drying rack use?
Choose smooth, washable, corrosion-resistant supports with rounded contact points. Sealed polymer, intact coated metal or well-finished sealed wood can work if kept clean.
Q15. How often should a drying rack be cleaned?
Wipe it after dirty or salty batches and clean drain trays daily during frequent use. Inspect monthly for burrs, rust, loose fasteners and residue.
Q16. Can I store a dry bag immediately after the outside dries?
Not until interior corners, valves, pockets and absorbent harness parts are dry. Store it loosely on a ventilated shelf rather than sealing residual moisture in a bin.
People also ask
How do you air dry a waterproof bag?
Drain standing water, support the opening without stretching it, space the body from neighbouring gear and move room-temperature air through the cavity until corner checks remain dry.
What is the fastest safe way to dry a dry bag?
Wipe standing droplets, use a rounded open rack, maintain 0.3 to 1.0 m/s crossflow and keep room humidity below 60%. Avoid concentrated heat.
Why does water stay inside a dry bag?
The waterproof wall prevents outward vapour transfer. If the mouth collapses, interior air saturates and evaporation nearly stops, especially in base corners and folds.
Can a fan damage a dry bag?
Normal low-speed airflow will not, but a close high-speed fan can make wet bodies flap against hardware. Place it 1 to 2 m away and distribute air along the rack.
Does a dry bag need to be completely dry before storage?
Yes. Even a few grams of trapped moisture can sustain odour or surface growth in a warm closed space. Check hidden corners and padded parts.
How do drying racks prevent mildew?
They separate wet surfaces, hold openings apart and create a path for humid air to leave. Combined with rinsing and moderate airflow, this shortens the damp period that supports growth.
Need this in production volume?
QUANZHOU JUNYUAN BAGS has produced waterproof bags since 2014 in an SGS-verified 4,950 m2 facility in Fujian, China. Minimum order 500 pieces, sampling in 6–10 working days, bulk in 35–50 days, FOB Xiamen — write to service@junyuanbags.com with your spec and target market.