Maintaining a Waterproof Backpack Harness
A waterproof backpack harness carries every gram of the load through five small components: two shoulder straps, a sternum strap, the welded or sewn roots where those straps meet the shell, and the buckles that hold tension. On a 12 kg pack used weekly, the straps themselves rarely fail first — the buckles do, typically after two to three seasons, followed by the strap roots at around the same point. A five-minute monthly inspection catches both before they fail under load.
This guide sets out what to look for, how to clean salt and sand out of webbing and cam levers without accelerating wear, how much weight each component should actually take, and when a harness is finished rather than dirty. The numbers come from real parts and real loads: 25 mm and 38 mm polyester webbing, acetal side-release buckles rated near 50 kg, welded strap roots tested to 200 N per 50 mm, and a 12 kg load walked 6 km. Use the tables to set your own inspection interval.
- What the harness actually does on a waterproof pack
- Anatomy: the parts that wear, in the order they wear
- Welded versus sewn strap attachment
- A five-minute monthly inspection
- Cleaning salt, sand and sunscreen off webbing
- Buckles and cam levers: the parts that fail first
- Load ratings: what each component should carry
- Ultraviolet and the quiet loss of strength
- Storage: hanging, stuffing and strap shape
- Repair or replace: the decision rules
- A field repair kit for a harness
- Service schedule by how hard you use the pack
- Checklist before the start of a season
What the harness actually does on a waterproof pack
The shell keeps water out; the harness keeps the load on your body. Everything the pack does well on land depends on the straps transferring weight to the shoulders and, on larger packs, to the hips without sawing, slipping or stretching. On a welded waterproof pack that is harder than it sounds, because the shell has no frame and no fabric panel to spread the load, so the strap roots take a concentrated pull at every step.
This is why harness condition is a safety question and not a cosmetic one. A shoulder strap that lets go at the root drops 6 to 12 kg onto one side of a person who may be standing on wet rock. A sternum strap that releases under load shifts the whole pack backwards. Both happen gradually and both are visible for weeks beforehand if you look in the right places.
Anatomy: the parts that wear, in the order they wear
Wear follows a predictable sequence. Buckles go first, because they are the only moving parts and they accumulate grit. Webbing goes second, at the points where it doubles back through a slider or a ladderlock. Foam in the shoulder pads goes third, compressing and losing rebound after a few hundred hours of load. Stitching at the strap roots goes last on a well-built pack, and first on a cheap one.
The roots deserve special attention on a waterproof pack. If the straps are welded to the shell, the risk is a peel that starts at one edge of the weld. If they are sewn, the risk is thread rot plus a needle-hole leak path into the bag. Either way the early sign is the same: a small lift at one corner of the attachment that grows a millimetre a month.
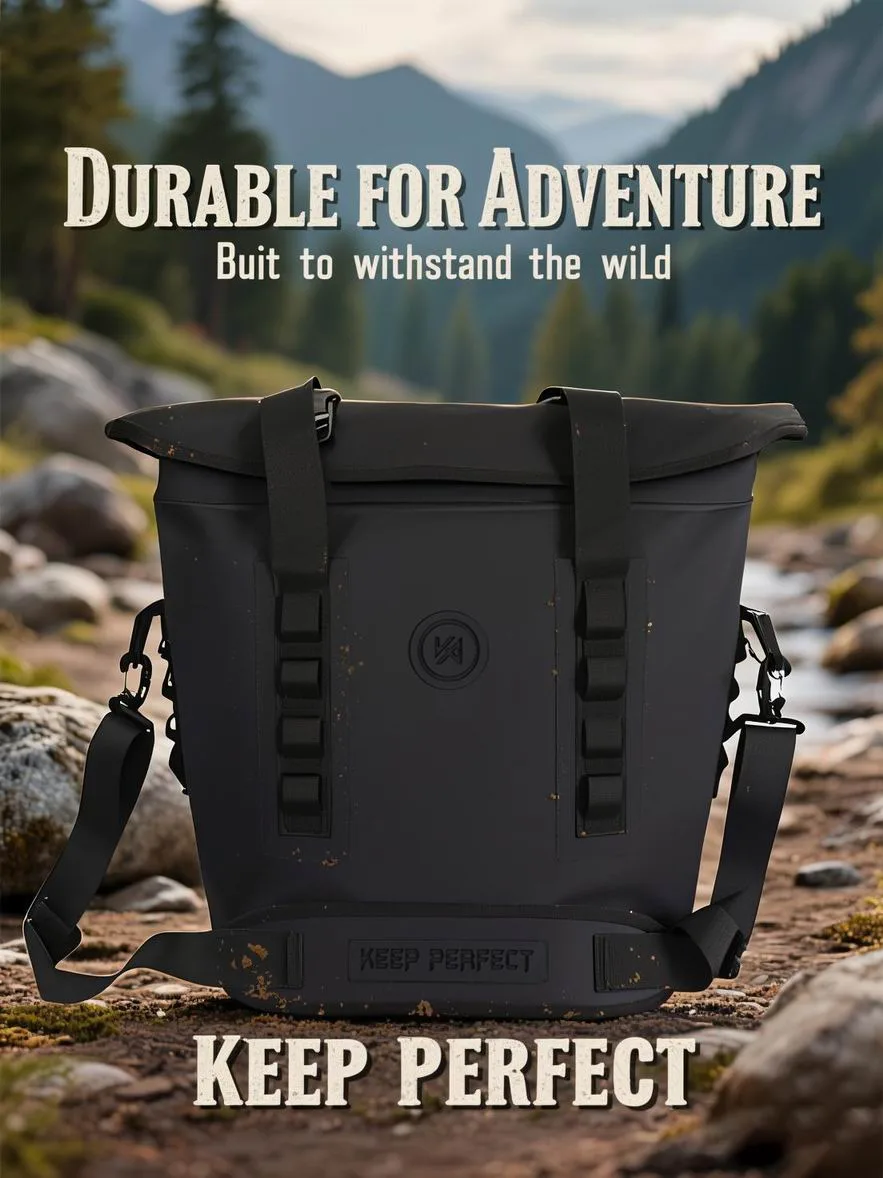
Welded versus sewn strap attachment
A welded strap root spreads the load over the full width of the attachment patch, and because there are no needle holes it does not compromise the shell. A well-run weld on a TPU shell gives 200 to 350 N per 50 mm of peel strength. The failure mode is a slow peel that begins at the edge facing the direction of pull, which is why the upper edge of the shoulder strap root is the first place to look.
A sewn root concentrates the same load into two or three rows of thread, each stitch making a hole through the waterproof film. It works, and it is cheap, but it needs seam sealant and it fails differently: the thread abrades or rots and the whole patch detaches at once rather than peeling gradually. If your pack has sewn roots, treat any broken stitch as urgent rather than cosmetic, and read the design trade-offs in strap and harness design.
A five-minute monthly inspection
- Hang the empty pack by one shoulder strap and look at the strap root from underneath for any lift, clouding or a white stress line.
- Run a fingertip along both straps, especially where they pass through sliders, and feel for thinning, fuzzing or a hard glazed patch.
- Work every buckle through its full travel twice and listen for a clean click; a soft or gritty click means grit inside the mechanism.
- Squeeze the shoulder foam and time the rebound; foam that takes more than about three seconds to recover has lost its spring.
- Flex the webbing across its width at ten points; any section that creases to a permanent white line has taken ultraviolet damage.
Do it on a clean table with good light and keep the same sequence every time, because the value of the routine is comparison. A strap root that was flat last month and lifts 1 mm this month is a real signal; a strap you cannot remember inspecting is not. Write the findings on a card kept with the pack, along with the date and the total number of days the pack has been used.
Cleaning salt, sand and sunscreen off webbing
Webbing is a woven structure and it holds grit the way a sponge holds water. A 12 km beach walk loads a strap with fine sand that then works into the weave every time the strap flexes, and each grain acts as a cutting edge against the neighbouring filaments. Rinse the whole harness in fresh water at the end of every salt day, then agitate the webbing under the surface rather than just holding it under a tap.
Sunscreen and insect repellent are chemical problems rather than mechanical ones. Both plasticise polyester and nylon fibres on contact, softening the weave and lowering its abrasion life. Wash the harness with a drop of pH-neutral soap in lukewarm water once a month, rinse until the water runs clear, and never use a stiff brush, which fuzzes the surface and gives dirt somewhere new to sit.
| Contaminant | What it does | Treatment | Never do this |
|---|---|---|---|
| Salt crystals | Abrades weave, pits hardware | Fresh-water rinse, agitate | Leave it until the trip ends |
| Fine sand | Cuts filaments, jams buckles | Soak and flex under water | Brush dry webbing |
| Sunscreen | Softens polyester and nylon | pH-neutral soap, 30 °C | Solvent cleaners |
| Sunscreen on foam | Breaks down closed-cell foam | Wipe the cover, do not soak | Machine wash |
| Mildew spots | Roots into stitching | Dilute vinegar, then rinse | Bleach on coloured webbing |
Buckles and cam levers: the parts that fail first
Acetal side-release buckles are strong, light and quietly vulnerable. A 25 mm acetal buckle is commonly rated near 50 kg of static load, which sounds generous against an 8 kg strap load, but the rating applies to a clean buckle engaged fully. Add one 0.5 mm grain of sand under a prong and the effective engagement drops sharply, which is why a buckle that clicks softly is a buckle waiting to open.
Cam levers behave differently and fail by creeping rather than popping. A 25 mm cam buckle holds 80 to 150 kg static on clean webbing, but a worn tooth profile, a pitted spring or webbing glazed by UV will let it slip a few millimetres an hour under a 10 kg load. Rinse the mechanism, work it dry, and replace any lever that shows a polished flat spot on the tooth face.
| Part | Typical service life | Failure sign | Field fix | Replace when |
|---|---|---|---|---|
| 25 mm side-release buckle | 2-3 seasons | Soft or gritty click | Rinse, dry, re-engage | Click is inconsistent |
| 25 mm cam lever | 3-5 seasons | Strap creeps under load | Rinse, re-tension | Tooth face is polished flat |
| Sternum strap and slider | 3-4 seasons | Slider slips on webbing | Re-thread, add friction | Slider no longer grips |
| Shoulder foam | 4-6 seasons | Slow rebound, flat pad | None | Rebound over 3 s |
| Welded strap root | 5-8 seasons | Edge lift at the pull side | None in the field | Lift over 3 mm |
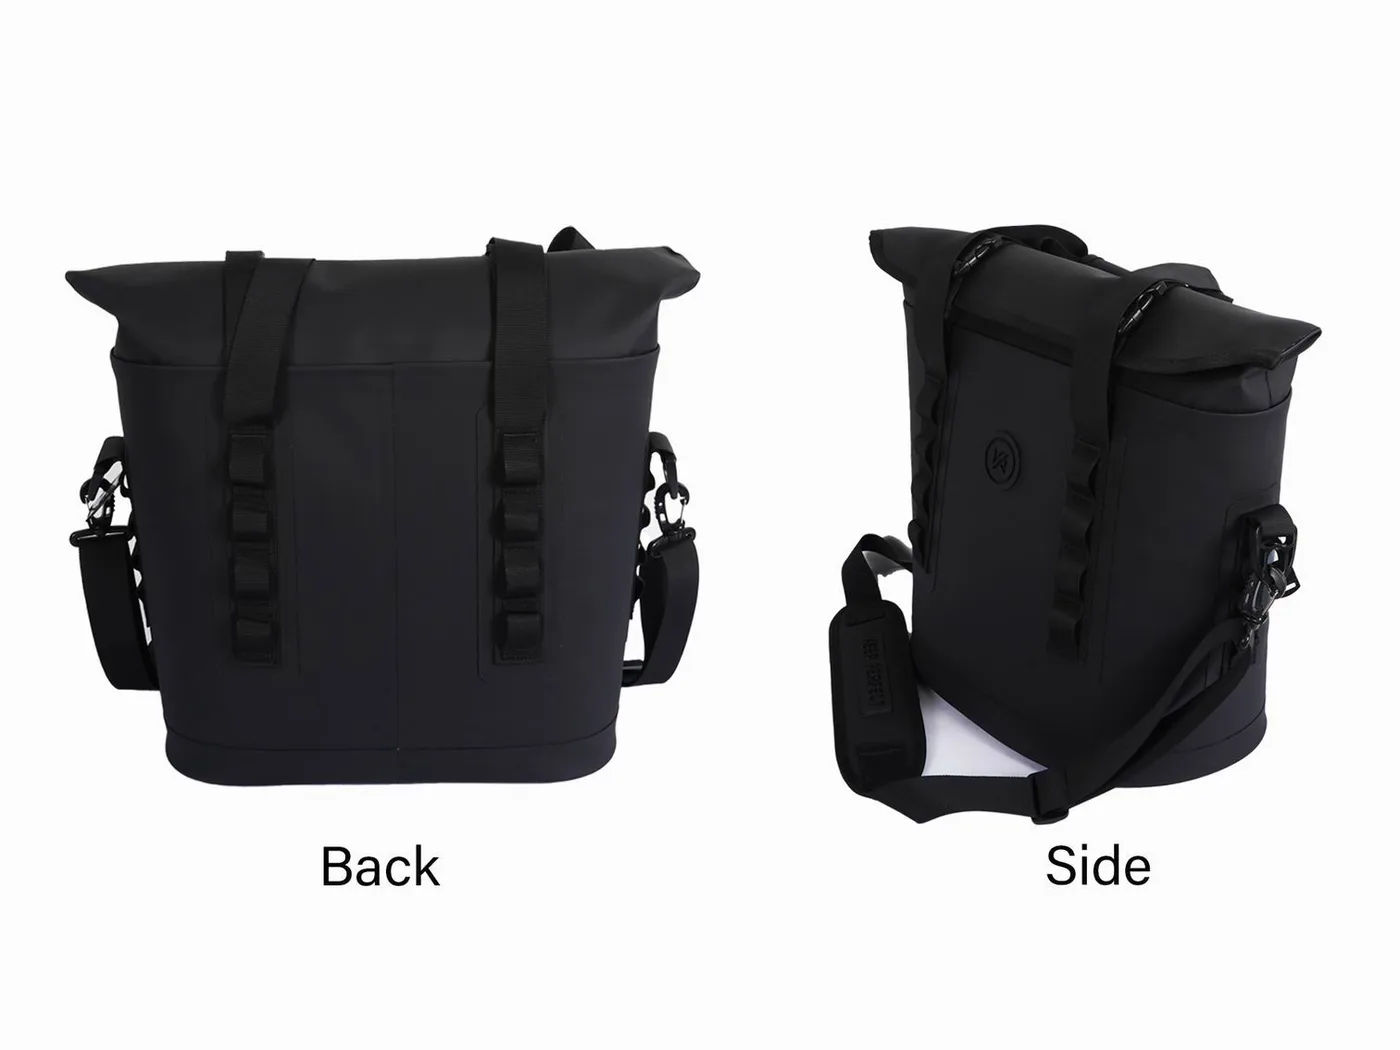
Load ratings: what each component should carry
Ratings are easy to misread. A webbing breaking strength is a laboratory figure on a straight pull with no knots, no UV exposure and no abrasion, and it is four to eight times the load you should ever put on the part. A 25 mm polyester webbing strap breaks somewhere near 600 kg new, but the same strap sewn into a root and loaded at an angle will fail at the attachment long before the webbing itself breaks.
Work from service load, not breaking strength. Each shoulder strap on a day pack carries 3 to 6 kg in normal use and peaks near 12 kg when you step off a rock onto one foot. That is comfortably inside the rating of a clean 25 mm system and uncomfortably close to it on a five-year-old strap with UV damage and a gritty buckle. Full detail is in how much weight a dry bag strap takes.
| Component | Rated strength | Normal service load | Peak load | Comfort margin |
|---|---|---|---|---|
| 25 mm polyester webbing | About 600 kg new | 3-6 kg | 12 kg | Very large |
| 38 mm padded shoulder strap | About 900 kg new | 4-8 kg | 15 kg | Very large |
| Welded strap root, 50 mm | 200-350 N peel | 4-8 kg | 15 kg | Good when new |
| 25 mm acetal buckle | About 50 kg static | 4-8 kg | 12 kg | Good when clean |
| Sternum strap | 15-25 kg | 2-4 kg | 8 kg | Adequate |
Ultraviolet and the quiet loss of strength
Ultraviolet damage is the failure mode nobody notices, because the strap looks fine. Polyester webbing exposed outdoors loses roughly 20 to 30% of its tensile strength over the equivalent of a full season of strong sun, and nylon loses more. The loss shows first as a slight glaze on the surface and then as a permanent white crease line wherever the webbing is folded sharply.
That crease line is the test. Take a section of strap, fold it hard across its width, and look at the fold under good light. If it springs back with no mark, the fibres are sound. If it holds a white line, the surface filaments have been embrittled and the strap has already lost a meaningful share of its strength. Retire it, and read the wider prevention advice in preventing UV damage on dry bags.
Storage: hanging, stuffing and strap shape
Store a pack hung by its haul loop or laid flat with the straps relaxed. Do not store it stuffed with the straps cinched tight, because a tensioned strap held for months takes a set and a foam pad compressed for months does not fully recover. If the pack has to live in a bag, roll it rather than folding it, and leave every buckle undone.
Damp is the other storage enemy, and it arrives in the foam rather than in the shell. Closed-cell foam does not absorb much water, but the fabric cover over it does, and a pack put away at 80% relative humidity will grow mildew inside the pad within two weeks. Dry the harness for 24 hours in moving air before storage, and store it somewhere with airflow rather than in a sealed plastic box.
Repair or replace: the decision rules
Three questions settle it. Can the failed part be replaced without touching the waterproof shell. Does the failure affect load carrying or only comfort. And is the rest of the harness within a season of the same age, so a repair buys a year rather than a month. Buckles and sliders pass the first test easily; foam and strap roots do not.
Replace anything that carries load and cannot be swapped without breaking the shell. A worn strap root and a compressed pad are both terminal for that component, because any field repair to a welded root involves either adhesive or heat, and both weaken the surrounding film. Webbing with a UV crease is also terminal, because the damage runs the whole length rather than sitting at one point.
| Fault | Repair in the field | Repair at home | Replace the part | Retire the pack |
|---|---|---|---|---|
| Gritty buckle | Rinse | Soak and dry | If click stays soft | No |
| Slipping slider | Re-thread | Roughen the webbing | If it will not grip | No |
| Fuzzed webbing | No | Trim and heat-seal the end | Section if localised | No |
| UV crease line | No | No | Whole strap | If both straps |
| Lifting welded root | No | No | No | Yes, or re-weld |
A field repair kit for a harness
- Two spare 25 mm side-release buckles, matching the webbing width exactly.
- One spare sternum strap with an integrated slider.
- A 1.5 m length of 25 mm webbing and a lighter to seal cut ends.
- A small stiff brush and a 20 ml bottle of fresh water for flushing grit.
- Four cable ties and a 1 m length of 3 mm cord for temporary strap routing.
- A 50 mm square of self-adhesive repair film for a shell nick, not for a root.
The kit weighs about 90 g and fits in a side pocket, and it covers everything that realistically fails within reach of a trail. What it does not cover is the strap root, which is the one fault that ends the day rather than the hour. Carry a length of 3 mm cord precisely for that case: a temporary loop through the haul point and over the shoulder will get a 10 kg pack off a hill, even though it will be uncomfortable.
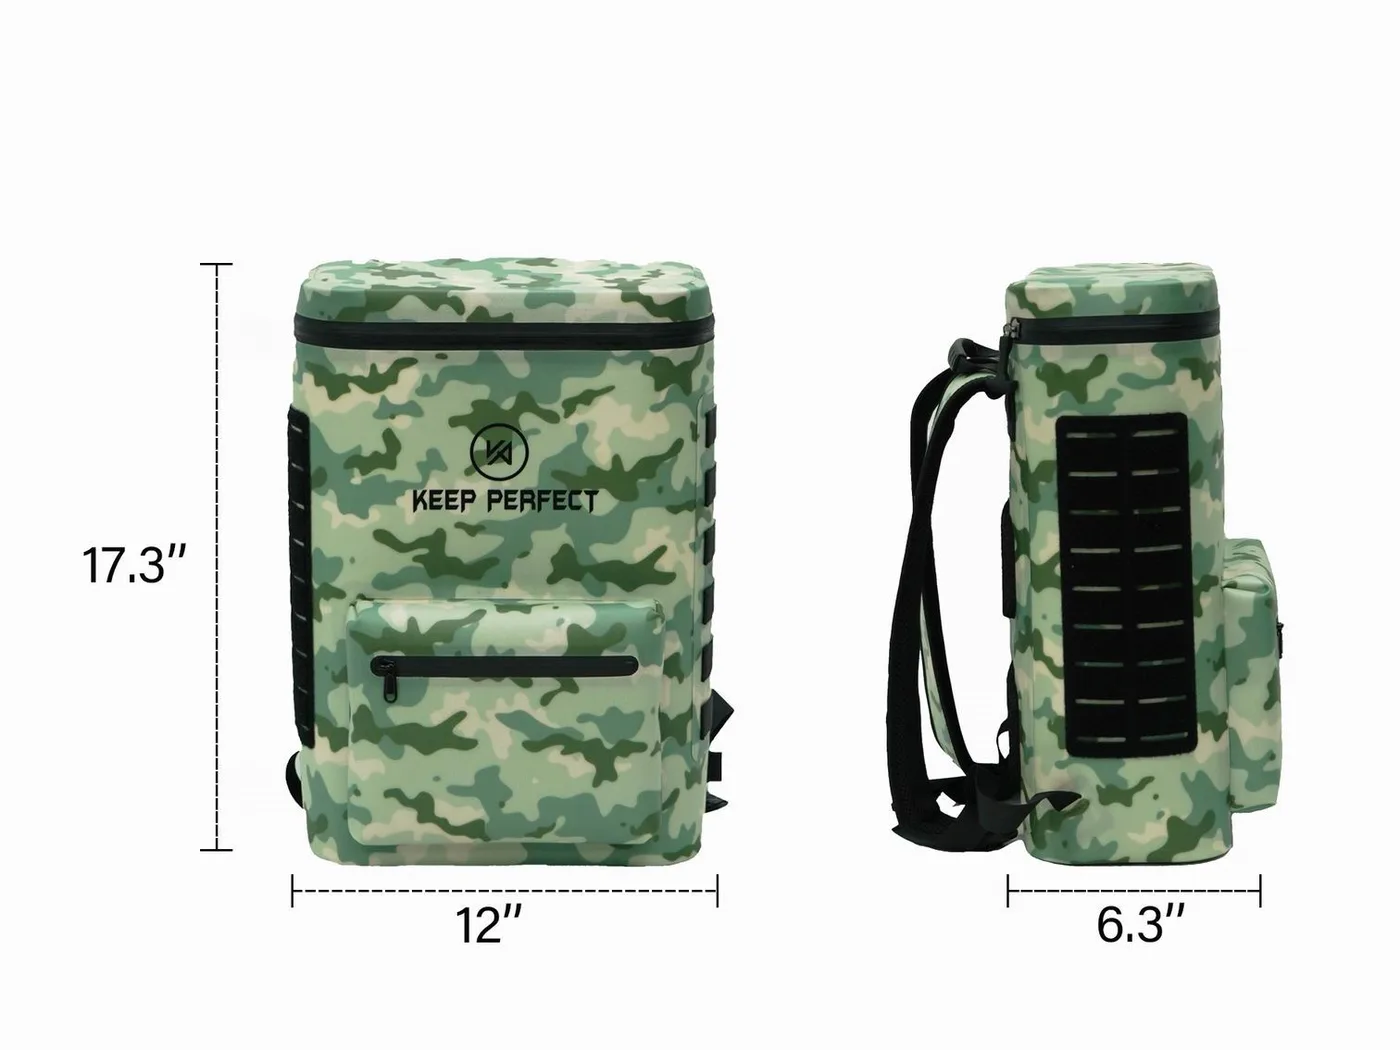
Service schedule by how hard you use the pack
Service intervals should scale with use, not with the calendar. A pack used twice a month on salt water ages faster than one used daily on dry trails, because salt and grit do more damage per hour than load does. Pick the row in the table that matches your pattern, then move one row down if the pack lives outdoors or in a vehicle.
Whatever the interval, keep the routine short enough that you actually do it. A five-minute check performed twelve times a year finds far more than a thorough overhaul performed once, because almost every harness failure gives a visible warning for weeks before it becomes a dropped load. Pair the schedule with the shell care routine in cleaning a roll-top dry bag so both get done in one session.
Two faults deserve their own focused guides if they appear. Sand inside a buckle mechanism is the most common of all and has its own flushing method in keeping sand out of dry bag buckles, and a cracked or broken buckle body is a straightforward swap once you know the webbing width, set out in replacing a broken dry bag buckle.
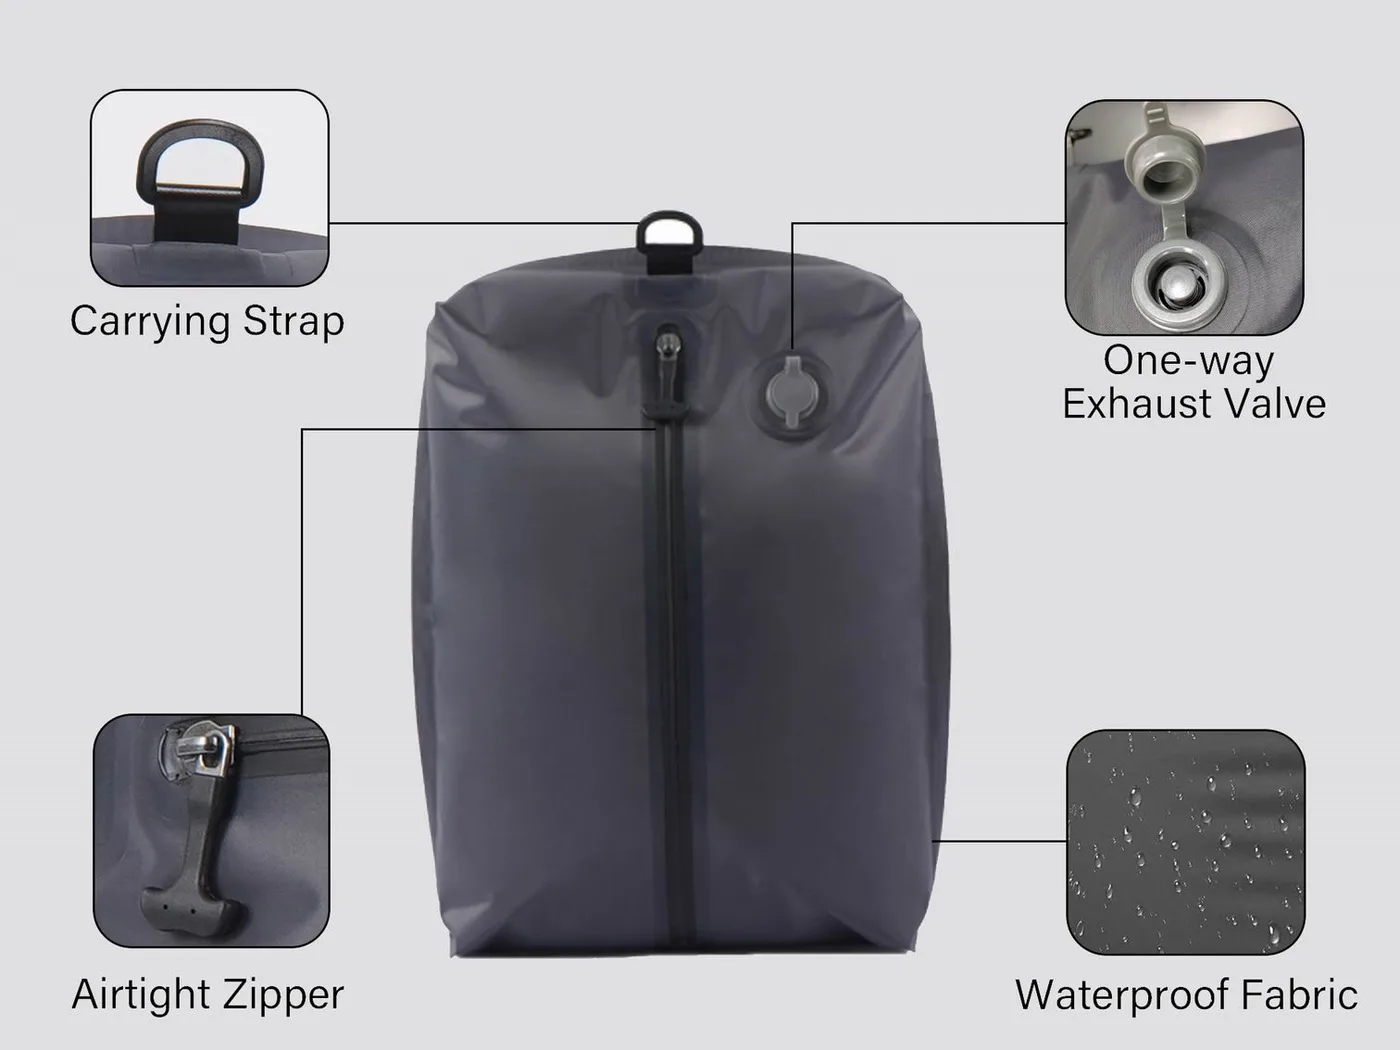
Checklist before the start of a season
- Hang the pack and inspect both strap roots for lift, clouding or a white stress line.
- Work every buckle twice and confirm a clean click with no grit.
- Fold a section of webbing hard and check that no permanent white crease remains.
- Time the shoulder foam rebound; replace the pad if it is slower than about three seconds.
- Wash the harness in pH-neutral soap at 30 °C and rinse until the water runs clear.
- Dry for 24 hours in moving air, out of direct sun, before it goes into storage.
- Confirm the load you plan to carry sits inside the working range of a 25 mm or 38 mm system.
- Compare the harness against a current TPU waterproof backpack before you decide to repair.
If you are maintaining a fleet of packs for a club, a rental operation or a guide service, the same checklist becomes a log sheet with one line per pack per month: date, hours of use, root lift in millimetres, buckle feel, webbing crease and action taken. That log is what tells you whether a harness platform is lasting three seasons or six, and it is the evidence you need when a model has to be specified out of a programme. Our production partner has built waterproof bags since 2014 in an SGS-verified 4,950 m2 facility, working to AQL 2.5 with sampling in 6 to 10 working days and bulk in 35 to 50 days.
Two reference points help when you are judging a strap rather than a buckle. Webbing strength is measured by the tensile methods published by ASTM, which is where the rating on a hardware data sheet should come from, and colour and coating durability are covered by the textile tests published by ISO. If a strap rating arrives without either, treat it as a marketing number and plan your inspection interval as if the strap were untested.
Frequently asked questions
Q1. How often should I inspect a waterproof backpack harness?
Once a month in regular use, and after every saltwater trip. A five-minute check of the strap roots, buckles, webbing and foam catches almost every harness fault while it is still visible, and most faults give weeks of warning before they drop a load.
Q2. What fails first on a waterproof backpack harness?
The buckles. Acetal side-release buckles typically last two to three seasons because grit gets into the mechanism; the strap roots and shoulder foam follow at roughly four to six seasons, and the webbing itself is rarely the first thing to go.
Q3. How do I clean sand out of webbing?
Soak the harness in fresh water and flex the webbing under the surface so the grains work out of the weave. Never brush dry webbing, because the grains act as cutting edges against the filaments and shorten the life of the strap.
Q4. Can sunscreen damage backpack straps?
Yes. Sunscreen and insect repellent plasticise polyester and nylon fibres, softening the weave and reducing abrasion life. Wash the harness monthly with pH-neutral soap at about 30 °C and rinse until the water runs clear.
Q5. How much weight can a 25 mm strap take?
New 25 mm polyester webbing breaks near 600 kg on a straight laboratory pull, but real service loads are 3 to 6 kg per strap with peaks near 12 kg. The attachment, UV exposure and buckle condition are what limit the system, not the webbing.
Q6. How do I know if webbing has ultraviolet damage?
Fold the strap hard across its width and look at the crease. If a permanent white line remains, the surface filaments are embrittled and the strap has lost a meaningful share of its strength; retire the strap rather than waiting for it to fail.
Q7. Is a welded or a sewn strap attachment better?
Welded, on a waterproof shell. A welded root spreads load across the full patch and adds no needle holes, giving 200 to 350 N per 50 mm of peel strength, while a sewn root concentrates load into thread rows and creates a leak path through the film.
Q8. Should I replace a gritty-feeling buckle?
Yes, if a rinse and dry does not restore a clean click. One 0.5 mm grain of sand under a buckle prong reduces the effective engagement sharply, and a buckle that clicks inconsistently is the most likely part to open under load.
Q9. Can I machine wash a waterproof backpack harness?
No. Machine washing twists the straps, loads the welded roots in directions they were never tested for, and breaks down shoulder foam. Wash by hand in lukewarm water with pH-neutral soap and dry in moving air out of direct sun.
Q10. How should I store a backpack between seasons?
Hung by the haul loop or laid flat with the straps relaxed and every buckle undone. Never store it stuffed with straps cinched tight, and dry it for 24 hours first, because a damp pad will grow mildew inside two weeks.
Q11. How long do shoulder strap pads last?
About four to six seasons of regular use. The test is rebound: squeeze the pad and let go, and if it takes more than roughly three seconds to recover, the closed-cell foam has lost its spring and the pad should be replaced.
Q12. What should be in a harness repair kit?
Two spare side-release buckles of the right width, a spare sternum strap, a 1.5 m length of webbing, a small brush for flushing grit, cable ties and 3 mm cord. The whole kit weighs about 90 g.
Q13. Can a lifting strap root be repaired?
Not in the field, and usually not at home. Any repair to a welded root needs adhesive or heat, and both weaken the surrounding film. A lift of more than 3 mm means the pack should be retired or the shell re-welded by a specialist.
Q14. Why does my cam buckle slip under load?
Usually a worn tooth profile, a pitted spring or glazed webbing. A 25 mm cam holds 80 to 150 kg static on clean webbing, so slipping means something has changed: rinse it, re-tension, and replace the lever if the tooth face is polished flat.
Q15. Does saltwater shorten harness life?
Yes, mainly through hardware and grit rather than the webbing. Salt pits metal springs and leaves crystals that abrade the weave, so rinse the whole harness in fresh water at the end of every salt day and dry it before storage.
Q16. When should I retire a whole pack rather than repair it?
When a load-bearing welded root lifts more than 3 mm, when both shoulder straps show ultraviolet crease lines, or when two or more major components reach end of life within a season of each other. At that point a repair buys months, not years.
People also ask
How do you maintain a waterproof backpack?
Inspect the harness monthly, rinse it in fresh water after every salt day, wash it with pH-neutral soap once a month, dry it for 24 hours in moving air and store it hung or flat with the buckles undone. Replace any buckle that will not click cleanly.
Why do backpack straps wear out?
Grit, ultraviolet light and load cycling. Sand works into the weave and cuts the filaments, UV embrittles the surface fibres, and every step flexes the webbing where it passes through a slider or buckle, which is where wear concentrates.
Can you replace backpack straps?
Yes, if they are detachable or sewn on with a standard webbing width. Welded strap roots are a different matter: a lifting weld cannot be reattached reliably at home, because the repair heat or adhesive weakens the shell around it.
How do you fix a slipping backpack buckle?
Rinse the mechanism in fresh water, work it dry, and re-tension the strap. If it still slips, check the tooth face for a polished flat spot and the webbing for a glazed surface; either one means the lever or the strap needs replacing.
Are welded straps stronger than sewn ones?
They spread load better on a waterproof shell. A welded root gives 200 to 350 N per 50 mm of peel strength and adds no needle holes, whereas a sewn root concentrates load into thread rows and needs sealant to keep the film watertight.
How long does a waterproof backpack last?
Five to eight years of regular weekend use with a monthly rinse and a proper inspection routine. Buckles go at two to three seasons, foam at four to six, and the shell usually outlives both if it is kept out of direct sun when stored.
Need this in production volume?
QUANZHOU JUNYUAN BAGS has produced waterproof bags since 2014 in an SGS-verified 4,950 m2 facility in Fujian, China. Minimum order 500 pieces, sampling in 6–10 working days, bulk in 35–50 days, FOB Xiamen — write to service@junyuanbags.com with your spec and target market.