Overlanding: 7 Dry Bag Mistakes to Avoid
Overlanding kills dry bags in ways a weekend trip never will: 400 km of corrugated dirt road, dust concentrations of 5 to 20 mg per cubic metre, roof-rack surfaces at 70 °C and ratchet straps tensioned past 150 kgf. Seven mistakes account for almost every failure we see. Waterproof is not dust-proof, an overfilled bag cannot complete three folds, a single 90L bag puts the whole trip behind one closure, roof-rack UV embrittles PVC in one season, an over-tensioned strap crushes the closure, fuel and food must never share a bag, and a trip with no repair kit turns a 5 mm puncture into a ruined week.
This guide works through each mistake with the mechanism, the number behind it and the fix, then gives a three-bag load plan for a ten-day route, a strapping table with safe tension figures, a dust exposure table by road surface and a repair kit that weighs under 700 grams. It is written for vehicles that carry everything they need for a week or more and drive on surfaces that generate their own weather.
- What overlanding does to a bag that a weekend trip does not
- Mistake 1: treating waterproof as dust-proof
- Mistake 2: filling the bag past the fold line
- Mistake 3: one giant bag for the whole trip
- Mistake 4: leaving bags on the rack through the UV day
- Mistake 5: crushing the closure with a ratchet strap
- Mistake 6: storing fuel, water and food together
- Mistake 7: no repair kit and no inspection
- Dust exposure by road surface
- A three-bag load plan for a ten-day route
- Water crossings and river recovery
- Pre-departure checklist
What overlanding does to a bag that a weekend trip does not
Overlanding combines three stresses that rarely occur together: continuous vibration across a wide frequency range, sustained abrasive dust, and full-spectrum UV at altitude. A bag that has been perfect for twenty weekends can fail on a single 600 km gravel stage, because the failure modes are cumulative and largely invisible until they are not. The three are also mutually reinforcing: UV weakens the film, dust abrades the weakened film, and vibration propagates the resulting crack.
Distance matters too. On a weekend you can repack, inspect and improvise. On a ten-day route with two water crossings and no resupply, an unnoticed failure on day two costs you sleep for eight nights. That is why the overlanding approach is redundancy, inspection and repair, in that order, rather than simply buying the heaviest bag available.
| Mistake | What you see | Real cost | Fix | Time to fix |
|---|---|---|---|---|
| Waterproof treated as dust-proof | Grit inside a sealed bag | Camera sensor, stove threads | Roll-top primary, liner inside | 2 minutes |
| Bag filled past the fold line | Closure will not roll | Wet sleeping bag night one | Fill to 85%, press air out | 1 minute |
| One 90 L bag for the trip | Access needs full unpack | One closure failure loses all | Three bags, fixed jobs | 30 minutes |
| Bags left on the rack all day | Chalking and stiffening | One season off the bag life | Shade or a light cover | 5 minutes |
| Ratchet strap over-tensioned | Crushed closure, peeled weld | Bag retires early | 150 kgf cap, padded contact | 5 minutes |
| Fuel, water and food together | Diesel taste in everything | Food thrown away | Separate bags, outer stowage | 10 minutes |
| No repair kit, no inspection | 5 mm puncture becomes a loss | A ruined week | 700 g kit, weekly check | 20 minutes |
Mistake 1: treating waterproof as dust-proof
The ingress protection code has two digits, and the second one is the one everybody quotes. IPX7 means the enclosure survived immersion to one metre for 30 minutes; the X means it was never tested against solids at all. The IEC defines the code in IEC 60529, and the solids digit runs from IP1X to IP6X, with IP6X meaning fully dust-tight under a defined test. A bag can be genuinely IPX7 and still deliver a camera full of grit.
Overlanding dust is the worst case: mineral particles from 2 to 60 microns, generated by the vehicle itself and following it in a low-pressure wake for hundreds of metres. Fine dust behaves less like sand and more like a gas. It finds the gap in a zip slider, the stitch line in a webbing tab and any fold that has not been pressed flat, and it stays there, abrading on every subsequent vibration cycle.
The fix is a roll-top closure plus an inner liner for anything sensitive. A roll has no slider and no teeth, so there is no pumping mechanism, and three folds pressed flat give a genuinely good particulate seal. Cameras, medication and documents then go inside a second sealed pouch, because two independent barriers are worth more in dust country than any single rating.
Mistake 2: filling the bag past the fold line
Roll-top bags lose usable volume to the roll itself, and the amount is larger than people assume. Three folds on a 20 L bag consume 2.5 to 4 litres, which is up to 20 per cent of the nominal capacity. A bag filled to the brim with 20 litres of kit cannot complete even one fold, and a closure that cannot complete three folds is a splash cover rather than a seal.
The habit that fixes it is a fixed fill line and an air press. Pack to roughly 85 per cent of nominal volume, press down on the contents to expel the air before the first fold, then roll. Trapped air is not neutral on a vehicle: it makes the bag prone to bursting at altitude, it pushes against the fold from inside, and on a corrugated road it acts like a spring that slowly works the closure open.
Altitude compounds this. A bag closed at sea level and driven to 3,000 m sees an internal overpressure of roughly 35 kPa, which is enough to deform a soft bag noticeably and to stress a weld line that was already under strap load. Purge valves exist for exactly this reason, and if your bag has one, use it after packing rather than after rolling.
Mistake 3: one giant bag for the whole trip
A 90 L bag looks efficient on paper and fails in the field. It is the first thing you load and the last thing you reach, it weighs 25 kg when full, which is beyond what most people can lift safely from a roof rack, and it puts every category of kit behind a single closure. If that closure is damaged by a strap or a sharp edge, you lose sleeping bag, clothing and food together.
Three bags with fixed jobs is the standard overlanding answer, and the split is by consequence rather than by size. One bag for sleep, one for clothing, one for food and cooking, each between 30 and 60 litres, plus a small grab bag in the cab. A 40 kg load then becomes four lifts of 10 kg, and a single failure costs you a category, not the trip.
Access is the hidden benefit. On a ten-day route you will open the food bag three times a day and the clothing bag twice, and you will almost never open the sleep bag. Packing in that order means the sleep bag can be buried deep, sealed once and ignored, while the food bag rides at the tailgate where it belongs.
Mistake 4: leaving bags on the rack through the UV day
A roof rack is the worst place on the vehicle for soft goods and the most convenient place for bulky kit, and that tension is resolved badly more often than not. A dark bag on a rack in 32 °C air reaches 65 to 70 °C on its surface within an hour, and UV dose accumulates: at 2,000 m elevation, irradiance is roughly 8 to 10 per cent higher per 1,000 m than at sea level, so an alpine overlanding route delivers a tropical dose with cold air.
PVC ages fastest under that combination, because heat drives plasticiser migration and UV drives chain scission, and the two together produce the chalky, stiffened bag that splits at the fold. TPU laminate has no plasticiser to lose and holds flexibility far longer, which is the main reason expedition operators specify it. Lighter colourways help regardless of film: a tan or grey shell runs 12 to 15 °C cooler than black.
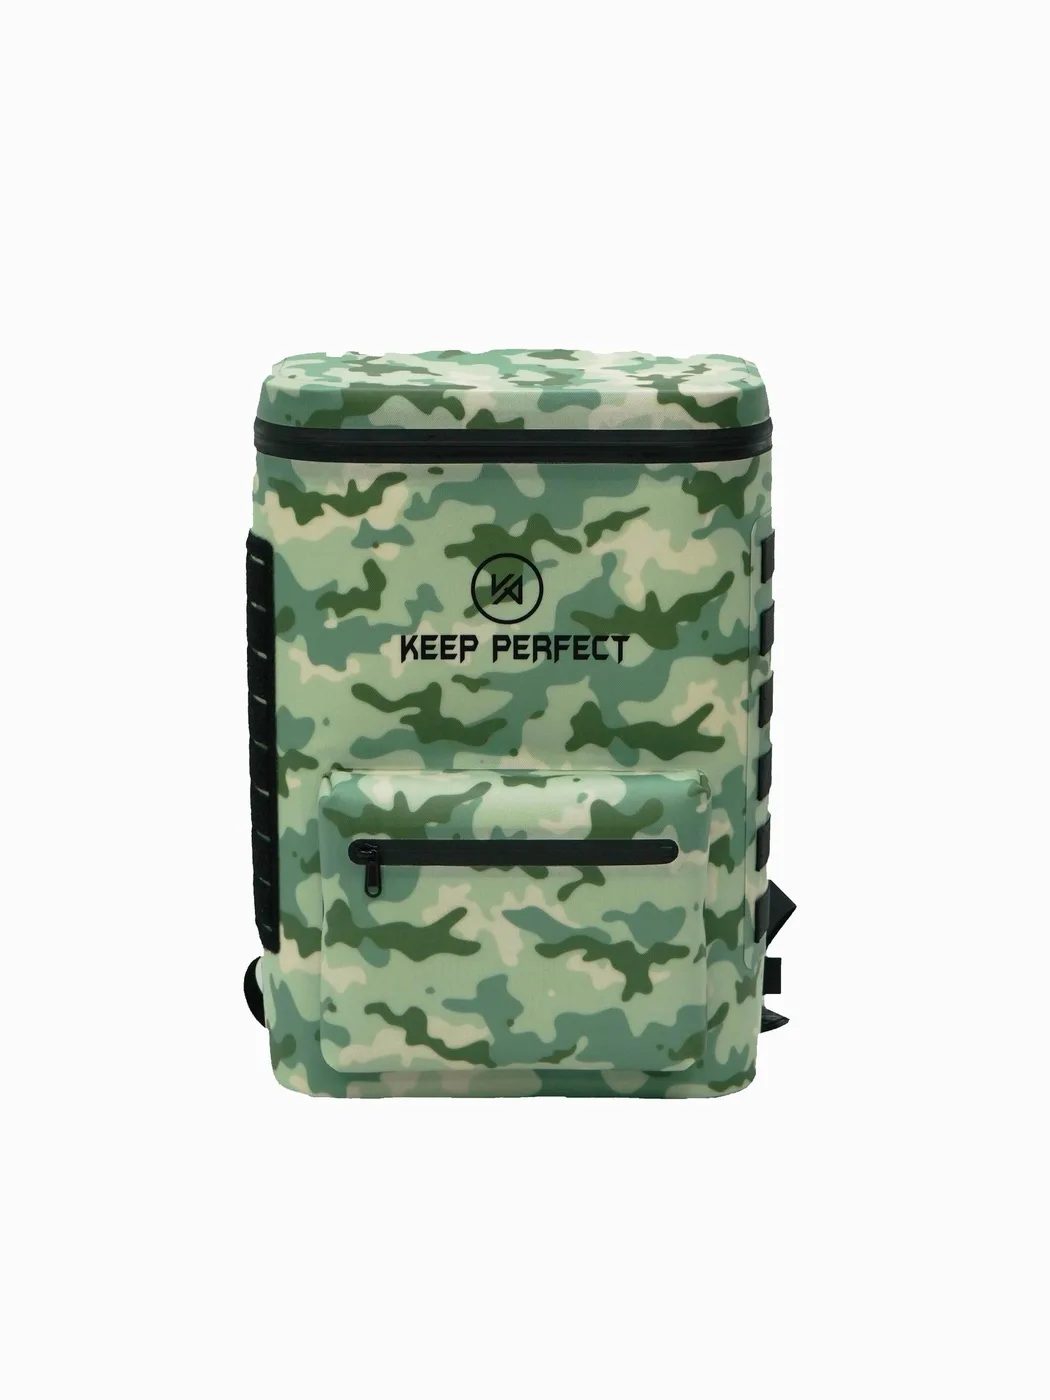
The practical compromise is to accept roof duty for heat-tolerant kit only and to cover everything else. Empty water containers, recovery boards and dry firewood are fine on the rack. Clothing, food and bedding go inside, or on the rack inside a light-coloured cover with an air gap, which drops surface temperature by 15 to 20 °C for about 400 grams of extra kit.
Mistake 5: crushing the closure with a ratchet strap
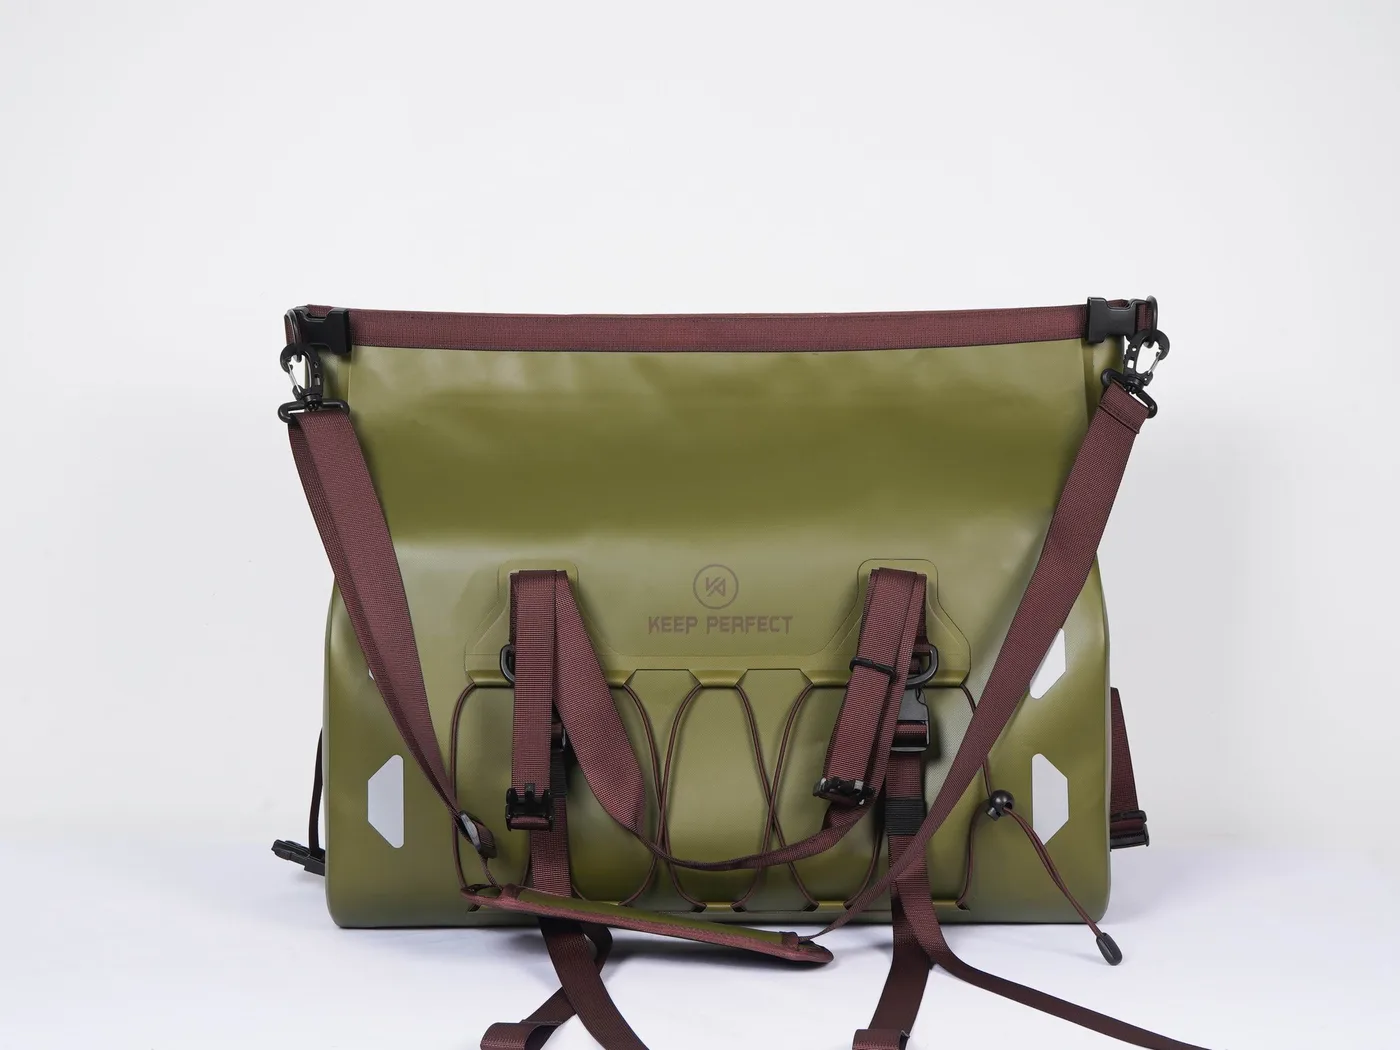
A ratchet strap generates far more tension than a soft bag is designed to take. Two clicks past snug on a 25 mm strap easily produces 150 to 250 kgf, and that load is delivered across a 25 mm line rather than across a broad face. The result is a crushed fold, a deformed buckle, and in the worst cases a peel failure at the weld near the closure.
Vibration makes it worse, because a strap that is tight on a static load slackens and retightens thousands of times over a corrugated stage, and each cycle works the closure a little further open. The classic symptom is a bag that was sealed at the start of the day and is wet inside at the end, with no visible damage and no water anywhere else.
| Strap | Typical tension | Effect on a loaded bag | Safe practice | Check interval |
|---|---|---|---|---|
| 25 mm cam buckle | 40-80 kgf | None, if padded | Hand-tight plus one pull | Every fuel stop |
| 25 mm ratchet, snug | 80-120 kgf | Slight deformation | Acceptable with a pad | Every fuel stop |
| 25 mm ratchet, 2 clicks | 150-250 kgf | Crushed fold, weld peel | Do not exceed snug | N/A |
| 50 mm ratchet on a rack | 200-400 kgf | Severe crush, buckle failure | Use a rigid box or a cradle | Before every stage |
| Net or bungee only | 10-30 kgf | Bag shifts, abrades | Add one webbing strap | Every fuel stop |
The correct load path spreads the strap across the bag rather than through it. Two straps over the top of a bag sitting in a cradle or between rigid boxes works well; a single strap pulled down across a soft bag does not. Where a strap must cross a closure, put a 100 mm pad under it, and never route a strap over the folded section itself, which is the part that does the sealing.
Mistake 6: storing fuel, water and food together
Diesel and petrol vapour migrate through polymer films over days, not minutes, and the effect is strongest exactly where overlanding puts it: a hot enclosed space with the fuel can and the food bag in contact for a week. Twenty litres of diesel weighs 16.6 kg and a full steel can weeps at the gasket under vibration, after which everything in the same bag tastes of fuel. Water containers are not innocent either; a plastic cube picks up fuel smell from the air alone.
Separate by chemistry and by position. Fuel goes outside the vehicle or in a sealed exterior locker, never in the cabin and never in a bag that will ever hold food. Water goes in its own containment bag as a second wall, as far from fuel as the vehicle allows. Food goes in a welded bag with a closure that has never been near hydrocarbons, because TPU will hold that smell long after you have washed it.
One more rule from expedition practice: never repurpose a bag. A bag that has carried fuel carries fuel forever, and a bag that has carried detergent or sunscreen should not become a drinking water bag. Mark bags with a permanent marker for their contents and accept that the marker is permanent, because the alternative is a week of coffee that tastes of diesel.
Mistake 7: no repair kit and no inspection
A 5 mm puncture in a TPU bag is a five-minute repair with the right kit and a ruined week without it. Overlanding routes produce punctures from sharp luggage edges, from grit trapped between a bag and a rack bar, and from the simple act of dragging a loaded bag across rock. The repair itself is straightforward: clean, dry, patch, press, wait.
| Kit item | Weight | Fixes | Cure or setting time | Note |
|---|---|---|---|---|
| TPU patch, 100 x 150 mm | 15 g | Punctures to 20 mm | Contact, immediate hold | Cut corners round, 10 mm radius |
| Polyurethane adhesive, 30 ml | 45 g | Seam and patch bond | 24 h full cure | Clamp for the first 2 hours |
| Isopropyl wipe, two | 10 g | Surface prep | 30 s flash off | Cleaning is 80% of the repair |
| Spare buckle and webbing tab | 60 g | Closure hardware | Immediate | Match the webbing width |
| Sandpaper, 120 grit, small | 10 g | Keying the surface | N/A | Key both faces lightly |
| Roller or flat tool | 40 g | Pressure on the patch | N/A | A torch handle works |
| Two 20 L liner pouches | 180 g | Dust and wet back-up | Immediate | Second barrier for cameras |
Inspection is the other half, and it takes five minutes a week. Turn each bag inside out in good light and look at the weld corners, where fatigue shows as a white stress line before it becomes a split. Run a thumb along every fold for grit, squeeze the closed bag and listen for a hiss, and check that buckles still hold tension when pulled.
Abrasion is measurable rather than guesswork: the ASTM maintains standard abrasion test methods used across the soft goods industry, and any serious spec sheet should be able to state which method and which load a film was tested at. If a listing cannot tell you that, it is a reason to keep looking rather than a reason to trust the photograph.
Dust exposure by road surface
Dust load varies by an order of magnitude across the surfaces an overlanding route will throw at you, and the exposure is cumulative over the day rather than concentrated in any one section. A convoy of four vehicles is far worse than a solo vehicle, because each one lifts dust for the ones behind, which is why spacing matters as much as speed.
| Surface | Dust concentration | Distance for a full day | Risk to closures | Mitigation |
|---|---|---|---|---|
| Sealed highway | 0.05-0.2 mg/m3 | 400 km | Negligible | None needed |
| Well-graded gravel | 1-5 mg/m3 | 250 km | Low | Wipe folds at fuel stops |
| Corrugated dirt | 5-20 mg/m3 | 150 km | High | Wipe folds, liners inside |
| Sandy two-track | 10-30 mg/m3 | 120 km | High | Close bags fully, slow down |
| Dry lake bed or silt | 20-60 mg/m3 | 40 km | Very high | Liners, no bag opening on route |
Two habits scale with that table. Wipe the fold line with a damp cloth before every close, which costs ten seconds and removes most of the risk, and never open a bag on the vehicle during a dusty stage. Opening a bag at a fuel stop in a silt cloud admits more dust in five seconds than a hundred kilometres of sealed driving.
A three-bag load plan for a ten-day route
The plan below covers two people for ten days with resupply at day five. It assumes a mid-size four-wheel drive with a roof rack and rear drawer system, and it keeps every bag under 15 kg so that any one of them can be lifted by one person. Total soft-bag volume is 130 litres against roughly 900 litres of usable vehicle space, which leaves room for water, fuel and recovery gear.
| Bag | Volume | Contents | Weight | Position | Opened |
|---|---|---|---|---|---|
| Sleep bag | 60 L | Two sleeping bags, mats, pillows | 9.5 kg | Drawer, deepest | Twice a day |
| Clothing bag | 40 L | Ten days of clothing | 8.0 kg | Drawer, middle | Twice a day |
| Food bag | 30 L | Dry food, stove, utensils | 11.5 kg | Tailgate, top | Three times a day |
| Grab pouch | 5 L | Documents, medication, GPS | 1.2 kg | Cab, always | Constant |
| Water containment | 20 L | Two 10 L cubes | 21.0 kg | Floor well, chocked | Constant |
Note that the heaviest item by far is water at 21 kg, and it is placed low and chocked, exactly as it would be on a desert route. Everything else is arranged by access frequency, with the sleep bag deepest because it is opened least and the food bag on top because it is opened most. That ordering is the difference between a five-minute camp set-up and a twenty-minute one.
Water crossings and river recovery
A water crossing is the one event that tests a bag in the way the rating describes, and it is also the one event where a bag can cost you the vehicle. Anything strapped outside will be submerged for the duration of the crossing, so it needs three folds and a closure above the load line, and anything inside needs to be above the wading depth of the vehicle, which is usually the bottom of the door sill.
After a crossing, open and check before you drive on. Water enters at the closure under pressure even in a bag that passes a static immersion test, because a crossing adds flow and a bow wave. A 30-second check at the far bank is cheap; discovering a wet sleeping bag on night three of a wet stage is not.
Pre-departure checklist
- Fill every bag to about 85 per cent and confirm three folds complete without force.
- Purge air or open the valve after packing, and again after a big altitude gain.
- Split the load into three bags with fixed jobs, each under 15 kg.
- Keep fuel outside the cabin and never in a bag that will carry food.
- Cap strap tension at hand-tight plus one pull, with pads under every contact.
- Pack a 700 g repair kit and inspect weld corners weekly.
- Wipe every fold line before closing, and never open a bag in a dust cloud.
Expedition operators and rental fleets use the same checklist as a purchasing brief, because volume, film thickness, closure type, colour and hard points are the five lines that decide whether a bag survives a season of this work. Our production partner has built waterproof bags since 2014 in an SGS-verified 4,950 m2 facility, with a 500-piece minimum and sampling in 6 to 10 working days, and overlanding briefs are among the most demanding we take.
Finish by walking the vehicle once with the checklist in hand, because most failures are set up in the first ten minutes of loading rather than on the road. Compare your plan with our ATV durability notes for vibration detail and the motorcycle luggage setup for strapping geometry, then use the multi-day touring plan if the route stretches past ten days. Punctures are covered step by step in the puncture repair guide, and the broader buying checklist is worth a final read before you commit to a size. All of our bags share one closure geometry, which you can see across the full product line.
Frequently asked questions
Q1. What are the biggest dry bag mistakes in overlanding?
Treating waterproof as dust-proof, overfilling past the fold line, using one giant bag, leaving bags in full UV on the rack, over-tensioning ratchet straps, storing fuel with food, and carrying no repair kit. Those seven account for nearly every failure.
Q2. Is a waterproof bag also dust-proof?
Not necessarily. IPX7 has an X where the solids digit should be, which means no dust test at all. Only a full two-digit code such as IP67 states both, and a roll-top closure is the practical defence on a dirt road.
Q3. How full should a dry bag be for overlanding?
About 85 per cent of nominal volume. Three folds on a 20 L bag consume 2.5 to 4 litres, so a bag filled to the brim cannot seal, and trapped air works the closure open on corrugations.
Q4. What strap tension is safe on a dry bag?
Hand-tight plus one pull, roughly 40 to 80 kgf on a 25 mm cam buckle. A ratchet taken two clicks past snug reaches 150 to 250 kgf, which crushes the fold and can peel a weld.
Q5. Why did my sealed bag get dusty inside on a dirt road?
Because the closure was not wiped before closing, or a bag was opened in the dust cloud at a stop. Five seconds of opening at a fuel stop admits more grit than a hundred kilometres of sealed driving.
Q6. Can fuel vapour get through a dry bag?
Yes, over days. Hydrocarbon vapour migrates through polymer films in a hot enclosed space, which is why a bag that has carried fuel or detergent should never become a food or water bag.
Q7. What should go in an overlanding repair kit?
A TPU patch, polyurethane adhesive, isopropyl wipes, a spare buckle with webbing, 120 grit sandpaper, a small roller and two liner pouches. The whole kit weighs under 700 grams and fixes punctures to 20 mm.
Q8. How do I check a bag for wear on a long trip?
Turn it inside out weekly in good light and look at the weld corners for white stress lines, run a thumb along every fold for grit, squeeze the closed bag and listen for a hiss, and pull-test the buckles.
Q9. Should bags ride on the roof rack?
Only heat-tolerant kit. A dark shell reaches 65 to 70 °C within an hour, and UV dose rises roughly 8 to 10 per cent per 1,000 m of elevation. Clothing and food go inside, or under a light cover with an air gap.
Q10. Does altitude affect a sealed dry bag?
Yes. A bag closed at sea level and driven to 3,000 m sees about 35 kPa of internal overpressure, which deforms the bag and stresses the welds. Purge the air after packing and again after a big climb.
Q11. What size bags for a ten-day overlanding trip?
Three bags for two people: 60 L for the sleep system, 40 L for clothing and 30 L for food and cooking, plus a 5 L grab pouch in the cab. That is 130 litres and keeps every lift under 15 kg.
Q12. How do I protect a bag during a water crossing?
Three folds with the closure above the load line, nothing valuable below the door sill inside the vehicle, and a 30-second check at the far bank. A crossing adds flow and a bow wave, which a static immersion test does not reproduce.
Q13. Is TPU or PVC better for overlanding?
TPU. It has no plasticiser to lose, so it resists the combination of UV and heat that chalks and stiffens PVC in a single season, and it stays flexible in cold desert nights and at altitude.
Q14. How much weight can a dry bag strap take?
Treat webbing and weld points as light-to-medium duty: a 25 mm welded D-ring handles normal lashing loads but not shock loads from a 400 kgf ratchet. Route straps over the bag body in a cradle rather than through a single point.
Q15. Should I open dry bags at fuel stops?
Not in a dust cloud. If you must, open them inside the vehicle with the doors closed, or wait until the convoy dust has settled. Otherwise the stop does more harm than the driving.
Q16. How long do dry bags last on overlanding routes?
With fold wiping, moderate strap tension, shade where possible and a weekly inspection, a 0.5 mm TPU bag with welded seams typically lasts five to eight seasons of regular overlanding. UV and strap damage shorten that faster than abrasion does.
People also ask
Why do dry bags fail on overlanding trips?
Through cumulative stress rather than a single event: UV weakens the film, dust abrades it, and vibration propagates the crack. Add over-tensioned straps and overfilled bags, and the closure fails long before the fabric does.
Are dry bags dust-proof on dirt roads?
Only if the closure is a well-pressed roll-top and the fold is wiped before closing. The IPX rating says nothing about solids, and fine mineral dust under 60 microns finds any gap, including a zip slider.
How do you strap a dry bag to a roof rack?
Cap the tension at hand-tight plus one pull, pad every strap contact, route straps over the bag body in a cradle rather than across the folded closure, and re-check at every fuel stop because vibration slackens them.
What size dry bag is best for overlanding?
Three bags rather than one: 60 L for the sleep system, 40 L for clothing, 30 L for food, plus a 5 L grab pouch. Keeping each under 15 kg means one person can lift any of them from a rack or a drawer.
Can you repair a punctured dry bag on the road?
Yes, in about five minutes with a patch kit. Clean with an isopropyl wipe, key both faces lightly with 120 grit paper, apply polyurethane adhesive, press the patch and clamp it for two hours. Full cure takes 24 hours.
Should fuel cans be stored with food in a dry bag?
Never. Diesel vapour migrates through polymer film over days in a hot enclosed space, and 20 litres of diesel is 16.6 kg of smell risk. Keep fuel outside the cabin and never in a bag that will carry food.
Need this in production volume?
QUANZHOU JUNYUAN BAGS has produced waterproof bags since 2014 in an SGS-verified 4,950 m2 facility in Fujian, China. Minimum order 500 pieces, sampling in 6–10 working days, bulk in 35–50 days, FOB Xiamen — write to service@junyuanbags.com with your spec and target market.