Rinsing Saltwater Off Dry Bags
Rinsing saltwater off dry bags takes 8 to 12 litres of fresh water and about 10 minutes for a typical 20L roll-top. Start within 2 hours of landing, use water below 35 °C, open every buckle and valve, and flush the closure before washing the body. Salt crystals do not usually dissolve waterproof film, but they hold moisture, grind against fold lines, stiffen webbing, and combine with sand to wear coatings. A prompt low-pressure rinse prevents more damage than occasional aggressive scrubbing.
The correct routine is rinse, work moving parts while wet, inspect, drain, and dry fully in shade. Soap is optional and should be mild; fresh water does most of the work. This guide covers the closure, seams, inside surface, hardware, straps, odour, drying position, storage, and checks after repeated marine use. It also explains when a quick dockside flush is enough and when a longer soak or controlled leak test is justified, without turning a simple care task into a damaging wash process.
- Why salt residue needs fresh water
- The first five minutes after leaving the water
- Choosing water temperature, flow, and volume
- Cleaning the roll-top sealing zone
- Rinsing the exterior panels and welded seams
- When and how to rinse the inside
- Buckles, D-rings, zips, valves, and straps
- Removing dried salt without harsh chemicals
- Drying every layer instead of only the surface
- How often salt-exposed bags need a full rinse
- Storage after marine use
- Inspection and leak checks after rinsing
- Designing a repeatable marine-care routine
Why salt residue needs fresh water
Seawater leaves chloride salts and fine suspended particles as it evaporates. The visible white marks are only part of the residue; crystals also collect under buckle bars, along stitched webbing, inside valve threads, and at tiny ridges in a roll-top fold. Each drying cycle concentrates them. When the bag is rolled again, hard particles rub the surface at the same line. Webbing can become board-like, and metal springs or pins may remain damp long after the main fabric appears dry.
Salt attracts moisture from humid air, so an unrinsed bag can feel clammy in storage and encourage odour even without a leak. The NOAA Ocean Service explains the composition and behaviour of seawater, which helps clarify why evaporation leaves solids behind. The care response is mechanical and simple: dissolve the residue with enough fresh water, move hardware so hidden surfaces are reached, and drain contaminants away rather than wiping concentrated brine around the bag.
| Exposure | Fresh-water target | Rinse time | Extra action |
|---|---|---|---|
| Light coastal spray | 4-6 L | 3-5 min | Flush closure and buckle |
| Full beach day | 8-12 L | 8-10 min | Rinse body, straps, and base |
| Short immersion | 10-15 L | 10-15 min | Open valves and rinse inside if needed |
| Repeated multi-day use | 15-20 L | 15-20 min | Soak hardware for 5 min |
| Visible dried crystals | 12-18 L | 15 min | Pre-soak affected zones |
The first five minutes after leaving the water
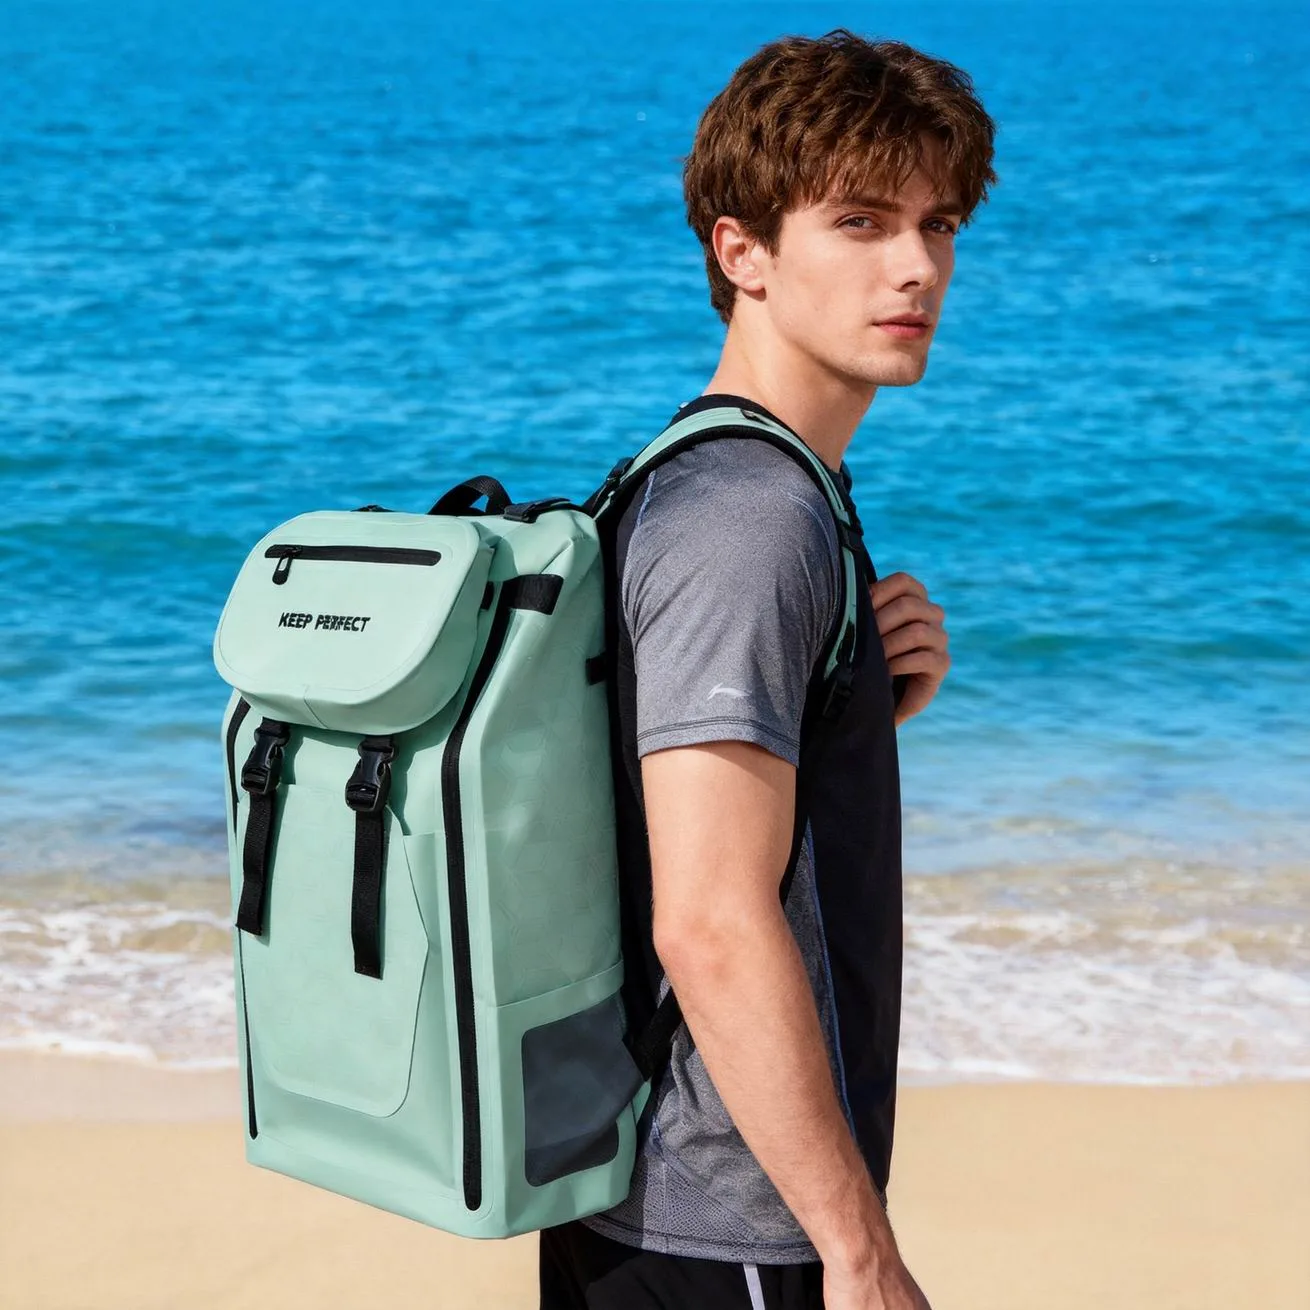
Keep the bag closed until it is away from breaking water and blowing sand. Brush or shake off loose sand without grinding it into the fabric, then place the bag on a clean mat rather than directly on a gritty dock. If fresh water is available, pour a small amount across the folded closure before opening it. This keeps crystals and sand from falling inside. Remove the contents with clean hands and separate any wet clothing or leaking food container before starting the full rinse.
Do not leave a salty bag sealed in a hot vehicle. At 40 to 60 °C inside a parked car, trapped moisture and residue remain against the coating, odours intensify, and food spills become harder to remove. If a complete wash must wait, give the closure, buckle, and metal parts a 2-litre emergency flush, drain the body, and transport it open in a ventilated tub. Finish the routine later the same day. Delay matters more when the bag contains zips, rivets, or uncoated metal parts.
Choosing water temperature, flow, and volume
Use clean potable or similarly clean fresh water at ambient temperature. A gentle hose, shower head, or bucket pour is enough; a pressure washer can drive grit into stitching, lift labels, damage print, and force water beneath loose edges. Water between 15 and 30 °C dissolves routine residue well. Stay below 35 °C unless the care label states otherwise, because heat can soften some adhesives, distort reinforcement, or accelerate ageing of certain coatings.
Volume should match surface area and contamination. One damp cloth merely redistributes salt. For a medium roll-top, 8 to 12 litres allows a first flush, targeted hardware rinse, and clean final pass. Collect the first runoff in a tray if local rules require it, especially when fuel, sunscreen, or cleaning product is present. The EPA provides broader guidance on preventing contaminated wash water from entering storm drains; use the appropriate local disposal route.
| Water condition | Use or avoid | Reason | Adjustment |
|---|---|---|---|
| 15-30 °C fresh water | Preferred | Dissolves salt without heat stress | Use normal flow |
| Below 10 °C | Usable | Slower dissolution and stiff hands | Extend rinse by 2-3 min |
| Above 35 °C | Avoid unless approved | May soften layers or adhesive | Allow water to cool |
| High-pressure jet | Avoid | Can force grit and lift edges | Use shower or bucket flow |
| Reused salty water | Avoid for final pass | Redeploys dissolved residue | Finish with clean fresh water |
Cleaning the roll-top sealing zone
The closure deserves the cleanest water because a grain trapped between folds can become a capillary path. Unclip the buckle, unroll the mouth fully, and hold it downward so runoff moves away from the compartment. Rinse both mating surfaces from the centre toward each edge. Slide a clean wet fingertip along the reinforcement to feel for grit. Pay attention to the corners where the stiff strip transitions into soft body fabric; residue often sits in those small steps.
Do not scrape white marks with a fingernail or stiff brush. Hold a wet cloth over the area for two to five minutes, then wipe gently and rinse again. If the strip remains rough after drying, inspect it under strong side lighting for embedded sand or coating damage. The roll-top sealing guide explains why flat contact matters. Close the bag only after both sides of the mouth are dry, since storing a damp fold creates a closed, poorly ventilated pocket.
Rinsing the exterior panels and welded seams
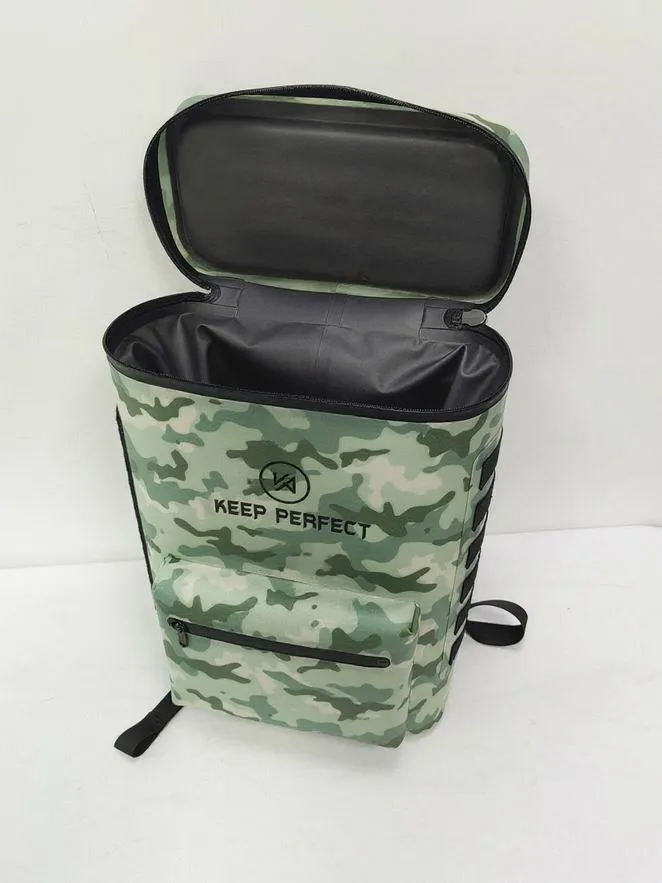
Stand the empty bag upright and rinse from the top downward. Use a soft cloth or sponge to release salt haze, working in straight strokes rather than grinding circles. Turn the base toward the light and clean the perimeter where it meets the sidewall. Welded seams often create a shallow ledge that traps sand, so let water run along the edge while lightly flexing the panel. Avoid sharply folding a wet cold bag merely to expose a corner.
A seam should look continuous after cleaning, with no lifted lip, whitening, bubble, or narrow gap. Salt can disguise a small defect by filling it with white residue, which is why inspection follows rinsing rather than preceding it. Mark suspicious areas with removable tape once dry; do not use a solvent marker on the waterproof surface. For a deeper routine, follow the roll-top cleaning guide, keeping the same gentle approach around welded patches and printed graphics.
When and how to rinse the inside
The interior does not need washing after every trip if the closed bag stayed clean and dry. Rinse it when saltwater entered, wet swimwear leaked, food spilled, or damp gear was sealed for hours. First remove grit with a gentle pour rather than rubbing. Add 1 to 2 litres of fresh water, close loosely, move the water across each surface, then empty through the fully opened mouth. Repeat until runoff has no visible particles or slippery residue.
Use a small amount of mild, fragrance-free soap only for oil, food, or persistent soil, following the care label. Rinse repeatedly because soap left inside can attract dirt and create odour. Never add bleach, strong solvent, concentrated degreaser, or abrasive powder without explicit material approval. If the bag carried sewage-contaminated water or another biological hazard, ordinary outdoor cleaning may not be enough; consult public-health cleaning advice such as current material from the CDC and consider retiring the item.
Buckles, D-rings, zips, valves, and straps
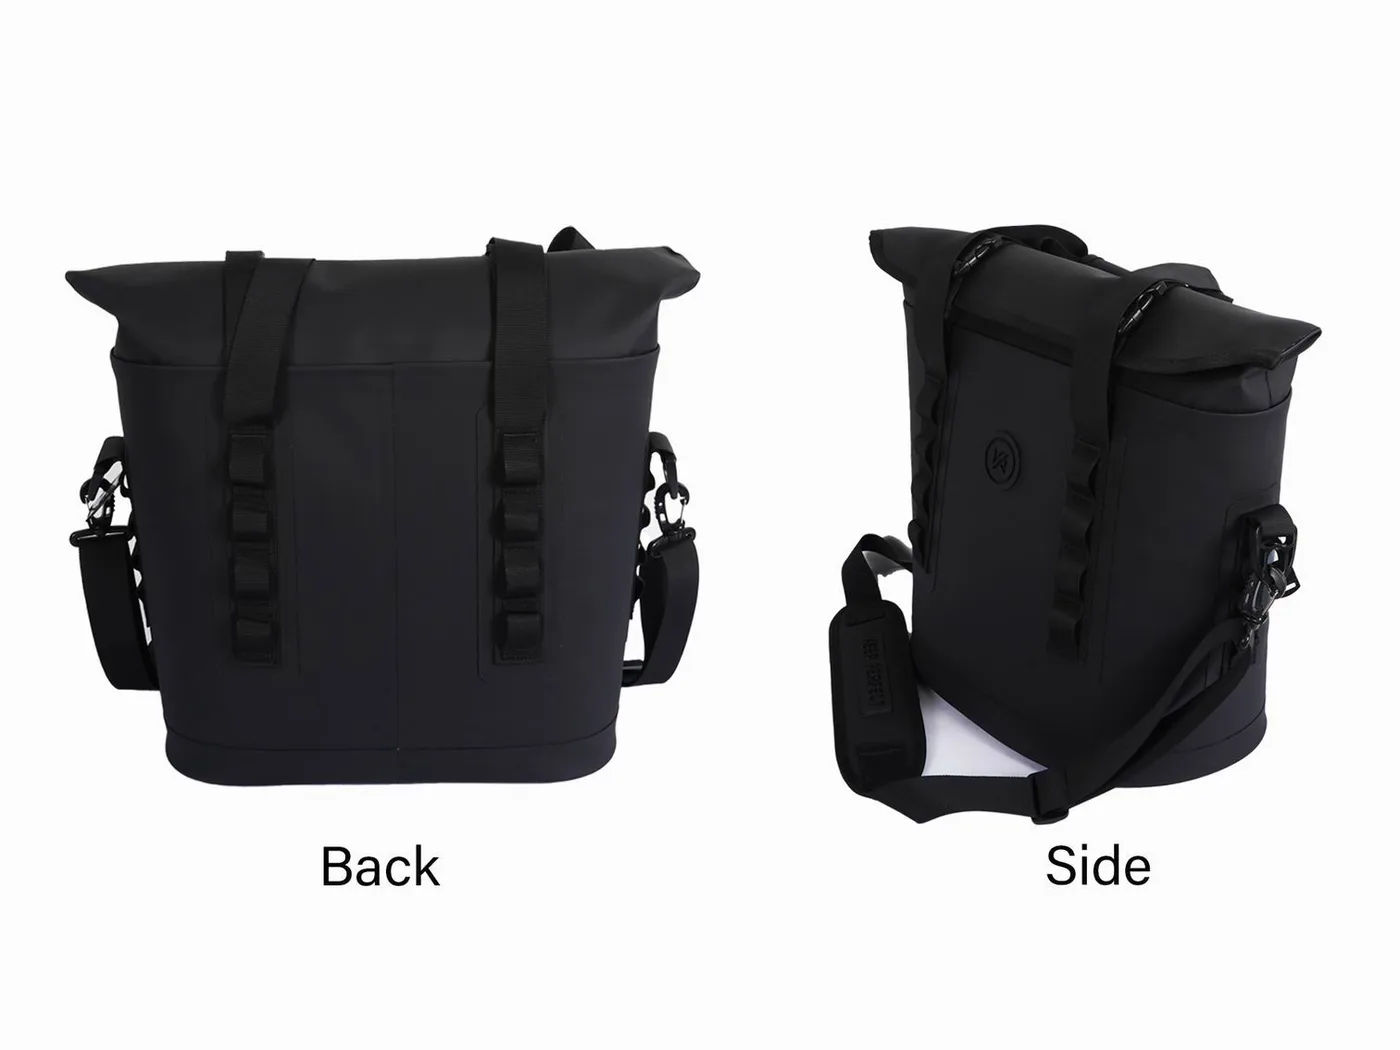
Open and close plastic buckles five to ten times under flowing fresh water. This motion flushes salt from the spring arms and pivot surfaces that a static rinse misses. Rotate D-rings, slide strap adjusters through their working range, and press water through layers of webbing. If metal pins or springs are present, direct the final clean stream toward them and watch for orange staining or rough movement. Do not add household oil unless the hardware instructions specifically allow it; oil captures sand and can transfer to fabric.
Rinse waterproof zips while they are closed first, then open them and flush the teeth or coil from both directions. Allow them to dry before applying only the lubricant recommended for that zip. Open purge valves, rinse threads and gasket faces, operate the valve several times, and leave it open while drying. The buckle and sand care guide provides focused detail. Hardware that remains gritty after two rinse cycles should be inspected rather than forced.
| Component | Movement during rinse | Fresh-water time | Drying position |
|---|---|---|---|
| Side-release buckle | Cycle 5-10 times | 30-45 s | Open |
| Webbing adjuster | Slide full range 3 times | 45-60 s | Strap extended |
| Waterproof zip | Rinse closed, then open | 60-90 s | Open and supported |
| Purge valve | Open and close 3 times | 30-45 s | Open |
| Metal D-ring | Rotate through full travel | 20-30 s | No wet webbing contact |
Removing dried salt without harsh chemicals
Dried crystals respond best to time and water. Lay a fresh-water-soaked cloth over the deposit for five minutes, keep it wet, then lift rather than scrub. Repeat if the mark remains. For a buckle, submerge only the affected hardware in a bowl of fresh water and operate it every minute during a five-minute soak. Replace the water when it becomes visibly cloudy. This approach dissolves residue while limiting unnecessary exposure of printed or bonded areas to cleaning agents.
A white line that remains after soaking may not be salt. It can be stress whitening, coating wear, mineral scale from hard tap water, or early separation between layers. Let the area dry fully and inspect it from several angles. If it bends differently from the surrounding material or shows tiny cracks under light, stop treating it as dirt. Record its position and perform a gentle leak screen before the next trip. Continued scrubbing would remove more surface material without correcting the underlying condition.
Drying every layer instead of only the surface
Drain the bag upside down for several minutes, then stand or hang it open in moving shade. Support the mouth so air reaches the base; a clean bottle rack or rounded hanger works, while a sharp hook does not. Extend straps and separate padded layers so moisture cannot remain between them. Turn the bag after one hour if the base forms a pocket. Never use a tumble dryer, radiator, hair dryer, or prolonged direct sun to speed the process.
The exterior may feel dry while webbing intersections and padded shoulder straps still hold water. Press a dry absorbent cloth against those areas after two hours; any dark transfer means drying is incomplete. In humid conditions, use a room fan at low speed and allow 12 to 24 hours. The drying rack and airflow guide describes spacing for multiple bags. Store only when the deepest strap layer, closure corners, and inside base are dry to the touch.
How often salt-exposed bags need a full rinse
Rinse after every saltwater outing, even when the bag only received spray. A quick closure-and-hardware flush is acceptable between sessions on the same day, provided a full rinse follows that evening. During a multi-day trip with limited water, prioritise the roll-top, zips, metal parts, and strap adjusters with 2 to 4 litres. Wipe panels with a clean damp cloth and save the complete wash for the next reliable fresh-water point. Never use drinking water needed for personal safety merely to improve appearance.
Frequency should rise with heat, wind-blown sand, and repeated wet-dry cycles. A bag used daily from a salt beach may benefit from a five-minute hardware soak every week and a detailed inspection every ten outings. A bag carried inside a closed boat may need only the ordinary post-trip rinse. Keep a simple use count on fleet or club equipment. Calendar-only schedules miss the difference between a clean storage month and seven abrasive launches in one week.
| Use pattern | After each outing | Periodic step | Inspection interval |
|---|---|---|---|
| Occasional coastal spray | Closure and body rinse | Hardware cycle every 3 trips | Every 5 trips |
| Weekly sea kayaking | Full 8-12 L rinse | 5 min hardware soak monthly | Every 10 trips |
| Daily beach programme | Full rinse and shade dry | Detailed clean weekly | Every 5 days |
| Multi-day expedition | Priority 2-4 L flush | Full rinse at fresh-water stop | Daily visual check |
| Long marine storage | Full rinse before storage | Air and recheck after 24 h | Before next use |
Storage after marine use
Once fully dry, store the bag loosely rolled or standing open in a cool ventilated place. Leave buckles unclipped, valves open, and straps relaxed. Do not make a sharp fold through the same closure line and place heavy equipment on top. Salt left in a damp crease continues attracting moisture, while tight packing prevents anyone from noticing an odour or tacky surface. Keep the bag away from fuel, solvents, battery leakage, pest access, and hot roof spaces.
If storage will exceed a month, place clean acid-free paper loosely inside to keep panels apart, not scented dryer sheets or powdered deodoriser. Check after the first week for residual dampness, especially under foam backing. The off-season storage guide covers longer periods and temperature control. UV exposure also matters after salt use, so review UV damage prevention before leaving a rinsed bag to dry on an uncovered deck.
Inspection and leak checks after rinsing
Inspect only after the bag is clean and dry. Flex the closure gently, trace every weld with side lighting, press buckles, pull webbing through adjusters, and look beneath attachment patches. Warning signs include persistent white stress lines, bubbles between layers, pinholes visible against a lamp, loose thread at non-waterproof accessories, corroded metal, and a zip that feels rough after rinsing. Compare left and right components because asymmetry makes a developing problem easier to spot.
A gentle air squeeze can screen the body: close the empty bag with three rolls, compress it slowly, and listen for a hiss. Do not sit on it or inflate it hard. If a suspicious area repeats, keep valuable gear out until the bag receives an appropriate water test or repair. The air inflation leak test explains controlled methods and limitations. Rinsing protects service life, but it cannot reverse a worn film, separated seam, cracked closure, or damaged valve gasket.
Designing a repeatable marine-care routine
For a household, post a five-step sequence near the hose: flush closure, rinse body, cycle hardware, drain, and shade dry. For a club or rental operation, add numbered racks and a log for exposure, defects, and withheld equipment. Use separate dirty and clean zones so sand from incoming bags does not contaminate drying gear. Measure water for one week; a shower nozzle and collection tray can reduce waste while still achieving a clean final rinse. Consistency matters more than a complicated chemical process.
Marine durability also begins with material and hardware choices. Production since 2014 through an SGS-verified 4,950 m2 production facility, staffed by 137 people across 7 lines, provides context for specifying rinse-friendly surfaces and accessible fittings. A standard minimum is 500 pieces, with samples in 6 to 10 working days. Our production team offers broader bag-development information. Whatever the programme size, include written care instructions and test the rinse routine on the exact fabric, print, zip, and hardware combination.
Begin with a clean work surface, ambient fresh water, soft cloth, and drying support. Keep the bag closed for the first outer flush, then open it and clean both closure faces. Work downward over panels and seam ledges. Cycle every buckle and adjuster while wet, rinse any zip or valve according to its design, and wash the inside only when contaminated. Finish with a low-flow clean-water pass so no soap, sand, or concentrated brine remains.
Drain, support the mouth open, extend straps, and dry in shade until hidden layers no longer transfer moisture to a cloth. Inspect seams and hardware before storage, and record any area that needs retesting. This routine is short enough to repeat after every marine outing and gentle enough for regular use. The result is not merely a cleaner-looking bag: closures fold flatter, webbing stays flexible, hardware moves freely, and small defects become visible before they expose clothing, electronics, or safety kit to water.
Frequently asked questions
Q1. How do you rinse saltwater off a dry bag?
Use 8 to 12 litres of fresh water, flush the closed exterior first, open and rinse both closure faces, cycle hardware while wet, drain, and dry fully open in shade.
Q2. Do I need to rinse a dry bag after every sea trip?
Yes. Even light spray leaves salt in folds, webbing, and hardware. A quick flush can cover sessions on the same day, but complete the full rinse that evening.
Q3. Can saltwater damage a dry bag?
Salt crystals hold moisture and abrade repeated folds, while salt and sand stiffen webbing and affect hardware. The film may resist salt, but residue still shortens service life indirectly.
Q4. How soon should I rinse after saltwater use?
Start within about two hours when possible. If delayed, flush the closure and hardware with roughly 2 litres, keep the bag ventilated, and finish the full routine later that day.
Q5. What water temperature is safe?
Ambient fresh water from 15 to 30 °C is ideal. Stay below 35 °C unless the care label allows more, because heat can soften layers, adhesives, or reinforcement.
Q6. Can I pressure-wash a dry bag?
No. A strong jet can force grit into stitching, lift labels, damage print, and drive water beneath weak edges. Use a shower head, gentle hose, or bucket pour.
Q7. Should I wash the inside after every trip?
No. Rinse the interior only when saltwater entered or wet gear, food, or dirt contaminated it. A clean dry compartment needs airflow rather than unnecessary washing.
Q8. Can I soak a dry bag overnight?
Avoid unnecessary long soaking. Five minutes can help dissolve dried salt around hardware, but prolonged immersion may affect labels, foam, adhesive, or unapproved components.
Q9. Is soap needed to remove salt?
Usually not. Fresh water dissolves salt effectively. Use a small amount of mild fragrance-free soap only for oil, food, or persistent soil, then rinse it out completely.
Q10. How do I clean salt from a buckle?
Hold it under flowing fresh water and cycle it five to ten times. For dried crystals, soak only the hardware for five minutes and operate it during the soak.
Q11. How should waterproof zips be rinsed?
Rinse the zip closed first, then open it and flush from both directions. Dry it fully and use only the lubricant specified for that particular zip system.
Q12. Can a rinsed dry bag dry in direct sun?
Brief incidental sun is unlikely to cause immediate harm, but routine drying should happen in moving shade. Heat and UV can age coatings, films, print, and buckles.
Q13. How long does a dry bag take to dry?
Panels may dry in a few hours, while webbing and padding can need 12 to 24 hours in humid weather. Check hidden layers with a dry cloth before storage.
Q14. What if white marks remain after rinsing?
Soak the spot with a wet cloth for five minutes. If it remains after drying, inspect for stress whitening, coating wear, hard-water scale, or layer separation rather than scrubbing harder.
Q15. Should buckles stay clipped during storage?
No. Store them open so the spring arms and webbing remain relaxed and air can reach nearby surfaces. Leave valves open as well after all parts are dry.
Q16. When should a salt-exposed bag be leak tested?
Test it when you find a pinhole, persistent stress line, separated seam, rough valve seal, or unexplained dampness inside after a correctly closed trip.
People also ask
How do you get dried salt off waterproof fabric?
Hold a fresh-water-soaked cloth on the deposit for five minutes, lift it, wipe gently, and rinse. Repeat instead of scraping, which may remove coating or damage print.
Why should you rinse marine gear with fresh water?
Fresh water dissolves chloride salts left by evaporation. Removing them limits moisture retention, abrasive crystals, stiff webbing, gritty hardware, and hidden residue around folds.
Can salt water ruin waterproof coating?
Salt is often less aggressive than abrasion, heat, or solvents, but retained crystals and sand can wear coating mechanically and keep dampness against the surface.
How much fresh water does a dry bag rinse need?
A typical 20L roll-top needs about 8 to 12 litres for a full post-beach rinse. Light spray may need less, while immersion or dried crystals require more.
Does a dry bag need to be open while drying?
Yes. Support the mouth open, extend straps, and leave valves open so air reaches the base and hidden layers. Store only when every part is dry.
How do you know all salt is removed?
Runoff should be clear, surfaces should not feel gritty or slippery, hardware should move freely, and no fresh white crystals should appear after complete drying.
Need this in production volume?
QUANZHOU JUNYUAN BAGS has produced waterproof bags since 2014 in an SGS-verified 4,950 m2 facility in Fujian, China. Minimum order 500 pieces, sampling in 6–10 working days, bulk in 35–50 days, FOB Xiamen — write to service@junyuanbags.com with your spec and target market.