Home / Blog / Travel & Packing
Bikepacking Handlebar Dry Bag Setup
A handlebar dry bag works best between 4 and 9 litres and 1.5 to 3 kg, mounted with 10 to 20 mm of clearance between the bag and the bar and strapped to a cradle rather than directly to the bar tape. That capacity holds a sleep system or a full wet-weather layer set without the bag touching the top tube or fouling the brake levers. Push past 3 kg at the bar and steering weight rises enough to make slow technical descents noticeably vague on loose gravel.
The handlebar position is the least forgiving place on a bike to carry anything: it sits on the steering axis, in the spray line of the front wheel, and in the vibration path of every washboard section. This guide covers how much volume to run in each season, which bar shapes leave room for a bag, how to mount without crushing brake hoses or cables, how to pack so the thing you need at 4 pm is not at the bottom, and how to keep the load dry through a full day of rain.
- Why the bar position is the hardest place to carry kit
- Choosing capacity: 5L to 20L for a bar roll
- Bar shapes and what actually fits
- Harness, cradle and spacers: getting the bag off the cables
- Load limits and how bar weight changes steering
- Packing order inside the bag for trail access
- Closure discipline with cold, wet hands
- Waterproof ratings for gravel roads and stream crossings
- Vibration, abrasion and the wear points after 400 km
- Companion bags: stem, top tube and frame
- Weather, mud and route planning
- Night riding and being seen
- Setup checklist before a loaded trip
Why the bar position is the hardest place to carry kit
Every other carrying position on a bike sits behind the steering axis. The bar does not, which means mass there is felt directly through the hands rather than through the frame. A 2 kg load at the bar adds roughly 1.2 to 1.6 kg of effective inertia at the grips once you account for the lever arm, so the same weight that disappears in a frame bag becomes tiring within an hour of rough gravel.
The second problem is exposure. The bar sits ahead of and above the front wheel, directly in the spray thrown by the tyre, so it receives far more water than a seat bag. At 25 km/h on a wet road a 40 mm tyre throws roughly 0.2 to 0.4 litres of water per kilometre into the air, and a meaningful share of that lands on the front of the bag. Anything mounted there has to be genuinely waterproof, not shower-resistant.
The third problem is clearance. Brake levers, drop-bar flare, cable routing, lights, a computer mount and sometimes a front rack all compete for the same 300 to 500 mm of bar. A bag that fits a 440 mm flared gravel bar can be unusable on a 760 mm flat bar with a light mounted inboard, which is why the first measurement is always available bar width, not bag volume.
Choosing capacity: 5L to 20L for a bar roll
Volume at the bar should follow the compressibility of what you carry. A summer sleep system of a 400 g quilt, a 250 g inflatable pad and a 300 g liner compresses to about 6 litres and mounts beautifully. A winter sleep system with a 1.1 kg bag does not compress below 12 litres, and at that size the bag starts to touch the top tube on a 52 cm frame and blocks the rider on climbs.
The practical ceiling is set by knee and hand clearance rather than by litres. On a drop bar, the bag must not contact the bars when you stand on the pedals with your hands in the drops, and it must not strike your knees on a tight switchback. Measuring the gap between the bar and the front of the top tube, usually 80 to 140 mm on a modern gravel frame, gives the real diameter limit before you buy anything.
| Trip profile | Recommended volume | Typical load | Packed weight | Notes |
|---|---|---|---|---|
| Day ride, rain layer and food | 4-6 L | Shell, gloves, lunch | 0.8-1.4 kg | Smallest useful size |
| Overnight, summer sleep system | 7-9 L | Quilt, pad, liner | 1.2-1.8 kg | The classic bar roll |
| Two days, mixed weather | 9-12 L | Sleep system plus warm layer | 1.8-2.6 kg | Needs a cradle |
| Shoulder season, bulky bag | 12-16 L | Winter bag, pad, jacket | 2.4-3.2 kg | Check knee clearance |
| Cold wet expedition | 16-20 L | Full sleep system, stove | 3.0-4.0 kg | Split between bar and fork |
Bar shapes and what actually fits
Bar geometry decides everything. A modern flared gravel bar measures 420 to 460 mm at the hoods and 480 to 520 mm at the drops, which leaves a generous centre section for a bag but puts the brake levers close to the ends of any bag longer than about 260 mm. A flat mountain bike bar at 720 to 780 mm gives a wide, clear centre but puts grips and controls inboard, so a long bag can foul the brake levers on full lock.
Drop bars with externally routed cables are the tightest case, because the housing loop occupies the space where the bag wants to sit. Internally routed bars free up 20 to 30 mm of usable width at the centre, and aero road bars with a flattened top section tend to let a bag rotate under load, so they need a cradle with a positive stop rather than plain straps.
| Bar type | Width at centre | Usable bag length | Diameter limit | Main conflict |
|---|---|---|---|---|
| Flared gravel drop | 420-460 mm | 240-280 mm | 140-180 mm | Brake levers on full lock |
| Compact road drop | 380-420 mm | 200-240 mm | 120-150 mm | Cable housing loop |
| Aero road drop | 380-420 mm | 200-240 mm | 120-150 mm | Bag rotation on flat tops |
| Flat MTB riser | 720-780 mm | 260-320 mm | 160-200 mm | Grips, shifters, light |
| Butterfly trekking | 540-600 mm | 280-340 mm | 160-200 mm | Multiple hand positions |
Harness, cradle and spacers: getting the bag off the cables
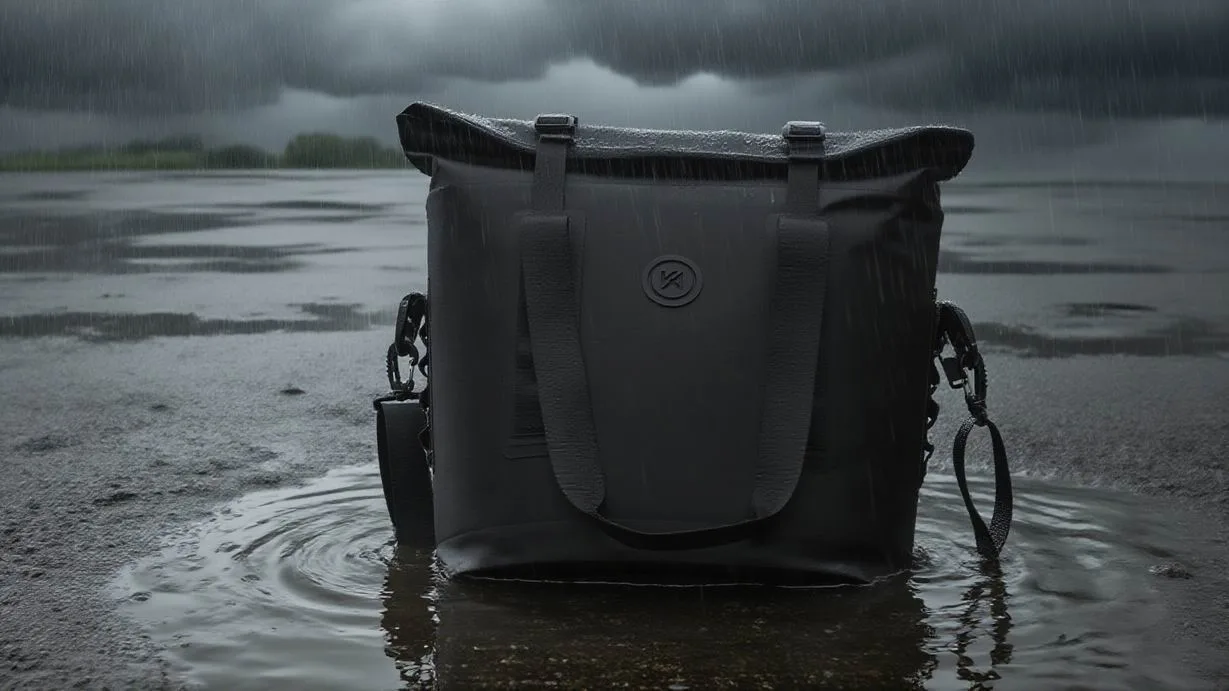
There are three mounting approaches and they are not interchangeable. Direct strapping puts two webbing straps around the bar and the bag, takes about 60 seconds to fit and works only where there is clear bar and no housing in the way. A cradle or harness adds a rigid or semi-rigid plate that carries the load and holds the bag 10 to 20 mm off the bar, which protects the cables and stops the bag rotating under braking.
A spacer system is the third option and usually the best one for a loaded tour: two moulded spacers clamp to the bar, the harness clips to the spacers, and the bag detaches from the harness in one movement so you can carry it into a shop or a tent. The cost is 180 to 320 g of hardware and a little more setup time. What you buy is repeatability: the bag goes back in the same place, at the same tension, every morning.
- Direct straps: 60 to 90 g, no hardware on the bike, needs a fully clear bar section.
- Soft harness: 120 to 200 g, two straps plus a stabiliser loop to the head tube or fork crown.
- Moulded cradle: 180 to 320 g, rigid plate, positive location, best for loads above 2 kg.
- Quick-release dock: 250 to 400 g, bag detaches in under five seconds, ideal for daily access.
- Fork-mounted alternatives: move 1 to 2 kg off the bar entirely on multi-day routes.
Load limits and how bar weight changes steering
Steering feel degrades predictably with bar load. Up to 1.5 kg most riders notice nothing beyond slight extra effort on rough ground. Between 1.5 and 3 kg the front end becomes slower to correct and low-speed balance on loose surfaces needs conscious input. Above 3 kg a washboard section at 30 km/h can induce a shake that feeds back through the bar, and the fix is to move weight, not to clamp harder.
The reason is unsprung rotational inertia. Mass at the bar is at the point the rider uses to correct, so it resists every steering input rather than following the frame. Reducing bar load by 1 kg and moving it to a frame bag or a fork cage typically improves slow-speed control more than any change to tyre pressure, and it is the single most effective adjustment a rider can make after a first loaded shakedown ride.
| Bar load | Steering effect | Rider experience | Recommendation |
|---|---|---|---|
| Under 1.5 kg | Negligible | Normal handling | Any mounting method |
| 1.5 to 2.5 kg | Slightly slower correction | Noticeable on loose gravel | Use a cradle or harness |
| 2.5 to 3.0 kg | Vague at low speed | Hard work on technical descents | Move 0.5 kg to a frame bag |
| 3.0 to 4.0 kg | Shake on washboard | Tiring after two hours | Split to fork cages |
| Above 4.0 kg | Unstable on descents | Unsafe on loose surfaces | Not recommended at the bar |
Packing order inside the bag for trail access
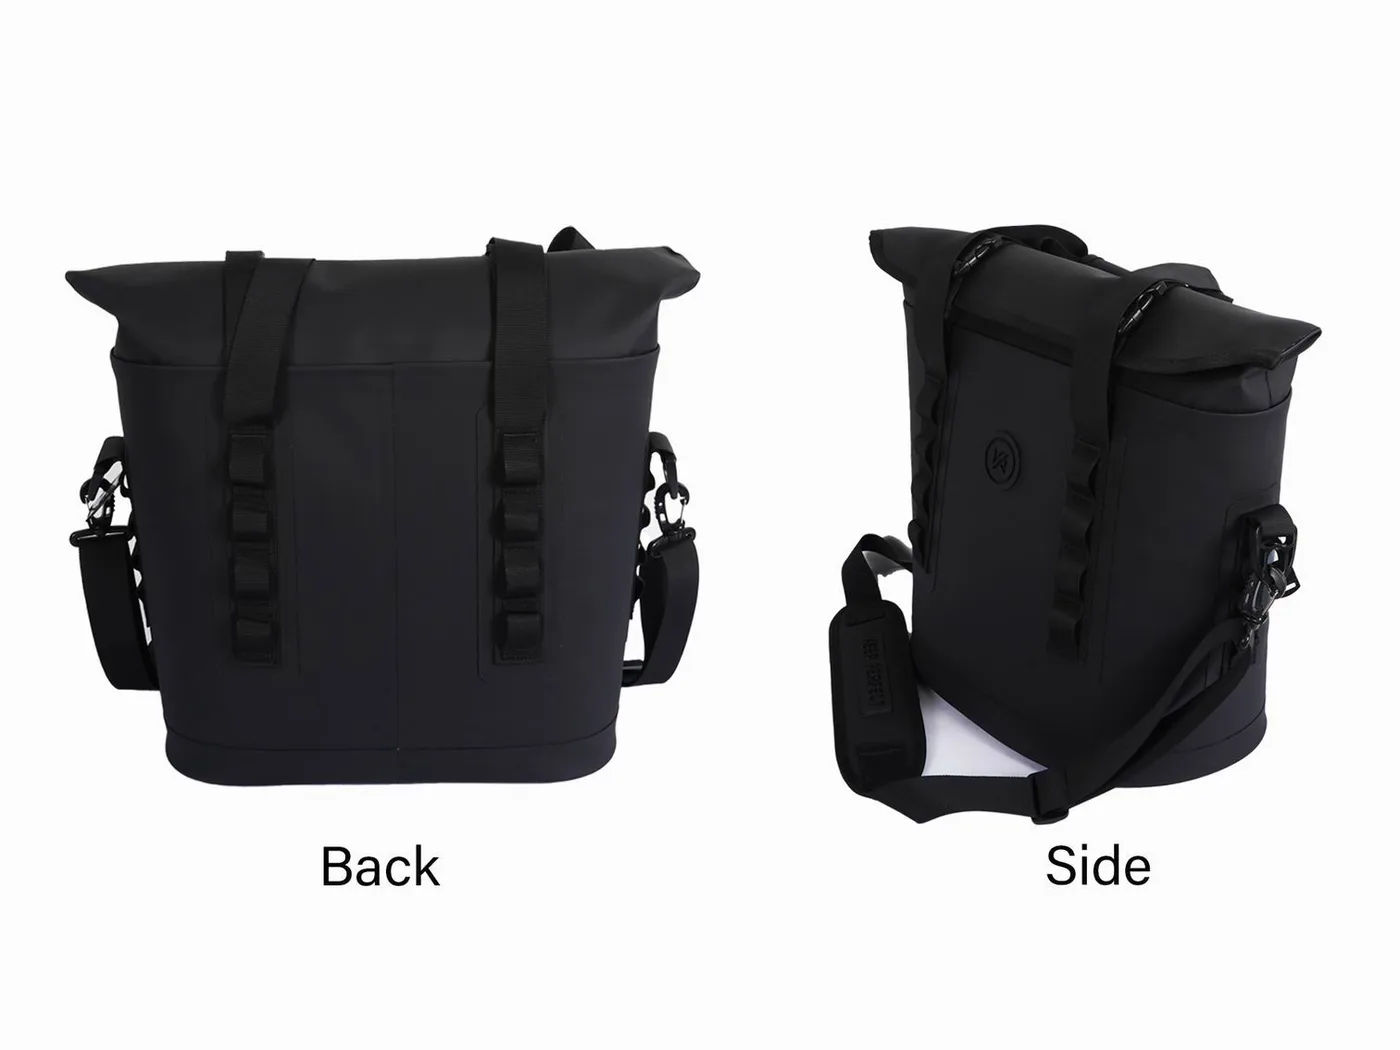
A bar bag is opened more often than any other bag on the bike, and it is opened standing up, often in rain. Pack in reverse order of need: sleep system first and deepest, mid-layer next, then the shell or gloves you will want when the temperature drops, and food or a map in the last roll where it is reachable without unpacking everything.
- Compress the sleep system and push it to the bottom of the bag first.
- Add soft items around it to fill voids, so nothing hard presses against the film.
- Place the layer you will need at dusk directly under the closure, not at the bottom.
- Keep food, a head torch and a map in a small pouch at the very top.
- Press the air out, roll three folds, and clip the buckle with the tail pointing down.
- Check that the roll sits above the bar, not against it, before tensioning the straps.
Two habits make the difference over a long day. First, keep a dry spare pair of gloves in a separate 1 to 2 litre pouch inside the bag, because cold hands are the main reason a rider fails to get a closure properly rolled. Second, do not use the bar bag as a bin for anything wet: a soaked jacket inside a sealed dry bag keeps the sleep system damp for the rest of the trip, since there is nowhere for the water to go.
Closure discipline with cold, wet hands
Three folds remains the rule, but the technique changes when your hands are cold. Roll the bag on your thigh rather than in the air, using body pressure to expel air, and make the first fold wider than feels necessary so the second and third folds have material to bite on. A closure rolled loosely because fingers were numb is the single most common cause of a wet sleep system on a bikepacking trip.
Check the fold line for grit every time. Gravel dust and road grit in the fold create a capillary path that wicks water in over an hour of steady rain, and the symptom is confusing: the bag looks perfectly closed but the contents are damp at the bottom. A five-second wipe with a wet thumb before rolling removes the problem entirely, and it is worth doing even on a dry day.
Waterproof ratings for gravel roads and stream crossings
A bar bag sees two kinds of water: continuous wheel spray and sustained rain at 30 to 40 km/h. Spray is a low-volume but constant jet, which is what IPX6 testing models, while a stream crossing or a whole day in heavy rain is closer to immersion and needs IPX7. The IEC defines both grades in IEC 60529, and a reputable spec sheet names the standard rather than an invented adjective.
In practice a welded roll-top at IPX7 covers everything a bike can produce, because the failure mode is rarely the fabric. Welded seams on a 0.3 mm TPU body survive years of vibration; the closure and the strap holes are what fail. If the bag has a purge valve, use it after packing rather than after rolling, and treat any sewn-on attachment loop as a non-structural convenience rather than a load path.
| Exposure | What the bag sees | Rating that covers it | Failure symptom if under-rated |
|---|---|---|---|
| Wheel spray on wet road | Continuous low-volume jet | IPX5-IPX6 | Damp patch at the lower seam |
| Heavy rain at 30 km/h | Driven water over the whole face | IPX6 | Water tracking along the roll |
| Stream crossing to the hub | Short immersion at 0.3-0.5 m | IPX7 | Water through stitch holes |
| Bike laid flat in a puddle | Sustained contact under load | IPX7 | Seep at the closure corners |
| Full day in monsoon rain | Saturation plus vibration | IPX7, welded seams | Wicking through trapped grit |
Vibration, abrasion and the wear points after 400 km
Vibration is what separates a bar bag from a pannier. Gravel roads excite the load somewhere between 10 and 30 Hz, and that band is exactly where a loosely strapped bag will creep downward and rotate until it rests on the head tube or the front tyre. Re-tension the straps every two hours on the first day, then every morning once the bag has taken a set.
Abrasion concentrates where the strap passes over the bag and where the bag touches the cradle. After roughly 400 km of gravel, the usual findings are a polished band on the film under each strap, a scuff at the lower outboard corner where the bag brushes a hand or a bush, and slight rounding of the weld edge. None of these is a leak risk on a 0.5 mm film, but on a 0.3 mm film the polished band is worth watching every season.
The abrasion question is measurable, and the test methods published by the ASTM are what a serious spec sheet will reference. For a bar bag the useful number is cycles to visible wear on the face fabric rather than cycles to hole, because a bag that looks worn at 400 km will be returned by a rider long before it leaks.
Companion bags: stem, top tube and frame
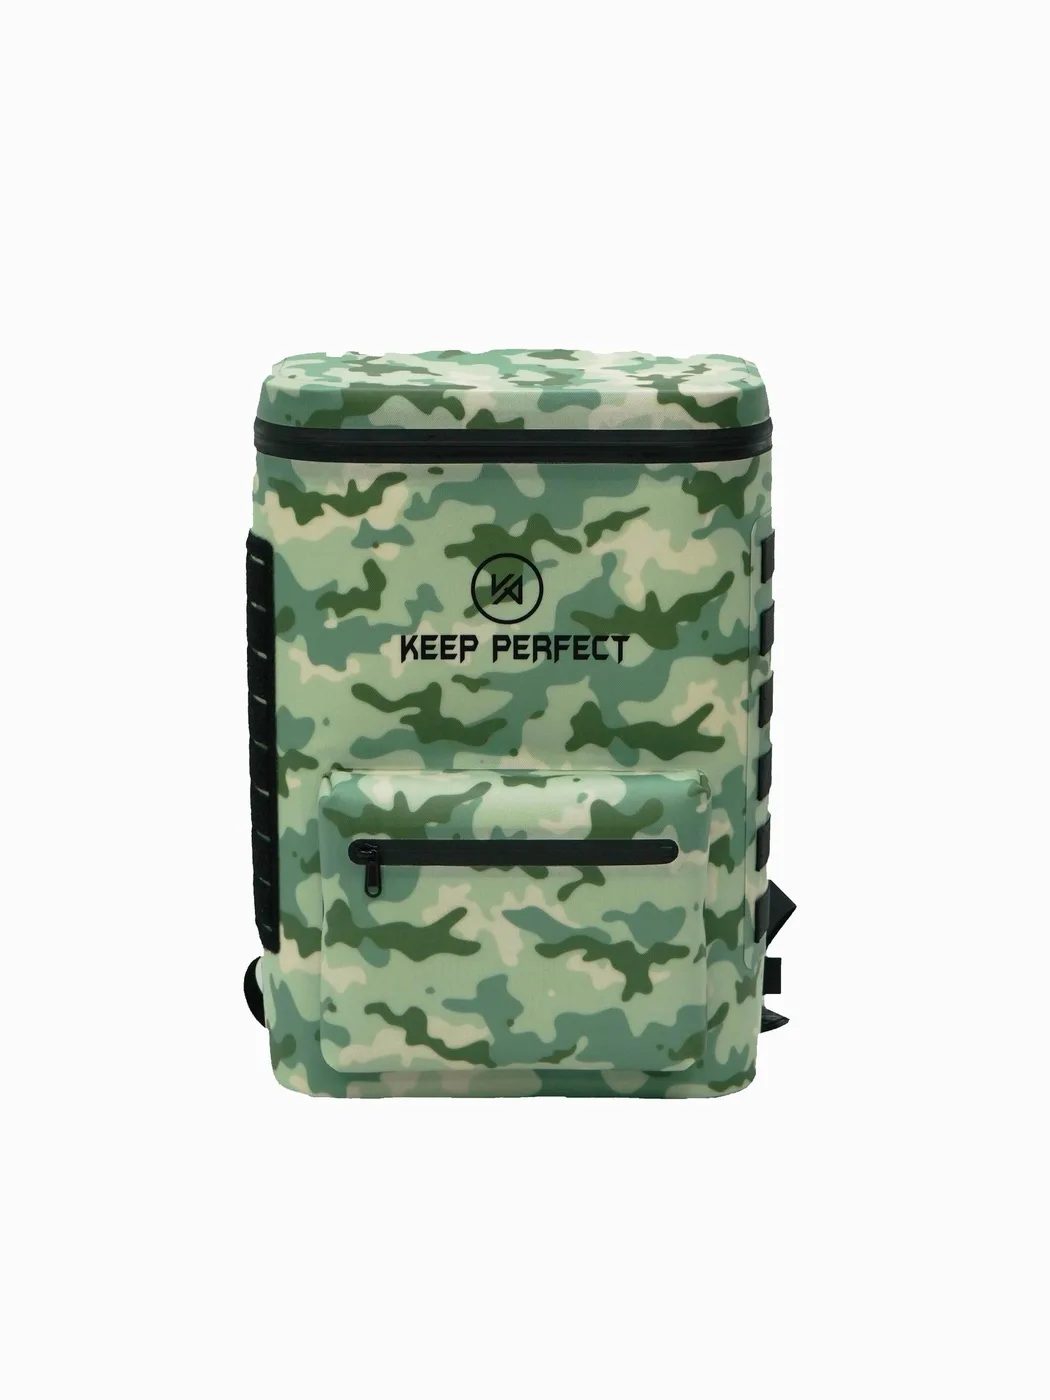
The bar bag should not carry the whole load. A stem bag or feed bag takes 0.8 to 1.5 litres of food and a bottle, sits lower and further back, and barely affects steering, which makes it the best place for the 700 g of snacks and the 750 ml bottle that riders reach for every twenty minutes. Moving that weight off the bar typically drops bar load by 0.8 to 1.2 kg on a summer ride.
A top tube bag of 0.8 to 1.5 litres is the right home for a phone, a battery pack and a multi-tool, because it is reachable without stopping and sits on the frame rather than the steering. A frame bag holds the heavy, dense items: tools, spares, water and food. The rule of thumb is that dense weight belongs low and central, compressible weight belongs at the bar, and anything you touch more than three times a day belongs off the bar entirely.
Weather, mud and route planning
Rain changes the packing list before it changes the bag. A wet-weather layer set of shell, gloves and overshoes adds 700 to 900 g and 2 to 3 litres, which is usually the difference between a comfortable 7 litre roll and a cramped 9 litre one. Plan the packing list for the wettest day of the route, not the average day, and check the forecast at the last resupply rather than the night before.
Wind matters more than most riders expect. A 30 km/h headwind adds roughly 40 to 60% to the effort of a loaded bike at 20 km/h, and a bar bag with a smooth, tightly rolled profile costs less in drag than a soft bag with loose ends flapping. Roll the closure tight, point the buckle tail down and back, and tape or tuck any loose strap end: on a four-hour headwind section that detail is worth more than a lighter jacket.
For route planning in exposed country, build the day around the forecast rather than the distance, and use the guidance published by NOAA for wind, precipitation and temperature in US regions. Our bikepacking wet-weather kit notes cover the layering decision in detail, and the gravel riding mistakes list covers the mounting errors that show up on the first wet descent.
Night riding and being seen
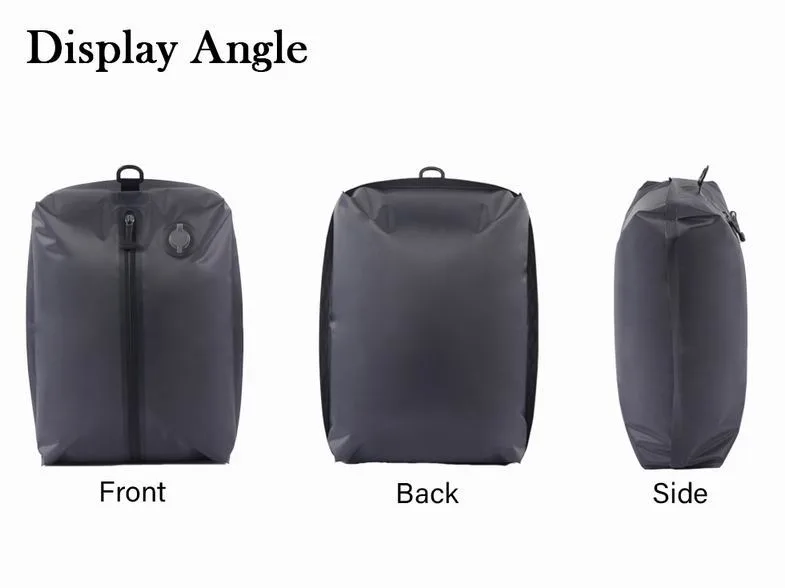
A bar bag blocks lights. Anything mounted on the bar sits between the lamp and the road, so a rider who straps a bag in front of a handlebar light will lose 30 to 50% of usable throw. The fix is physical: mount the lamp on a fork crown bracket, a helmet, or an outboard bar extension that clears the bag by at least 40 mm, and check the beam pattern before the first night section rather than after.
Reflective material on the bag is the second layer. A 25 to 50 mm reflective band across the front face of the bag returns a headlamp beam from 150 m or more, and because the bag is the frontmost object on the bike it is the first thing an approaching driver sees. Our reflective accents guide sets out placement options that survive washing and abrasion.
Setup checklist before a loaded trip
- Measure usable bar width with every control and light in place, then pick the bag length.
- Confirm 10 to 20 mm clearance between bag and bar, and check full-lock lever movement.
- Keep bar load under 3 kg; move dense items to a frame bag and snacks to a stem bag.
- Use a cradle or dock for anything above 2 kg, and re-tension straps every morning.
- Roll three folds on a thigh, wipe the fold line first, and leave 15% headroom.
- Check the rating: IPX7 with welded seams covers spray, rain and stream crossings.
- Move the light off the bar or clear it by 40 mm, and add a reflective band to the front face.
- Do a 20 km shakedown ride loaded before the trip; steering shake always shows up first.
- Compare sizes in the full product range before committing to one volume.
Most riders end up owning two bar bags rather than one: a 5 to 7 litre bag for summer and day rides, and a 10 to 14 litre bag for shoulder season when the sleep system is bulky. That pair costs little more than one compromised mid-size bag and removes the worst compromise in bikepacking, which is trying to make one volume work for a 400 g quilt and a 1.1 kg winter bag. Our roll-top dry bag line spans both sizes with the same closure geometry.
Capacity is also worth checking against how the volume is measured, because a roll-top loses usable space to the closure. A 10 litre bag rolled three times realistically holds 8 to 8.5 litres, which is why our volume comparison and the 10 litre packing list are worth reading before you buy. Riders coming from panniers should also read the mountain bike setup notes, where the bar clearance problem is even tighter.
Riders who are specifying bags for a club, a rental fleet or a retail range should turn that checklist into a written brief: volume, film thickness, strap width, closure geometry and the rating standard are the five lines that decide whether a bag survives a season of daily rolling.
Off the bike, the same bag does a second job: it becomes a tent bag, a washing bag and a pillow case when stuffed with a jacket. Choose a model with a carry handle or a removable strap for that reason, and keep the closure clean, because a bag that spends its nights on the ground collects grit that ends up in the fold line the next morning. The academy section carries more packing material for riders who want to go further.
Frequently asked questions
Q1. What size dry bag should I use on my handlebars?
Most riders want 4 to 9 litres. A 7 to 9 litre bag holds a summer sleep system of quilt, pad and liner at about 1.5 kg, while a day ride needs only 4 to 6 litres for a shell, gloves and food.
Q2. How much weight can I safely put on the handlebars?
Keep bar load under 3 kg. Up to 1.5 kg is barely noticeable, 1.5 to 2.5 kg slows steering correction, and above 3 kg washboard sections can induce a shake that makes technical descents unsafe.
Q3. Do I need a cradle or can I strap the bag straight to the bar?
Direct straps work up to about 1.5 kg on a fully clear bar. Above 2 kg use a cradle or a quick-release dock, because the load will otherwise rotate downward and rest on the head tube or the tyre.
Q4. Will a handlebar bag fit a drop bar?
Yes, but check the limits. A flared gravel bar gives 240 to 280 mm of usable length, and a bag longer than that can foul the brake levers on full lock or block the cable housing loop on externally routed bars.
Q5. How much clearance do I need between the bag and the bar?
Aim for 10 to 20 mm. That gap protects brake hoses and cables from being crushed, gives the bag somewhere to flex under vibration, and stops the roll from being pressed against the bar.
Q6. What waterproof rating does a handlebar bag need?
IPX7 with welded seams. Wheel spray and driven rain are covered by IPX6, but a stream crossing or a day of heavy rain is closer to immersion, and only IPX7 covers that.
Q7. Why does my bag end up damp even when it looks closed?
Usually grit in the fold line, which wicks water in over an hour of rain, or a bag rolled over-filled so the folds never seated. Wipe the fold with a thumb before rolling and leave 15% headroom.
Q8. How many rolls should I use on a bar bag?
Three. Two folds hold spray but not sustained rain, and four folds shorten usable volume and put a hard crease in the film that fatigues faster over a season of daily rolling.
Q9. Where should I put the heavy items instead?
Dense items belong in a frame bag or fork cages, and food and a bottle belong in a stem bag. Moving 1 kg off the bar improves slow-speed control more than any tyre pressure change.
Q10. Can I mount a light in front of the bag?
Yes, but it must clear the bag by at least 40 mm, or the bag will cut 30 to 50% of the beam throw. Better options are a fork crown bracket, a helmet mount or an outboard bar extension.
Q11. How often should I re-tension the straps?
Every two hours on the first day, then every morning once the bag has taken a set. Gravel vibration between 10 and 30 Hz will walk a loosely strapped bag down the bar within a day.
Q12. Does a bar bag affect handling on climbs?
Yes if it is too long or too low. A bag deeper than about 140 to 180 mm can strike your knees on a switchback or contact the top tube when you stand on the pedals in the drops.
Q13. What wears out first on a handlebar dry bag?
The polished band under each strap, the lower outboard corner, and the weld edge. On a 0.5 mm film these are cosmetic after 400 km of gravel; on a 0.3 mm film the strap band is worth watching each season.
Q14. Is a purge valve worth having on a bar bag?
Only if you carry compressible gear and want the bag to sit tight. Use it after packing and before rolling, and remember it is one more seal that can fail if it is knocked against a rock.
Q15. Should I carry wet gear in the bar bag?
No. A soaked jacket in a sealed dry bag keeps the sleep system damp for the rest of the trip, because there is no drain and no airflow. Use an external strap or a mesh pocket for wet items.
Q16. What is the best two-bag setup for four seasons?
A 5 to 7 litre bag for summer and day rides and a 10 to 14 litre bag for shoulder season. That pair covers a 400 g quilt and a 1.1 kg winter bag without the compromise of one mid-size volume.
People also ask
How do you attach a dry bag to handlebars?
Measure usable bar width first, then mount a cradle or harness with 10 to 20 mm of clearance, place the bag on it, and tension two straps plus a stabiliser loop. Re-tension every morning on a loaded trip.
Are handlebar bags bad for bike handling?
Only when overloaded. Under 1.5 kg the effect is negligible; between 2.5 and 3 kg steering correction slows noticeably; above 3 kg washboard roads can induce a front-end shake on descents.
What size dry bag fits a gravel bike?
A 7 to 9 litre bag on a flared gravel bar with 420 to 460 mm of centre width. Usable bag length is 240 to 280 mm and the diameter limit is 140 to 180 mm before knee or top-tube contact.
How do you keep a bar bag dry in heavy rain?
Use a welded IPX7 bag, wipe the fold line before rolling, leave 15% headroom, roll three folds tight on a thigh, and keep loose strap ends tucked so they cannot channel water into the roll.
Can you use a dry bag without a harness on a bike?
Yes for light loads under 1.5 kg on a clear bar. Heavier loads need a cradle because direct straps allow the bag to rotate downward and ride on the head tube or the front tyre.
Where should weight go on a bikepacking setup?
Dense weight low and central in a frame bag, compressible weight at the bar, frequently used items in a stem or top tube bag, and nothing above 3 kg on the steering axis.
Need this in production volume?
QUANZHOU JUNYUAN BAGS has produced waterproof bags since 2014 in an SGS-verified 4,950 m2 facility in Fujian, China. Minimum order 500 pieces, sampling in 6–10 working days, bulk in 35–50 days, FOB Xiamen — write to service@junyuanbags.com with your spec and target market.