Dry Bag Setup for Mountain Biking
A mountain bike day ride needs 3 to 8 litres of waterproof capacity, and on a modern trail bike most of it has to live low and inside the frame because 150 mm of rear travel removes 40 to 60 percent of the usable front triangle compared with a hardtail of the same nominal size. The configuration that works for most riders is a 4 to 6 litre frame bag, a 0.8 to 1.2 litre top tube pouch for tools, and either a hip pack or a 10 to 14 litre welded waterproof backpack when the route requires a full layer set. Anything carried above the saddle line is mass you will land on in a crash, which is the single constraint that separates this discipline from road and gravel packing.
Trail riding also attacks bags in ways a pavement does not: sustained high-frequency chatter through the frame, direct mud thrown by a knobbly rear tyre at 20 to 35 km/h, rock strike on the underside of any bag that hangs low, and creek crossings that put the whole load under water for two or three seconds. This guide covers position choice, real volume numbers per discipline, how to measure clearance on a full-suspension frame, how to strap without rack mounts, what happens to the load when you crash, and which film thickness survives a season of rock gardens.
- Why a mountain bike is a harsher host than a gravel bike
- Carrying positions ranked by what they cost you
- A dry bag setup for trail, enduro and bike-park days
- Measuring the space you actually have on a full-suspension frame
- Strapping a bag to a frame with no rack mounts
- What the rear tyre throws at your bag
- The crash case: what happens to the load
- Tools and spares load-out by discipline
- Rock strike, roots and choosing a film thickness
- Hydration: bladder, bottle or dry bag
- Dust, grit and closing the bag with dirty hands
- Weight placement for climbs and descents
- Pre-ride checklist for the first muddy month
Why a mountain bike is a harsher host than a gravel bike
Three things make off-road loading different from anything on tarmac: amplitude, contamination and consequence. Amplitude is the chatter. A 2.4 inch tyre at 22 psi on a rooty trail transmits repeated impacts in the 8 to 40 Hz band into the frame, and that band is exactly where a loosely strapped load walks along its mounting straps. Over a two-hour ride a bag can migrate 20 to 40 mm from where it started, usually downward and outward, into the path of the crank or the front mech.
Contamination is mud and grit, and it arrives from below rather than above. A rear wheel on a wet trail lifts roughly 0.3 to 0.6 litres of slurry per kilometre at 25 km/h and deposits most of it along the down tube and seat tube, which is precisely where a frame bag sits. Consequence is the crash: at a walking-pace tip-over a load on your back is fine, but a 2 kg load at bar height becomes a lever against your shoulder and wrist as you go down, which is why bar-mounted volume is capped far lower on a mountain bike than on a gravel bike.
Together those three explain a rule riders learn quickly: mass belongs low and between the axles, and nothing belongs where a falling bike can drive it into your body.
Carrying positions ranked by what they cost you
Every position on a mountain bike has a different penalty profile, and ranking them is easier than it looks. Inside the main triangle costs almost nothing in handling and gains nothing in accessibility while riding. A hip pack costs nothing in handling and gives instant access but is limited to about 1.5 litres before it bounces. A hydration or riding backpack gives real volume and a built-in crash structure, at the cost of a sweaty back and a higher centre of mass.
Bar-mounted capacity is the weakest option on technical terrain: it sits on the steering axis, hits trees first on a tight line, and usually displaces a light. Riders who need bar volume should cap it at 2 kg and use a rigid cradle, accepting that the same load in a frame bag would feel 0.5 to 1 kg lighter through the hands.
| Position | Usable volume | Handling cost | Crash risk | Best load |
|---|---|---|---|---|
| Inside main triangle | 3-6 L | Almost none | Low, protected by frame | Tools, pump, spares, food |
| Top tube, front half | 0.6-1.2 L | None | Low | Multi-tool, phone, snack bar |
| Down tube under bottle | 0.8-1.5 L | Negligible | Medium, rock strike | Tube, lever, CO2, chain link |
| Hip pack, lumbars | 1.0-2.0 L | None below 1.2 kg | Low if it stays behind hip | Rain shell, tube, phone |
| Seat bag or roll | 4-12 L | Sway if above 3 kg | Medium, dropper interference | Clothing only, never tools |
| Riding backpack | 8-18 L | Higher centre of mass | Low with back protector | Water, layers, armour |
| Handlebar roll | 4-9 L | Slows steering above 2 kg | High on tree contact | Sleep system only |
A dry bag setup for trail, enduro and bike-park days
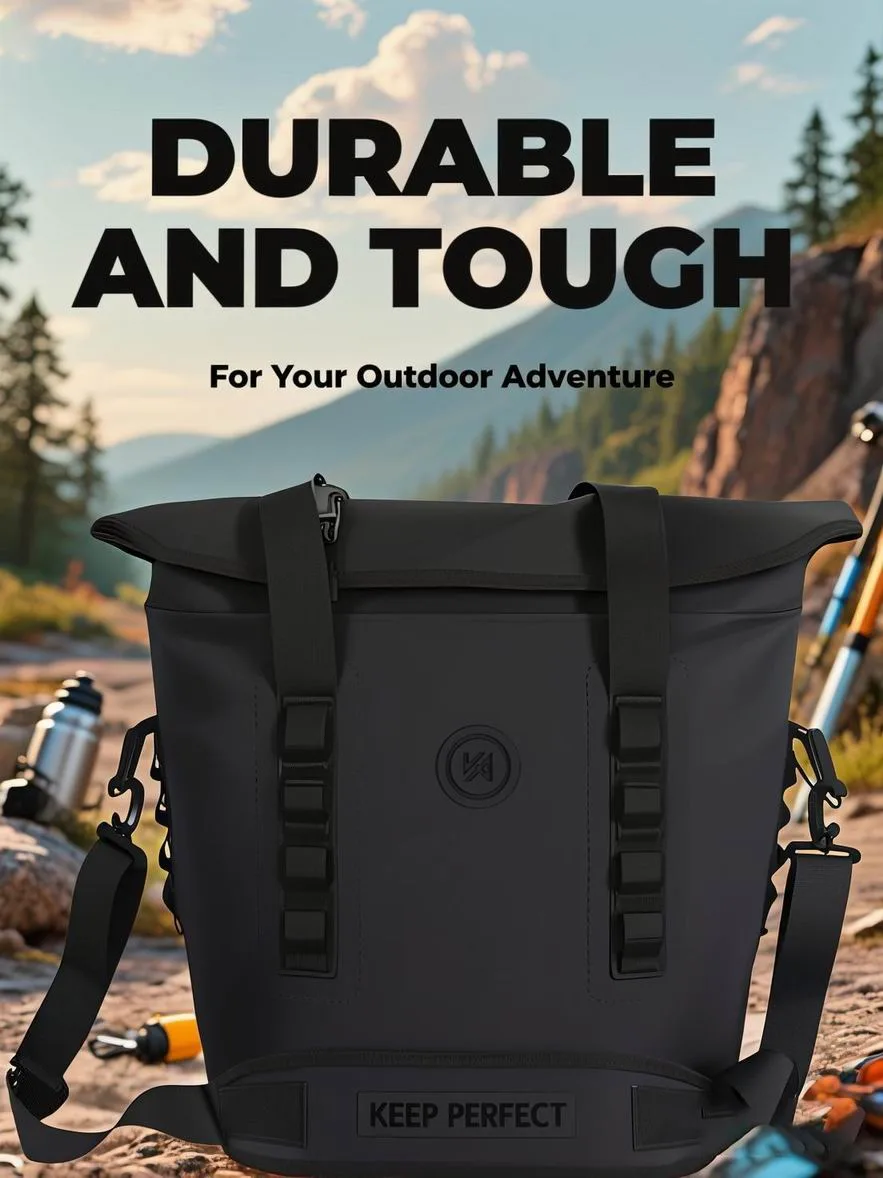
The four disciplines that share a trailhead do not share a load. Cross-country and general trail riding needs the least: one tube, a multi-tool, a chain link, a mini pump, a tubeless plug kit and a snack, which packs into 1.5 to 2.5 litres and 900 g to 1.4 kg. Trail and all-mountain days add a waterproof shell, a spare base layer and more food, reaching 3 to 5 litres. Enduro and backcountry days that start at 700 m of climbing and finish in a different valley need a full layer set and extra water, landing at 6 to 9 litres.
Bike-park riding is the outlier and the easiest to pack, because lifts mean you carry almost nothing: a 10 to 14 litre welded pack for water, knee pads between runs and a shell is usually over-specification. Riders there often use a 3 to 5 litre hip pack plus a bottle. What changes everything is temperature drop with altitude, which on a 1,000 m descent can be 6 to 10 °C; that delta is what forces a pack rather than a hip bag on long alpine days.
Most riders therefore end up with two waterproof containers: a permanent 4 to 6 litre frame bag for tools that never leaves the bike, plus a hip pack or a 10 to 14 litre roll-top dry bag depending on the day. Sharing one closure geometry means both behave identically in the wet.
Measuring the space you actually have on a full-suspension frame
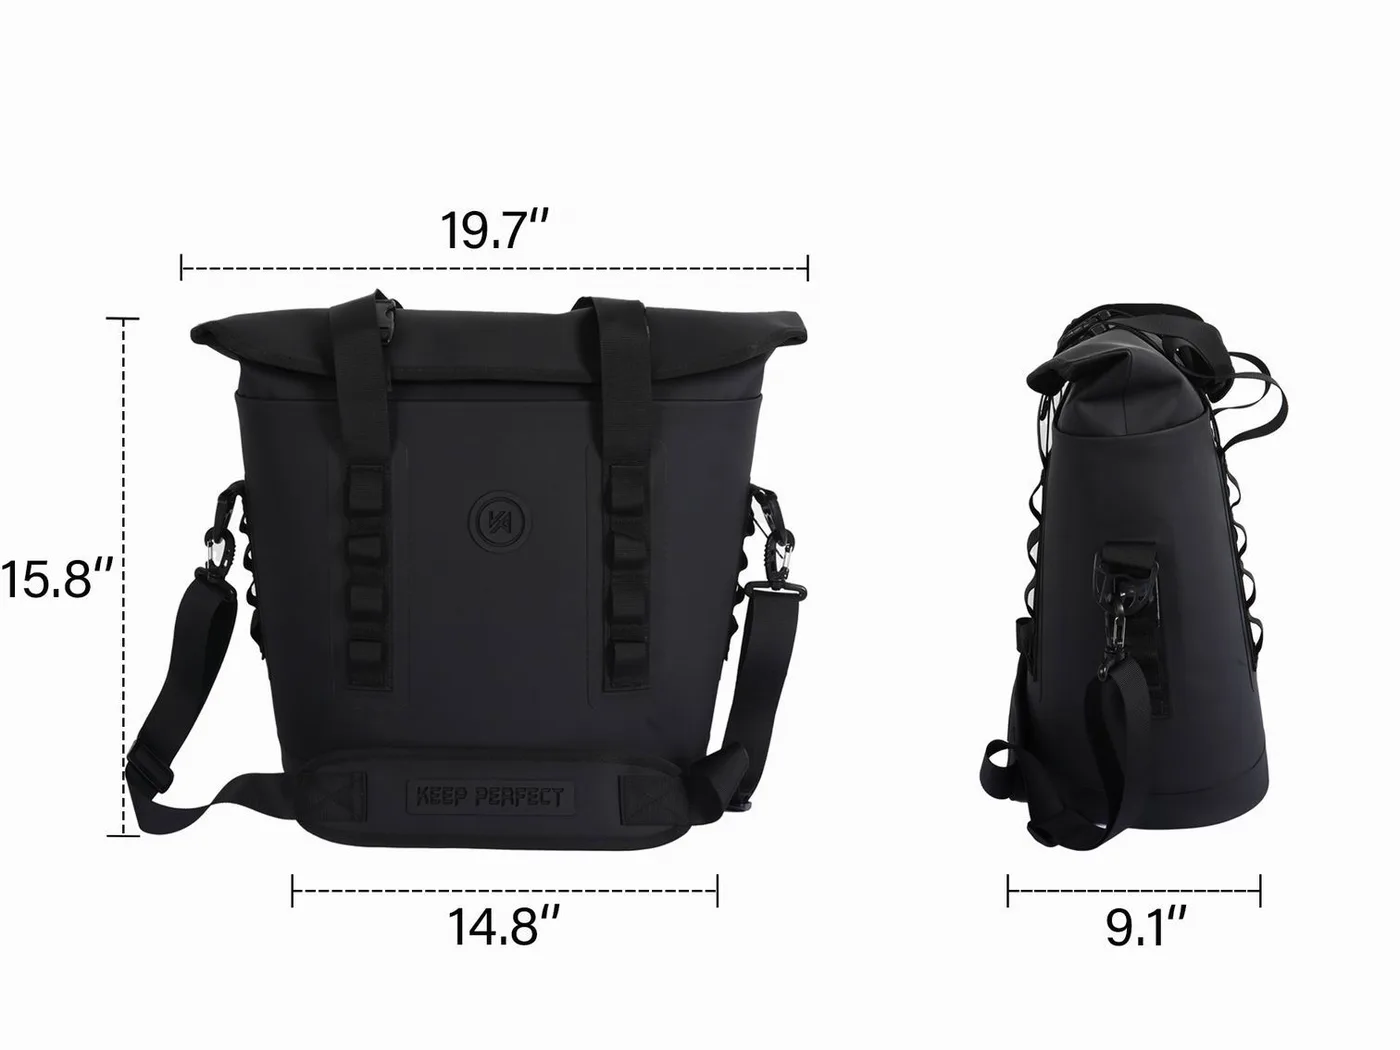
Measure the clear space behind the down tube where the shock mount sits, then again at the seat tube, and treat the smaller reading as your width limit. Size letters hide these differences completely, so never buy a frame bag from a chart alone.
Dropper posts remove a second chunk of usable volume. A 150 mm dropper at full extension sits higher than a rigid post, and when it compresses it can contact a seat bag unless the bag clears the collar by at least 30 mm at full bottom-out. Riders frequently discover this only after the first muddy descent, when the post slams into a bag loaded with a jacket and pushes the strap off the rail.
| Rear travel | Frame size | Frame bag width | Frame bag volume | Bottle clearance |
|---|---|---|---|---|
| Hardtail, no travel | M / L | 120-150 mm | 4.5-6.0 L | Two bottles in triangle |
| Short travel, 100-120 mm | M | 90-110 mm | 3.0-4.0 L | One bottle plus bag |
| Short travel, 100-120 mm | L | 110-130 mm | 4.0-5.0 L | One large bottle |
| Trail, 130-150 mm | M | 70-90 mm | 2.0-3.0 L | One 600 ml bottle |
| Trail, 130-150 mm | L / XL | 90-120 mm | 3.5-5.0 L | One bottle plus strap bag |
| Enduro, 160-180 mm | M / L | 50-80 mm | 1.5-2.5 L | Frame bag only |
Strapping a bag to a frame with no rack mounts
Mountain bikes do not have threaded rack bosses, so every attachment relies on friction, webbing and sometimes a hose clamp on a bare tube. The order of preference matters: a purpose-made frame bag with four webbing attachment points spreads load across the top tube and down tube and does not abrade the paint. A general-purpose dry bag strapped directly to a frame also works, but it needs protection and it needs to be checked after every ride in the first week.
Protect the paint before touring with any strap-on bag. A 25 mm strip of helicopter tape or a section of old inner tube under each strap prevents the polishing action that wears through clearcoat over a season, because mud trapped under a vibrating strap is effectively liquid sandpaper. For the same reason, avoid overtightening: straps should be snug enough that the bag cannot be rotated by hand, not so tight that they deform the bag body and put permanent tension on the welded seams.
- Use four attachment points where possible: two on the top tube, one behind the head tube, one on the down tube.
- Put inner tube or tape under every contact point; inspect it monthly and replace when it cracks.
- Tension straps to hand-tight plus one click, then recheck after 20 km and again after the first muddy ride.
- Keep at least 25 mm of clearance between the bag and any moving part: fork crown, shock, cranks, dropper collar.
- Route the closure so the roll sits on top, not against the frame, where vibration would grind it.
- Never strap directly over a brake hose or a dropper remote cable; reroute or add a spacer.
What the rear tyre throws at your bag
Water on a mountain bike arrives from below and behind. The rear wheel lifts trail water and slurry forward into the seat tube and down tube area, so the filthiest surface on the bike is the lower third of a frame bag, not its top. That is also where a bag is most likely to be pressed against a moving part, which means the two highest-risk conditions - contamination and abrasion - occur in the same place.
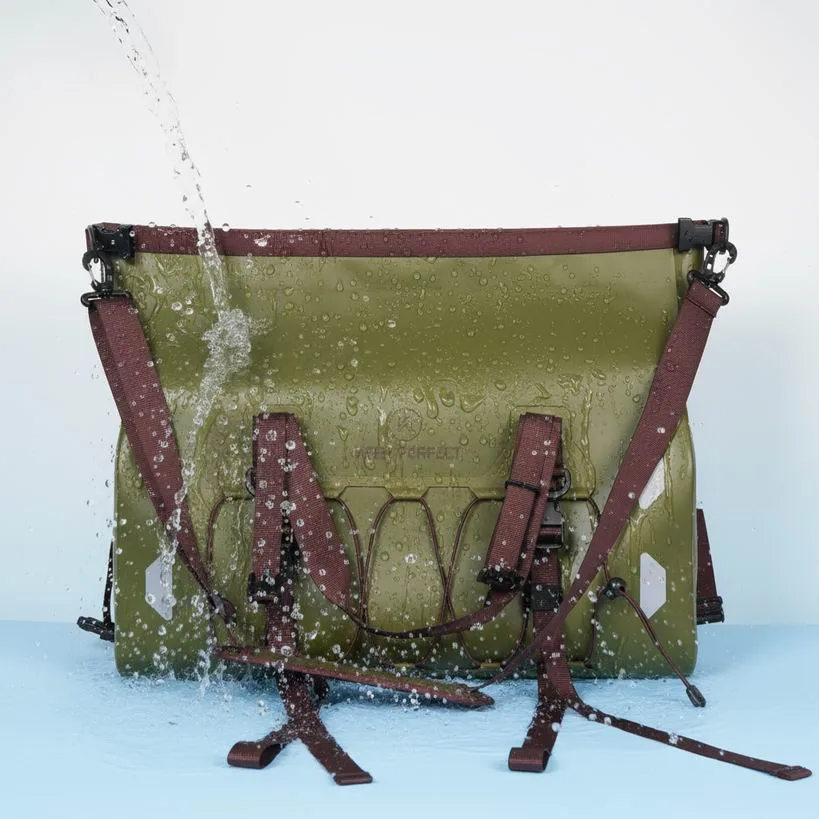
Submersion is rarer than riders expect but more decisive when it happens. A creek crossing at walking pace puts the lower half of the bike under water for two to four seconds, sometimes deeper if the line is wrong, and any bag mounted below the bottom bracket is fully submerged. That single event is why welded rather than stitched construction matters even on a bike that never sees a boat: needle holes that are fine in spray become leaks under a few centimetres of head pressure.
| Exposure | Typical event | Rating that covers it | Seam construction needed |
|---|---|---|---|
| Trail spray at 25 km/h | Continuous dirty water mist | IPX5 | Welded or taped |
| Wheel lift on wet singletrack | 0.3-0.6 L per km of slurry | IPX6 | Welded |
| Sustained rain, three hours | Saturation plus flexing | IPX6 | Welded, flexible film |
| Creek crossing to the axle | Submersion for 2-4 s | IPX7 | Welded, continuous |
| Bike washed with a hose | Directed jet at 0.5 m | IPX6 | Welded, no stitch holes |
| Bike strapped to a roof rack | Driven rain at 90 km/h | IPX6-IPX7 | Welded, abrasion resistant |
The grade definitions behind those codes are fixed by the IEC in IEC 60529, which is why a trustworthy spec sheet quotes the standard and not an adjective. If you ride lift-served terrain with the bike on a shuttle trailer, note that roost from the vehicle in front is closer to a jet test than to rain, and our IPX rating guide sets out what that means for the bag you choose.
The crash case: what happens to the load
Two sorts of crash matter and they damage bags differently. A low-side slide at 15 km/h scrapes whatever is on the downhill side of the bike, usually a frame bag or a down tube bag, and the failure mode is abrasion through the face fabric. An over-the-bars or tip-over crash loads whatever is mounted high, and because the body follows the bike down, a hard bag or a rigid tool roll against a rider's back or ribs is a genuine injury risk rather than a gear-loss risk.
So keep spares soft and low. A tube, multi-tool and plug kit packed against your spine can bruise; inside a padded pack sleeve or a frame bag they are harmless. A 180 g aluminium pump belongs in the frame bag, never loose in a pack, because it becomes a lever at exactly the wrong moment in a fall.
Waterproof containers also change how a pack behaves in a crash. A sealed roll-top full of air acts as a cushion and actually protects the back, while the same bag strapped hard to a bar acts as a snag point on a tree. The practical rule is to take the air out of anything mounted on the frame, since a half-inflated bag at the wrong angle can press against a moving part, and to leave the straps slightly softer than feels right so they can slip rather than tear under impact load.
Tools and spares load-out by discipline
Kit volume is predictable once you know the discipline, and it almost always lands below riders' expectations. Theft of opportunity is part of the calculation too: a bag left permanently on a bike parked outside a café should carry tools you can afford to lose, not the expensive titanium multi-tool you keep in your pocket. Splitting the tool roll into a cheap permanent kit on the bike and a valuable list that travels with you is a common habit among riders in high-traffic trailheads.
| Discipline | Kit list | Volume | Weight | Where it goes |
|---|---|---|---|---|
| Cross-country race | One tube, lever, CO2, link | 0.8-1.2 L | 350-500 g | Top tube pouch |
| General trail ride | Tube, multi-tool, pump, plugs, snack | 1.8-2.5 L | 900 g-1.4 kg | Frame bag |
| All-mountain day | Full trail kit plus shell, food | 3.0-4.5 L | 1.6-2.4 kg | Frame bag plus hip pack |
| Enduro or backcountry | Layers, water, tools, first aid | 6.0-9.0 L | 2.8-4.2 kg | Backpack, tools still in frame |
| Bike-park laps | Water, pads between runs, phone | 2.0-3.0 L | 1.0-1.6 kg | Hip pack plus bottle |
| Bikepacking MTB stage | Shelter, cook kit, tools, clothing | 18-30 L | 6-10 kg | Frame plus bar plus seat roll |
The useful detail in that table is the constant: tool volume stays between 0.8 and 2.5 litres across almost every discipline, and only clothing and water change the number. That means a 4 litre frame bag bought once will serve a rider for years, and the bigger decision is always what carries water and layers. Riders comparing day volumes should read the two-size decision guide before assuming the larger option is safer.
Rock strike, roots and choosing a film thickness
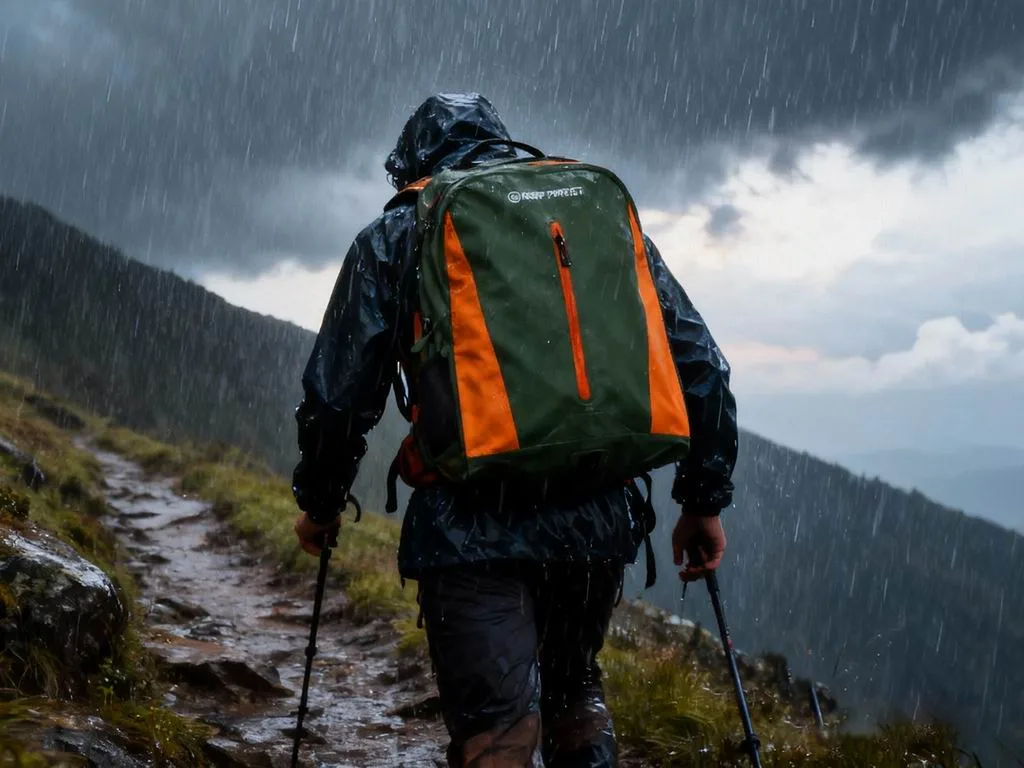
Underside abrasion is the dominant wear mechanism off-road. A bag mounted under the down tube or low on the seat tube gets hit by rocks flicked up by the front wheel and by the rider's own heel on technical climbs. On a 0.3 mm TPU film, a single season of regular rocky riding commonly produces visible scuffing at the lowest contact point; on a 0.5 mm film the same contact usually leaves a polished patch that does not progress.
Thicker is not automatically better, because every 0.1 mm of additional film adds roughly 90 to 120 g to a 10 litre bag and makes the roll stiffer to close with cold hands. The compromise most riders settle on is a 0.4 to 0.5 mm film on a 420D or 500D face fabric for anything mounted to the frame, and a lighter 0.25 to 0.3 mm build for a pack liner or a stuff sack that never leaves the inside of another bag. Detailed numbers sit in our fabric weight matching guide.
Puncture resistance is measurable, but the protocol matters more than the headline number: a film can survive a static load and still tear when a sharp edge is dragged across it under pressure, which is what a flint rock does on a steep pitch. Our puncture testing notes set out the difference.
Hydration: bladder, bottle or dry bag
Water decisions drive bag decisions. A 2 litre bladder inside a pack removes 2 kg of the densest possible load from the frame and puts it high and close to your spine, which is the best place for it from a crash-safety standpoint and slightly worse from a heat standpoint. Two bottles in the frame keep weight low and make consumption visible, but many full-suspension frames in size M or smaller only fit one 600 ml bottle beside a frame bag.
A hybrid suits rides over three hours: one bottle in the frame for electrolyte, a 1.5 to 2 litre bladder in the pack for plain water, and tablets or a filter beyond four hours in warm conditions. A bladder carried inside a roll-top must sit in its own sealed pouch, because a leak there soaks everything with no drain to escape through.
Dust, grit and closing the bag with dirty hands
Dry trail dust is worse than wet mud for closures. A fine grit film on the fold line creates a capillary path that wicks water sideways into the bag over an hour of rain, and the failure is silent: the bag looks properly rolled, and the contents are damp at the lowest corner. The five-second habit of wiping the fold with a wet thumb before rolling removes the problem completely, and it matters even on a desert ride with no water in sight.
- Brush or tap the mating surfaces together before rolling; do not blow on them, which adds moisture.
- Wipe both sides of the fold line with a thumb or the corner of a buff.
- Press the air out by rolling towards the opening on your thigh rather than squeezing in mid-air.
- Make three full folds, each flattened with the heel of the hand.
- Clip the buckle with the tail pointing down and back so it cannot catch on a branch.
- Tug the roll once after closing; a correctly rolled closure will not unroll under a firm pull.
Storage between rides matters as much as closing technique. A bag left on the bike over a wet winter collects grit in the fold line and then sits creased at the same place for weeks, which is how crease damage starts; clean it and store it loosely. Our crease damage notes cover the storage geometry, and the roll-top cleaning routine covers washing after a muddy day.
Weight placement for climbs and descents
On a climb, mass above the saddle shows up as front-wheel lift and lost traction over roots. Keeping everything under 2.5 kg and below the top tube keeps the bike settled; adding 1.5 kg in a backpack changes the lift point enough that riders must shift forward earlier than usual.
On a descent the priorities reverse and rotating mass becomes the enemy. Anything on the bars resists every steering correction, and anything in a pack becomes part of your body’s inertia when you move around on the bike. This is the reason bar loads are capped lower on a technical descent than on a gravel road, even though the same bike and the same bag are involved. Move the dense items low, compressible items high, and never mount volume ahead of the steering axis unless the route genuinely requires it.
Pre-ride checklist for the first muddy month
- Measure the real frame rectangle behind the down tube, then choose the frame bag from that number.
- Confirm 25 mm clearance from every moving part, including the dropper collar at full bottom-out.
- Keep tool volume in the frame bag, hydration in the pack, and clothing wherever there is dry space.
- Cap bar-mounted load at 2 kg on technical terrain, less if the route includes tree gates.
- Wipe the fold line before rolling, make three folds, and point the buckle tail down and back.
- Choose a 0.4 to 0.5 mm welded film for anything strapped to the frame; lighter builds belong inside another bag.
- Protect paint with tape or inner tube under each strap, and recheck tension after 20 km.
- Never put a pump or a hard tool roll against your spine inside an unpadded pack.
- Compare sizes in the full waterproof range before committing to one volume.
Setup problems surface on the first wet technical descent, so a 15 to 20 km shakedown loop with a full load beats any amount of bench fitting. Carry a strap and a rag, stop after twenty minutes, and confirm nothing has migrated into a moving part. A frame bag bought for one trail bike very rarely transfers cleanly to another.
Riders who need bags for a club fleet, a guiding operation or a retail line should convert this list into a written brief: usable volume after three rolls, film thickness, seam type, strap width and the test standard are the five lines that decide whether a bag survives a season of daily trail use.
Two closing notes on safety. Waterproof does not mean impact-proof: a dry bag protects kit from mud, not a rider from a crash, and the CDC guidance on helmet use is the first thing to check before adding any load to a mountain bike. And a bag that has survived several seasons deserves a proper condition check rather than trust; our worn-out checklist sets out the measurable symptoms, and the motorcycle luggage guide covers the same problem at three times the speed.
Frequently asked questions
Q1. What is the best dry bag setup for mountain biking?
Run a 4 to 6 litre welded frame bag for tools and spares, a 0.8 to 1.2 litre top tube pouch for quick items, and a hip pack or a 10 to 14 litre waterproof backpack for layers and water. Keep anything above the saddle line under 2.5 kg so a crash cannot drive it into your back.
Q2. Can I strap a dry bag to a full-suspension mountain bike frame?
Yes, provided you measure first. Trail bikes with 130 to 150 mm of travel typically leave only 70 to 110 mm of frame bag width in size M, so check clear space behind the down tube and at the shock mount before choosing a size.
Q3. How much weight should I carry on a mountain bike?
Keep the total load within 10 percent of your body weight for technical descending. In practice that means tools and hydration inside the frame, under 2.5 kg above the saddle line, and never more than 2 kg on the bars off-road.
Q4. Is a frame bag better than a backpack for mountain biking?
For tools and dense items, yes, because a frame bag keeps the load low and protected by the frame. A backpack is better for water and layers, and modern riding packs add impact protection that a frame bag cannot offer.
Q5. Do I need a waterproof bag if I already have a riding pack?
A riding pack handles rain; a welded dry bag handles submersion. If your route includes creek crossings, shuttle roost or a bike wash, put sensitive items in a welded roll-top inside the pack rather than relying on a water-repellent shell.
Q6. What film thickness survives rock strike?
A 0.4 to 0.5 mm TPU film on a 420D or 500D face. A 0.3 mm film usually shows visible scuffing at the lowest contact point within one season of rocky riding, while 0.5 mm tends to polish rather than cut.
Q7. Will mud damage the roll-top closure?
Yes if grit gets into the fold line. Fine dust creates a capillary path that wicks water into a bag that looks properly closed. Wipe both sides of the fold with a thumb before rolling and it stops being a problem.
Q8. How many times should I roll the closure?
Three folds. Two hold spray but not sustained riding rain, and four shorten usable volume and put a hard crease in the film that fatigues faster over repeat cycles.
Q9. Can I leave a frame bag on the bike permanently?
Yes, and most riders do. Check every two months that nothing has migrated into a moving part, that the tape under the straps has not worn through, and that the closure is clean before winter storage.
Q10. How do I stop the bag migrating on rough trails?
Use four attachment points, tension to hand-tight plus one click, and recheck after the first 20 km. Frame chatter between 8 and 40 Hz is exactly the band that walks a loosely strapped load downward and outward.
Q11. What volume do I need for bike-park laps?
Very little: water, knee pads between runs and a phone fit in 2 to 3 litres. A hip pack plus a bottle covers it, because lifts remove the need to carry clothing and food for the day.
Q12. Should tools go in the frame bag or the pack?
Frame bag. A pump or multi-tool against your spine inside an unpadded pack is an injury risk in a fall, and tools left in the frame are always with the bike even if you change packs.
Q13. Does a dry bag protect a bike frame from scratches?
The reverse: an unprotected strap abrades paint because trapped mud acts as liquid sandpaper. Put a strip of helicopter tape or old inner tube under every strap contact point and inspect it monthly.
Q14. What waterproof rating do I need off-road?
IPX6 covers wheel-lifted slurry and sustained rain; IPX7 additionally covers a creek crossing or a bike washed under pressure. Look for welded rather than stitched or taped seams in either case.
Q15. Can I put a hydration bladder inside a dry bag?
You can, but keep it in its own sealed pouch. A bladder that leaks inside a roll-top soaks the whole load because there is no drain and nowhere for water to escape.
Q16. What should I do with a bag that has been on a bike all winter?
Rinse it, clean the fold line, dry it in shade with the mouth open, and store it loosely off the bike. A bag left strapped and creased for months starts crease damage at exactly the fold that does the sealing.
People also ask
How do you attach a dry bag to a mountain bike?
Measure the clear frame rectangle first, then use four webbing attachment points with protective tape underneath, leaving 25 mm clearance from every moving part. Tension to hand-tight plus one click and recheck after 20 km.
Are dry bags safe to carry while mountain biking?
Yes when the load is low and under 10 percent of rider body weight. Avoid putting pumps or hard tools against your spine, keep bar load under 2 kg off-road, and prefer soft packed spares.
What size frame bag fits a trail bike?
Typically 2 to 3 litres in size M and 3.5 to 5 litres in size L for 130 to 150 mm travel frames. Measure the width behind the down tube, which is usually 70 to 120 mm, and choose from that number.
Why does my bag get muddy on the down tube?
The rear wheel lifts 0.3 to 0.6 litres of slurry per kilometre at 25 km/h and throws most of it at the seat and down tube. Mud on the outside is cosmetic; the risk is grit reaching the fold line.
Can a dry bag survive a creek crossing on a bike?
A welded IPX7 bag can handle a two to four second submersion to axle depth. Stitch holes that are harmless in spray leak under even a few centimetres of head pressure, so construction matters more than volume.
How often should I check a bag mounted on a bike?
Every ride for the first week of a new mount, then monthly. Check strap tension, wear through the protective tape, clearance to moving parts, and cleanliness of the fold line before each wet ride.
Need this in production volume?
QUANZHOU JUNYUAN BAGS has produced waterproof bags since 2014 in an SGS-verified 4,950 m2 facility in Fujian, China. Minimum order 500 pieces, sampling in 6–10 working days, bulk in 35–50 days, FOB Xiamen — write to service@junyuanbags.com with your spec and target market.