Wet-Weather Kit for Bikepacking
A wet-weather bikepacking kit adds 700 to 1,300 g and 2 to 4 litres to a load of 25 to 45 litres, and every gram of it must stay dry because a soaked insulation layer loses most of its warmth at exactly the moment you stop moving. The layer set that needs protection is a shell, an insulating jacket, gloves, overshoes and one spare base layer, which together pack to about 3 to 4 litres and weigh 900 g to 1.4 kg. Plan the waterproof volume for that set first and fit everything else around it.
This guide covers the layer maths and why shop volume claims mislead, how to choose between roll-top formats for rain rather than for sun, which way the closure should face on a wet road, how to close a bag with numb fingers, what to do when water gets in anyway, and how to find drying opportunities across a five-day route. It also covers the safety case: in wind and rain at 15 km/h average speed, dry insulation is not comfort, it is the difference between a bad evening and a cold one.
- What a wet forecast changes about the load
- The layering system and the volume it occupies
- Protecting the sleep system above everything else
- Choosing bags for rain instead of choosing them for sun
- Which way the closure should face on a wet road
- A wet-weather kit list with real numbers
- Driven rain at speed and the rating that covers it
- The wet hands problem and how to close a bag anyway
- Managing water that gets inside anyway
- Finding drying opportunities across a multi-day route
- Cold, wind chill and why dry kit is safety kit
- Food, electronics and the two-pouch rule
- Wet-weather checklist before you roll out
What a wet forecast changes about the load
Rain alters a bikepacking load in three ways at once: it adds a layer set, it adds food because wet riding burns more energy, and it adds a drying plan because nothing dries by itself at 8 °C. The volume change is modest by comparison, but the organisational change is significant, because items that were previously interchangeable are now sorted into things that must stay dry, things that may get wet, and things that will be wet and need containing.
The other shift nobody plans for is access frequency. A dry-day ride opens maybe twice in eight hours; a wet-day ride opens four or five times, because layers come off and go back on and because food gets eaten faster in the cold. Each opening is a chance to let water into the bag, so the closure you can operate quickly with wet hands becomes more important than the total litres available.
Finally, wet weather extends the effective day. Everything takes longer when you are cold and carrying extra weight: a 90 km day in steady rain can take 90 minutes more than the same route dry. That means carrying an extra food stop and starting usable volume higher than usual, which is why many riders adopt a slightly larger bar roll for shoulder season and drop back to the summer size once the rain stops.
The layering system and the volume it occupies
Start from the protection list rather than from the whole wardrobe. Only five items genuinely need waterproof storage: the insulating layer, the spare base layer, gloves, overshoes and the sleep system. A shell can get wet on the outside and still work, which is the point of a shell, so it can live in an outside pocket or a mesh pouch where it drips harmlessly. Understanding that single distinction usually frees one to two litres of sealed capacity.
| Item | Packed volume | Weight | Needs sealed storage | Why |
|---|---|---|---|---|
| Down or synthetic jacket | 1.6-2.4 L | 320-500 g | Yes | Wet insulation stops insulating |
| Spare base layer, merino | 0.7-1.0 L | 180-240 g | Yes | Only dry change available |
| Insulated gloves plus liner | 0.4-0.6 L | 140-220 g | Yes | Cold hands cannot roll a closure |
| Overshoes or thick socks | 0.5-0.8 L | 160-260 g | Yes | Wet feet end a day early |
| Waterproof shell | 1.2-1.8 L | 280-420 g | No | Designed to be wet externally |
| Sleeping quilt or bag | 4.0-9.0 L | 600-1,200 g | Yes | Cannot be dried before nightfall |
| Sleeping mat and liner | 1.5-2.2 L | 300-450 g | Partly | Mat is usually closed-cell |
Read that list and the priority order becomes obvious: the sleep system fails first and fails worst, because there is no way to dry it at 6 pm in drizzle and no way to sleep warm in it once damp. Gloves are the second priority for a counter-intuitive reason: cold hands are what stop you rolling a closure properly, so protecting gloves protects everything else in the bag.
Volume figures here assume compression to the limit you can achieve by hand, not a vacuum bag. Most riders over-estimate how well insulation compresses in damp air; a synthetic jacket that takes 1.6 litres dry takes nearer 2.2 after it has absorbed even 5 percent moisture by weight. Leave that margin when sizing, and read our mistake list for wet rides before assuming the numbers will hold.
Protecting the sleep system above everything else
Everything else in the load can be recovered from; a wet sleeping bag cannot. Give it the best-protected position, which usually means the bag with the fewest openings, the best closure access, and no compression from other loads. In practice most riders use the bar roll or a dedicated seat roll for the sleep system and keep everything else in frame and top tube bags that get opened repeatedly.
Use two layers of defence for this item regardless of how good the outer bag is. A sleep system packed into its own compression sack, then into a welded roll-top, survives a failed roll or a torn strap, whereas a single layer has no redundancy. Add a dry liner for the second layer if the budget stretches: an inexpensive 20 litre liner inside the main bag costs very little and doubles the protection where it matters most.
Compression strategy matters too. Do not compress a sleeping bag to its absolute limit inside a dry bag, because compressed insulation has almost no air space and therefore no ability to buffer humidity, and because an over-tight pack cannot be rolled closed cleanly. Leave about 15 percent slack in the sleep bag, pack the mat beside it rather than around it, and roll once for shape before the three working folds.
Choosing bags for rain instead of choosing them for sun
A bag chosen in dry weather tends to optimise the wrong things: low weight, slim profile, lots of external pockets. In wet weather the priorities reorder towards seam construction, closure accessibility with gloves on, and the ability to shed water rather than absorb it. External mesh pockets are actively unhelpful in rain because they hold water against the shell and wick slowly inward over hours.
Webbing and hardware deserve more attention than usual. Straps that pass across the front of a bag collect road spray and channel it towards the closure, so prefer designs where the strap path is short and horizontal. Metal hardware is fine but adds weight and cold; acetal buckles stay workable with numb fingers where some metal cam levers become painful to release at 4 °C.
- Welded seams rather than stitched and taped, because needle holes wick under even slight pressure.
- Few external pockets, because mesh holds water against the shell for hours.
- A closure you can reach and operate without removing gloves.
- Horizontal strap paths that do not channel water towards the roll.
- Acetal buckles, which stay usable cold, rather than small metal cam levers.
- A colour that shows dirt, since grit in the fold is the main leak cause.
That last point surprises people, but it is practical. In wet conditions you will be closing bags in poor light on a roadside, and being able to see grit on the fold line in the beam of a head torch prevents the single most common leak mechanism. Highly textured coatings that hide dirt are a disadvantage for exactly this reason, whatever they do for abrasion resistance.
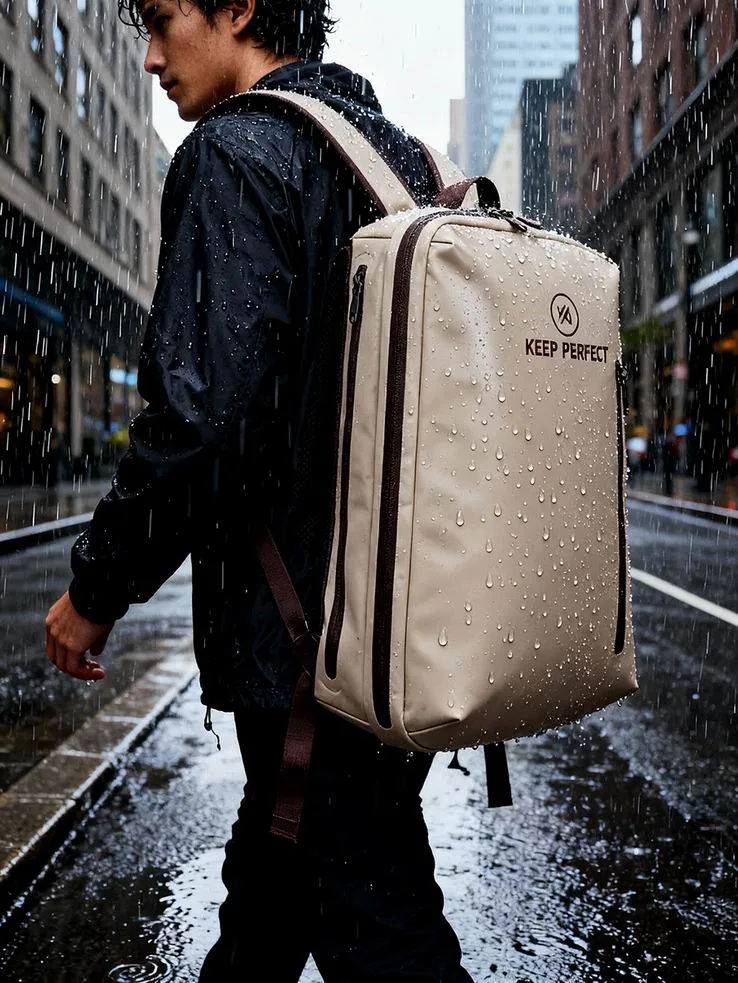
Which way the closure should face on a wet road
Orientation is the cheapest waterproofing upgrade available, and it costs nothing. Water on a moving bike travels along the bag from the direction of travel, so the rolled closure should face rearward and slightly downward rather than forward, and never upward. A forward-facing roll is hit directly by driven rain at 30 km/h, which pushes water into the fold progressively for the whole day.
The second rule concerns the buckle tail. Point it down and back, and tuck the loose end rather than letting it flap, because a flapping strap end pumps the roll open slightly with every bump and acts as a channel delivering water to the fold. Riders who do this consistently report noticeably drier contents on long wet days, at literally zero cost.
A third, less obvious point: the bag should sit slightly higher at the front than the rear where possible. Because the closure sits at the top and rear, a small forward tilt helps any water reaching the roll run away rather than pool against it. This is easy to achieve with strap position on a seat roll and nearly impossible on a frame bag, which is another reason not to put anything critical in the lowest bag.
A wet-weather kit list with real numbers
Below is a worked list for a five-day shoulder-season route with rain forecast on three days, built around a rider who wants to stay warm down to about 3 °C at night. Figures are packed volumes and weights from a real kit list, not theoretical minimums, and they assume the rider is carrying a tent and cook kit separately.
| Category | Contents | Volume | Weight | Storage |
|---|---|---|---|---|
| Sleep system | Quilt, pad, liner, pillow | 6.5-10.0 L | 1.1-1.8 kg | Sealed bar or seat roll |
| Insulation | Jacket, spare base layer, hat | 2.8-3.6 L | 550-850 g | Sealed, innermost |
| Shell layer | Jacket, overshoes, gloves | 2.0-3.0 L | 450-750 g | Shell outside, rest sealed |
| Electronics | Phone, battery, cables, lights | 0.6-1.0 L | 400-650 g | Sealed pouch, top of bag |
| Documents | Cards, cash, route notes | 0.2 L | 80-150 g | Pouch inside liner |
| Food, two days | Bars, dinner, emergency ration | 2.4-3.2 L | 1.4-2.0 kg | Any dry space |
| Repair kit | Tube, tools, pump, spare link | 1.2-1.8 L | 900 g-1.3 kg | Frame bag, reachable |
Total wet-weather load lands between 14 and 22 litres and 5 to 7.5 kg depending on how much food is carried, which puts most riders into a 20 to 30 litre primary dry bag plus frame storage. There is a decision point in almost every route here: two ration days is the crossover where a heavier load becomes safer than a fast resupply, and our weekend sizing guide covers the shorter end.
Driven rain at speed and the rating that covers it
Water hitting a moving bag behaves differently from water falling on a static one. Apparent wind is the sum of your speed and the ambient wind, so riding at 25 km/h into a 20 km/h headwind exposes the bag to 45 km/h airflow, and driven rain at that speed has enough energy to work its way into any gap that only a static test would pass. This is the gap between splash protection and genuine waterproof construction.
| Condition | Apparent wind speed | What the bag sees | Rating needed |
|---|---|---|---|
| Light rain, no headwind | 20-25 km/h | Fine driven mist | IPX5 |
| Steady rain into a breeze | 35-45 km/h | Water pushed into every gap | IPX6 |
| Autumn squall on open road | 55-70 km/h | Sustained driven water | IPX6 with welded seams |
| Deep puddle at 30 km/h | Impact plus spray | Brief immersion at the base | IPX7 at the lower seam |
| River crossing while pushing | Static | Submersion to hub height | IPX7 |
| Night in camp, dew and drizzle | Near zero | Condensation, not ingress | Any sealed bag |
Note the bottom row, because it catches riders out every year. Dew and drizzle produce almost no ingress, yet people wake to find condensation inside the bag and conclude it leaked. Saturated night air plus a warm body or a warm food item produces measurable water inside a perfectly sealed container; our condensation notes explain how to minimise it.
The wet hands problem and how to close a bag anyway
Around 5 °C with wet gloves, fine motor control goes first, and that is exactly the skill needed for a three-fold closure. Plan for it rather than fighting it. Carry a thin liner glove in a pocket rather than a bag: putting a dry liner on for the ninety seconds needed to close the bag is faster and warmer than fumbling with numb fingers, and it removes most of the risk.
- Stop somewhere sheltered if you can; ninety seconds out of the wind saves ten minutes of difficulty.
- Put dry liner gloves on before touching the closure, even if only for a moment.
- Wipe or tap the fold line clean; grit plus poor grip guarantees a bad seal.
- Roll on a thigh or against a pannier rather than in mid-air, using body weight.
- Make the first fold wide, so folds two and three have material to bite on.
- Press the air out as you go rather than trying to squeeze it all at the end.
- Clip the buckle with the heel of the hand, not the thumb tips.
- Tug once to check; a proper roll resists without any further adjustment.
If your hands are genuinely too cold to work, the honest answer is to stop, eat something sugary and warm up for ten minutes, because a badly closed bag will cost far more than that. Riders sometimes attempt to solve this with different hardware, but the failure is physiological rather than mechanical, and no buckle fixes numb fingers.
Managing water that gets inside anyway
Assume that eventually some water will get in, and design around that rather than pretending otherwise. The principle is compartmentalisation: never let one bag hold both your only warm layer and something that might be wet. Split into at least two sealed volumes, with the sleep system and insulation in one and everything tolerable in the other, so a single failed roll costs you comfort rather than safety.
When water does appear, act immediately rather than at camp. Empty the bag, shake it out, turn it over to drain fully, and re-roll; leaving even 100 ml sloshing around a sealed bag for two hours will wick into everything absorbent, whereas dealing with it in ninety seconds limits damage to whatever got wet first. Then check what caused it before riding on, because the cause rarely goes away by itself.
Diagnose by pattern. Water at the bottom suggests the closure was rolled badly or the bag was over-filled. A damp patch at one corner suggests a weld defect or a pinhole. Uniform dampness with no obvious entry suggests condensation. Each has a different fix, and only the third is harmless, which is worth knowing before spending a wet evening worrying about it.
Finding drying opportunities across a multi-day route
Drying strategy separates pleasant wet tours from miserable ones, and it is largely about planning rather than equipment. Nothing dries at 80 percent humidity and 8 °C, so the realistic goal is usually to stop things getting wetter rather than to achieve genuine dryness. Accepting that changes how you pack: protect rather than rescue.
| Opportunity | Typical duration | What it can dry | Realistic result |
|---|---|---|---|
| Café radiator with insulation pushed inside | 45-90 min | Jacket turned inside out | Mostly dry |
| Laundromat tumble dryer | 30-45 min | Everything including shoes | Fully dry |
| Sunny wall in a 15 km/h breeze | 2-4 h | Base layer, socks | Damp to dry |
| Campsite awning overnight | 10-12 h | Outer shell only | Shell dry, nothing else |
| Body heat inside a jacket | 2-3 h riding | Gloves, thin socks | Warm and damp |
| Hotel or refuge radiator | 8-10 h | Full kit including boots | Fully dry |
The humiliation of laundromats and hotel radiators should be scheduled deliberately. Route through a town every second night in persistent rain, because one drier cycle resets the whole kit and prevents the slow accumulation of damp that makes day four miserable. Budget 6 to 8 euros and ninety minutes, and use the time to check closures, re-tension straps and re-pack properly.
Airflow is the variable that actually matters, and our drying and airflow guide sets out how to make the most of limited options. Briefly: airflow beats heat for synthetic insulation, and both beat nothing. Hanging a damp jacket on the front of your bike while you ride works better than it sounds, provided the road is not itself throwing water at it.
Cold, wind chill and why dry kit is safety kit
Wetness multiplies heat loss in two separate ways. Water conducts heat roughly twenty times faster than still air, so a wet base layer actively pulls heat from the skin, and evaporation removes additional energy from whatever is trying to warm it. Together they mean a rider in damp insulation at 6 °C can lose heat faster than a dry rider at 0 °C, and since the effect accelerates as core temperature drops, early action is disproportionately valuable.
Wind is the other half of the equation, and bikes generate their own. Even a modest 20 km/h descent adds to the convective loss, so the combination of damp clothing plus self-generated wind is a genuine hypothermia pathway on an otherwise mild day. The detection signs are easy to miss: fumbling hands, slurred decision-making and a sudden loss of interest in the plan.
The prevention is unglamorous but effective: keep one dry base layer and one insulating jacket sealed and untouched, eat before you feel hungry, and stop the moment anyone starts shivering uncontrollably. Public health guidance on cold exposure and hypothermia from the CDC is worth reading before a shoulder-season trip, and route-level weather planning through NOAA is worth checking the morning rather than the night before.
Food, electronics and the two-pouch rule
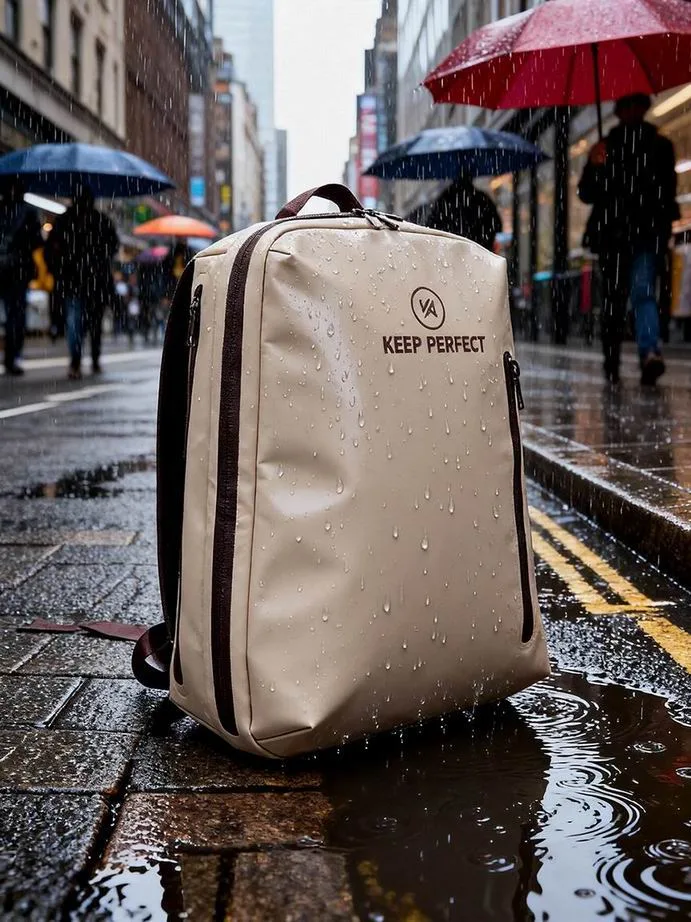
Everything small and critical follows the same rule: it lives in its own sealed pouch inside the main bag. Two pouches cover it, one for electronics and documents, one for food that must not contaminate anything else. The reasoning is that each pouch is an independent seal, so a single failed roll costs you nothing irreplaceable, and both cost almost nothing in weight or space.
For electronics the pouch should also be the highest item in the bag, because it is the thing you reach for most often and because anything valuable belongs farthest from the water that collects at the bottom. Our laptop protection notes and the guide to documents and cards cover packing techniques that transfer directly to a phone, a battery pack and route cards.
Food deserves separate treatment for a different reason. Oily and aromatic foods leave residues that migrate into fabric and attract attention from wildlife at night, and the smell never fully washes out. Double-bag anything with oil or strong odour, keep it out of the sleeping bag compartment entirely, and accept that a slightly heavier food bag is cheaper than a contaminated one.
Wet-weather checklist before you roll out
- Size the sealed volume for the sleep system and insulation first, then fit the rest around it.
- Split into at least two sealed volumes so one failed roll is survivable.
- Face every closure rearward and slightly downward, and tuck the buckle tail.
- Carry dry liner gloves in a pocket, not in a bag, for closing cold closures.
- Wipe the fold line every time; grit is the single most common leak cause.
- Leave 15 percent slack in the sleeping bag rather than compressing it fully.
- Keep electronics and documents in their own sealed pouch, packed at the top.
- Double-bag oily or aromatic food and keep it away from the sleep system.
- Route through one town every second day for a drier cycle in persistent rain.
- Compare the volumes you need across the full range before buying.
One practice ride in full wet weather before a trip teaches more than any amount of theory, because it exposes exactly which of your habits fail when it matters. Do it on a route 30 km from home, carry the full kit, and note every time you had to stop because of a bag rather than a bike. Roughly every rider who does this changes at least one thing about the setup.
Groups, guiding operations and shop fleets face the same problem multiplied, and the useful adaptation is standardisation: one closure type, one roll count, one bag colour per job, so that instruction given once applies everywhere and nobody has to relearn a seal in the rain.
Lastly, remember that the wet-weather system is a whole rather than a list of parts. The bag, the layering plan, the drying opportunities along the route and the food strategy all interact, and improving the weakest of them does more for comfort than upgrading the strongest. Start with the sleep system, since that is the one that cannot be rescued on a cold evening, then work outwards from there.
Frequently asked questions
Q1. What wet-weather kit do I need for bikepacking?
A waterproof shell, an insulating jacket, a spare merino base layer, gloves with liners and overshoes, plus a fully protected sleep system. Those five items pack to roughly 3 to 4 litres and weigh 900 g to 1.4 kg, and all of them except the shell must stay sealed dry.
Q2. How much extra volume does rain add to a bikepacking load?
About 2 to 4 litres and 700 to 1,300 g. Food volume also rises because cold wet riding burns more energy, so most riders end up one bag size larger for shoulder season than for summer.
Q3. Does a waterproof shell need to go in a dry bag?
No. A shell is designed to be wet on the outside and can live in an outside pocket or mesh pouch where it drips harmlessly. Keeping it out of sealed storage frees one to two litres for things that must stay dry.
Q4. Which way should the roll-top face on a bike?
Rearward and slightly downward, never forward or upward. A forward-facing roll is hit directly by driven rain, which pushes water into the fold progressively over hours of riding.
Q5. What waterproof rating do I need for bikepacking rain?
IPX6 covers steady rain with a headwind, and IPX7 additionally covers puddle impacts and stream crossings. Look for welded seams, because stitched holes wick under even slight pressure.
Q6. How do I close a dry bag with cold, wet hands?
Put dry liner gloves on first, roll on your thigh rather than in mid-air, make the first fold wide, press air out as you go, and clip with the heel of your hand. If fingers are numb, stop and warm up for ten minutes instead.
Q7. Why is my bag damp inside even though it was closed?
Usually condensation rather than leakage. Warm items and saturated night air produce water inside a perfectly sealed bag. Check the bottom for pooling first; if there is none, it was condensation.
Q8. Should I carry one big bag or several smaller ones in the rain?
Several. Two sealed volumes mean one failed roll costs comfort rather than safety, and smaller bags are easier to close properly with cold hands and easier to pack accessibly.
Q9. How do I dry kit during a wet multi-day trip?
Route through a town every second night for a laundromat drier, use café radiators with insulation turned inside out, and ride with damp items strapped outside if the road is dry enough. Airflow matters more than heat.
Q10. Is the sleeping bag the most important thing to keep dry?
Yes. It is impossible to dry before nightfall in drizzle, and damp insulation loses most of its warmth. Give it the least-opened bag, plus a compression sack or liner as a second layer of defence.
Q11. Do I need a different dry bag for winter bikepacking?
Usually one size larger, because insulation is bulkier and less compressible once damp. A shoulder-season load often needs 6.5 to 10 litres just for the sleep system, against 4 to 6 in summer.
Q12. How does wet weather affect how far I can ride?
Plan for roughly 90 minutes longer over a 90 km day. Everything takes more time when cold, layers need changing more often, and resupply stops come more frequently, so build in daylight margin.
Q13. What should I do if water gets into the bag mid-ride?
Stop immediately, empty, shake out and re-roll. Leaving 100 ml in a sealed bag for two hours wicks into everything absorbent, while ninety seconds of attention limits the damage to one item.
Q14. Are external pockets useful on a wet trip?
Less than usual. Mesh holds water against the shell and wicks slowly inward over hours. Prefer designs with few external pockets and short, horizontal strap paths that do not channel water to the roll.
Q15. How valuable is double-bagging food?
Very. Oily and aromatic food leaves residues that migrate into fabric, never fully wash out and attract wildlife at night. Keep it in a sealed pouch away from the sleep compartment.
Q16. What is the single most important habit for wet rides?
Wiping the fold line before every closure. Grit in the fold creates a capillary path that wicks water in over an hour of riding, and it accounts for most of the leaks that look like product failures.
People also ask
How do you keep gear dry while bikepacking in the rain?
Split the load into two sealed welded volumes, face closures rearward and downward, wipe the fold line before rolling, and give the sleep system and insulation the bag that gets opened least. Use pouches for electronics and food.
What should be in a bikepacking wet-weather kit?
A shell, an insulating jacket, a spare base layer, gloves with liners and overshoes, plus a protected sleep system. Everything except the shell needs sealed storage; the shell can stay wet outside.
How much bigger should my dry bag be for wet weather?
Plan for 2 to 4 litres and 700 to 1,300 g more than summer. Insulation absorbs moisture and stops compressing well, so a jacket that takes 1.6 litres dry needs nearer 2.2 after a wet day.
Can you dry kit while touring in constant rain?
Not fully in the field. Use laundromat driers in towns every second night, café radiators with insulation turned inside out, and body heat for gloves and socks. Airflow matters more than heat.
Why does my dry bag leak on long rainy rides?
Usually grit in the fold line or a closure facing forward into driven rain rather than a product fault. Wipe both fold surfaces, roll rearward and down, and tuck the buckle tail so it cannot pump open.
Is hypothermia a real risk while bikepacking?
Yes, in mild temperatures. Wet insulation conducts heat away roughly twenty times faster than air, and riding generates extra convective wind chill, so symptoms can appear well above freezing after a long wet descent.
Need this in production volume?
QUANZHOU JUNYUAN BAGS has produced waterproof bags since 2014 in an SGS-verified 4,950 m2 facility in Fujian, China. Minimum order 500 pieces, sampling in 6–10 working days, bulk in 35–50 days, FOB Xiamen — write to service@junyuanbags.com with your spec and target market.