Gravel Riding: 7 Dry Bag Mistakes to Avoid
Gravel riding destroys dry bags through three forces a trail ride never produces: eight to twelve hours of washboard vibration at 25 to 40 Hz, silica dust between 10 and 60 microns that sits inside a fold line, and creek crossings taken at 20 km/h that immerse the lower third of a bag for three to five seconds. Seven mistakes account for almost every wet-bag story on a gravel route, and five of the seven are packing or mounting errors rather than product faults. Correct the mounting geometry and the fold hygiene and a mid-range welded bag will finish a 600 km route dry.
This guide names each mistake, explains the mechanism behind it, and gives you the number that tells you when it has happened: strap compression in kilograms, particle size in microns, immersion time in seconds, weld inspection intervals in riding hours. Use the audit tables below to check your own setup in about twenty minutes, then fold the checks into a monthly routine instead of discovering the failure 90 km from the nearest town with a soaked sleeping bag.
- Why gravel breaks bags that survive trail riding
- Mistake one: sizing for litres instead of load shape
- Mistake two: trusting a splash rating on a washboard descent
- Mistake three: pointing the closure into the spray path
- Mistake four: tensioning straps until the roll distorts
- Mistake five: packing food and greasy tools in one sealed space
- Mistake six: riding all day with dust in the fold
- Mistake seven: skipping the rinse because it never rained
- How dust actually defeats a roll-top closure
- What eight hours of washboard does to welds and hardware
- Where to put a dry bag on a gravel bike
- A twenty-minute monthly inspection
- Pre-ride checklist and what to specify for a group
Why gravel breaks bags that survive trail riding
Singletrack loads a bag with occasional sharp impacts. Gravel loads it with sustained, small-amplitude input: washboard ripples spaced 150 to 250 mm apart, ridden at 25 km/h, push a bar roll through roughly 30 to 45 compression cycles every second for hours at a time. Over an eight-hour day that is close to a million cycles, and nothing in a soft bag system is designed with that duty in mind, from the strap webbing to the corner of a welded seam.
Water behaves differently too. Gravel riders meet shallow creek crossings, morning dew that never dries under a tree line, and dust that turns to a paste the moment it meets condensation. None of those is a submersion event, yet each one puts water exactly where a bag is weakest: at the base of a roll, at a lower corner weld, and at the buckle. A bag that has never been underwater can still deliver a damp sleeping bag by evening.
The third difference is access frequency. A gravel rider stops every 60 to 90 minutes for food, a layer change or a navigation check, and every stop happens at the roadside in wind-blown dust. Each opening is a fresh chance to contaminate the fold, so the closure you can clean and roll quickly in poor conditions matters more than the headline litres printed on the label.
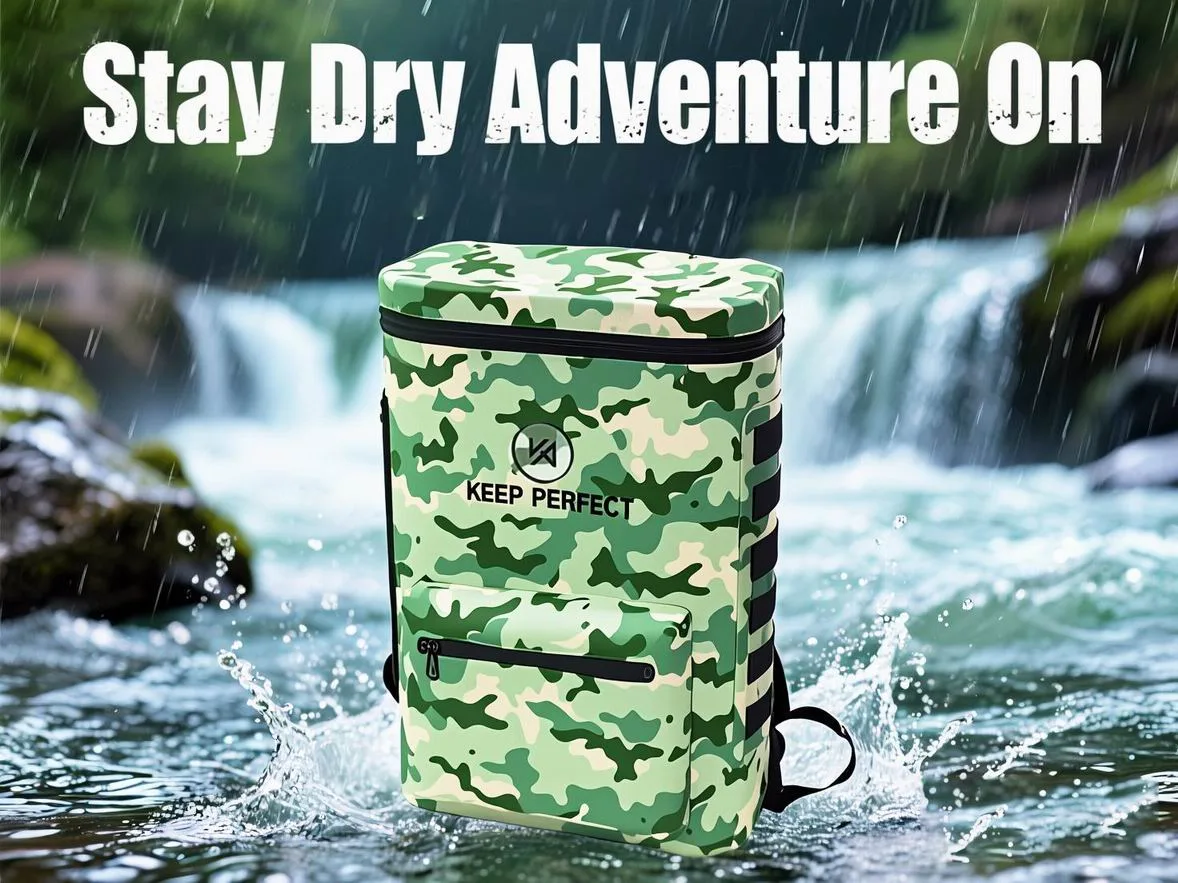
Mistake one: sizing for litres instead of load shape
A capacity number describes an empty bag with the mouth open, which is a state your bag is never in while riding. Three working folds consume 15 to 20 percent of the stated volume on a 10 to 14 litre roll, and compression straps take a further share once they bite. A gravel load is also awkwardly shaped: a pump, spare tube, tyre lever and tent poles are long and rigid, and they refuse to arrange themselves inside a short, fat bag no matter how many litres it claims.
Measure the longest rigid item in your kit and add five centimetres, then buy the bag whose internal length clears that figure rather than the one with the biggest number. A 14 litre bar roll with 45 cm of usable length will carry a gravel kit comfortably where a 20 litre roll with 38 cm will not close at all, and a bag that cannot close is a bag that leaks.
| Gravel load case | Packed volume | Typical weight | Bag that works | Closure checks per day |
|---|---|---|---|---|
| Day loop, 60 km | 4-6 L | 1.2-1.8 kg | 8-10 L bar roll or frame bag | 2 |
| Long day, 140 km | 7-10 L | 2.0-2.8 kg | 12-14 L seat roll plus 4 L top tube | 4 |
| Overnight, two days | 14-20 L | 3.5-5.0 kg | 20 L roll plus 6 L accessory | 5 |
| Bikepacking stage, five days | 20-30 L | 6-9 kg | 25-30 L split across three bags | 6 |
| Winter gravel with extra layers | 10-14 L | 2.8-3.6 kg | 14-16 L roll with a liner | 4 |
Notice how the closure checks climb with distance. Every additional opening is another opportunity for dust in the fold, which is the reason experienced riders split a five-day load across three bags rather than one large one: fewer openings per bag, and a single failed roll costs one category of kit rather than the whole trip.
Mistake two: trusting a splash rating on a washboard descent
Splash ratings are static tests. A washboard descent is a dynamic one, because the bag flexes four to six millimetres at the seam on every ripple while water sits against it. A stitched and taped seam will pass a shower test in a shop and then pump water through needle holes once the fabric is being worked, which is why welded construction is not a premium upgrade for gravel but the baseline requirement.
Ask for the standard behind the claim rather than the adjective. Ingress grades are defined by the IEC in IEC 60529, and fabric and strap performance are covered by test methods published through ASTM; a spec sheet that names both is a spec sheet you can audit. For gravel, the practical target is a welded 0.5 mm TPU shell rated IPX7, because creek crossings are brief immersions rather than jets.
Mistake three: pointing the closure into the spray path
Without mudguards, a gravel tyre throws water and dust forward and outward from the contact patch, and a handlebar roll sits directly in that plume. A roll closed with the fold facing forward receives driven spray for hour after hour, and the water does not need to defeat the whole closure: it only needs to work past the first fold, after which capillary action finishes the job inside the bag.
Face the closure rearward and slightly downward, and tuck the buckle tail so it cannot flap. A loose strap end pumps the roll open by one to two millimetres on every bump, which is small enough to be invisible and large enough to admit water over a full day. Both fixes cost nothing and together they remove the most common cause of a damp bar roll.
Mistake four: tensioning straps until the roll distorts
Compression is necessary and over-compression is destructive. Pulling a bar roll strap to 12 or 15 kilograms deforms the roll into an oval, opens a channel at the first fold, and presses a permanent crease into the film that will stiffen and eventually crack. Six to eight kilograms of compression holds a load at 30 km/h on washboard; more than that buys stability you do not need at the cost of the seal.
Tension also relaxes. Webbing creeps 10 to 15 percent in the first 45 minutes of a ride and then stabilises, so the correct routine is to tension to spec, ride 45 minutes, retension once, and check at every feed stop after that. Crease discipline is covered in more depth in our notes on avoiding crease damage, and the strap hardware itself is worth auditing with the harness design guide.
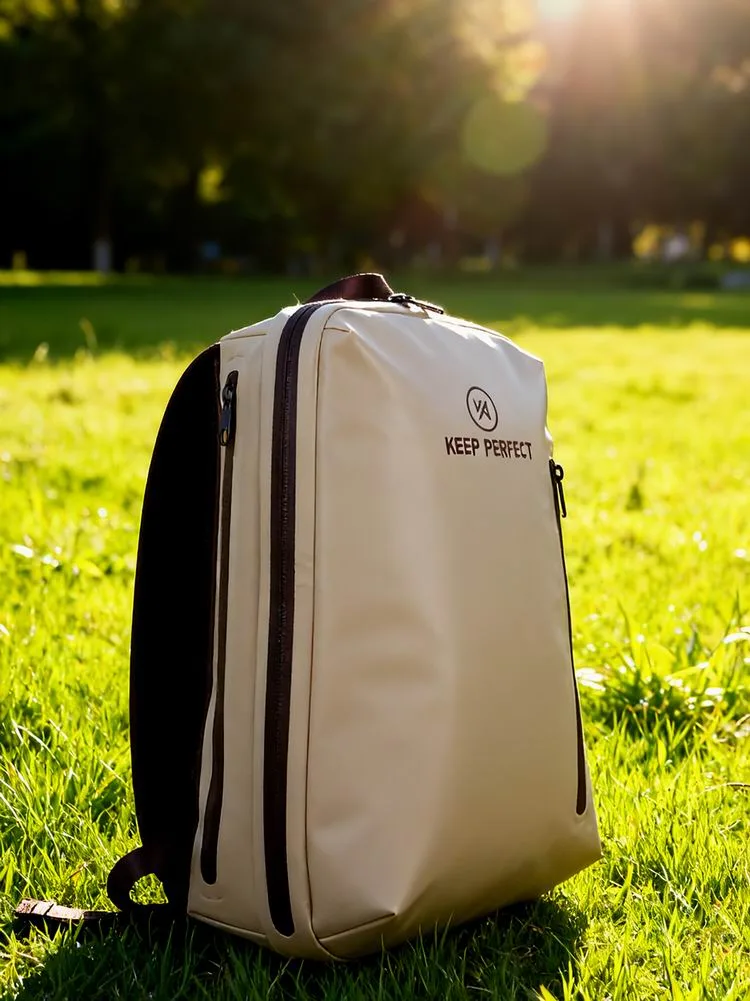
Mistake five: packing food and greasy tools in one sealed space
Tools and food do not belong together for two independent reasons. The first is contamination: a tubeless sealant bottle that weeps even two millilitres will coat everything it touches, and chain lube migrates through fabric in a way that never fully washes out. The second is abrasion: a multi-tool with three millimetre steel edges vibrating against a 0.3 mm film for eight hours will produce a pinhole, and a pinhole is the one failure mode that no amount of rolling discipline prevents.
Wrap tools in a cloth sleeve, give them their own pouch, and put that pouch low and away from the film wall where it cannot work against the seam. Food gets a separate pouch for hygiene reasons, and both pouches should be inside the main bag rather than strapped outside, where they would collect spray and grit at exactly the wrong place.
Mistake six: riding all day with dust in the fold
Dust between 10 and 60 microns is small enough to sit inside the fold line and large enough to hold the two film faces apart. That gap becomes a capillary, and once water finds it the bag wets through in 40 to 90 minutes of wet riding, seemingly without explanation. Riders usually blame the bag, but the bag was closed around a contaminant that was visible on the fold for anyone who looked.
The fix is cheap and takes ten seconds: tap or wipe both fold faces before every closure, and carry a small soft brush in a top tube bag for the job. Wiping a dusty bag dry with a rag is the opposite of helpful, because silica dust at that particle size is a mild abrasive and you will grind it into the film. Rinse first, then wipe, and check the buckle cleaning routine monthly, since the same dust packs into cam teeth and reduces holding force.
| Contaminant | Typical particle size | Where it settles | Effect on the seal | Fix |
|---|---|---|---|---|
| Granite fines and silica dust | 10-60 µm | Fold line | Capillary path wets through in 40-90 min | Wipe both fold faces before rolling |
| Clay paste after rain | 2-10 µm | Mouth and buckle | Fills buckle teeth, slips under load | Low-pressure rinse, then dry |
| Chain lube film | Liquid | Film near tool pouch | Attracts dust, stains permanently | Mild soap, separate tool pouch |
| Pine needles and grit | 1-3 mm | Inside the roll | Holds the fold open 1-2 mm | Pick out, then re-roll |
| Winter road salt crystals | Crystals | Cam buckle and D-ring | Corrosion and strap slip | Fresh-water rinse and dry |
Mistake seven: skipping the rinse because it never rained
A dry, dusty ride leaves a bag that looks clean and is not. Wiping that film dry drags abrasive particles across the surface, which over a season produces the grey, scuffed appearance owners mistake for UV damage. It is mechanical wear, and it is entirely avoidable with a two-minute rinse before any wiping happens.
The correct sequence is rinse at ambient temperature with low pressure, wipe with a soft cloth, dry in shade with the mouth open, and store rolled loosely with the buckle unclipped. Full steps, including what to do about mildew after a wet trip, are set out in the roll-top cleaning guide, and the same routine applies whether the ride was wet or merely dusty.
How dust actually defeats a roll-top closure
A roll-top seals by pressing two film faces together along three contact lines. Water crossing that seal has to break surface tension and travel against the direction of the fold, which is why a clean, well-rolled closure resists hours of rain. Introduce a single particle of 50 microns and the physics changes completely: the film can no longer make continuous contact, the gap acts as a capillary tube, and water is drawn in rather than pushed out.
This is also why grit is worse at the top fold than at the third. The outermost fold is the one exposed to the environment and the one under the least compression from the buckle, so contamination there bypasses two of the three barriers immediately. It takes one particle, which is why the wipe is worth doing even when you are certain the bag is clean.
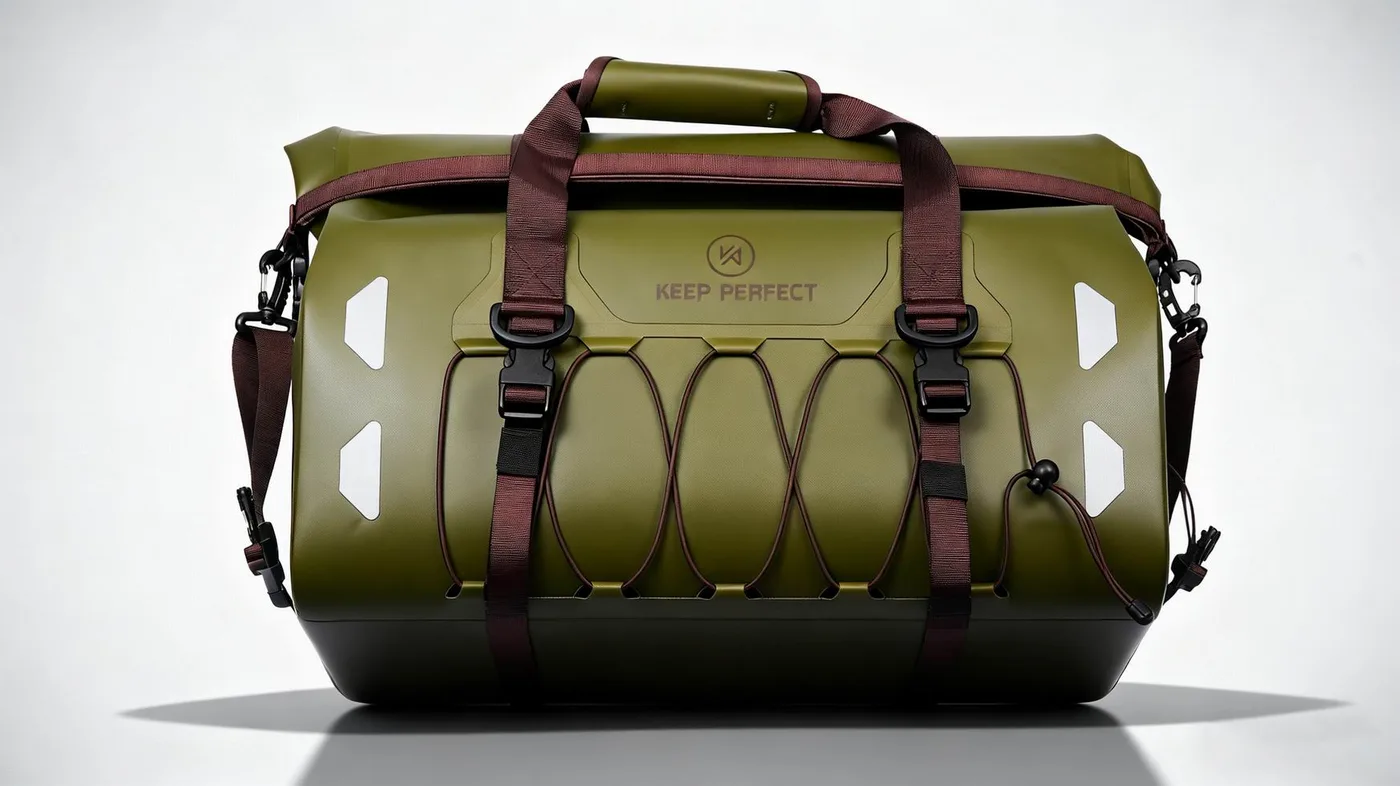
What eight hours of washboard does to welds and hardware
Washboard ripples spaced 150 to 250 mm and ridden at 25 km/h produce 30 to 45 impacts per second, which over a full day approaches a million load cycles on the strap path. Every component in that path has a different failure signature: webbing creeps, buckle teeth wear, corner welds fatigue, and D-ring eyelets abrade the webbing threaded through them. None fails suddenly, and all of them give warning if you look at the right interval.
| Component | What vibration does | Practical threshold | Check interval |
|---|---|---|---|
| Compression strap | Creep and relaxation | Retension after 45 min, then every 3 h | Every feed stop |
| Cam buckle | Tooth wear, slip below 8-10 kg | Replace if it slips below 6 kg | Monthly |
| RF welded seam | Corner fatigue after 500-800 h | Inspect corners every 20 riding hours | Every 200 km |
| Welded D-ring | Webbing abrasion at the eyelet | Retire at 30 percent webbing wear | Monthly |
| Roll fold line | Crease memory and stiffening | Shift the fold 1 cm at each packing | Every pack |
Weld inspection is the one riders skip, and it is the one that prevents a catastrophic failure rather than a nuisance. Run a thumb along every corner where two welds meet, looking for a white stress line in the film; that whitening appears before separation, and a corner caught at that stage can be patched in camp. Our notes on TPU abrasion behaviour explain why 0.5 mm film tolerates this duty where 0.3 mm does not.
Where to put a dry bag on a gravel bike
Position determines exposure, and exposure determines how much of the above you have to manage. A handlebar roll takes the full spray plume from the front wheel and the highest vibration input, which makes it the worst place for anything that must be bone dry and the best place for a sleep system that is already double-bagged. A frame bag sits inside the triangle, shielded by the rider and the frame, and is the correct home for heavy items and tools.
| Position | Usable volume | Exposure | Working strap load | Best use |
|---|---|---|---|---|
| Handlebar roll | 6-14 L | Highest spray and dust | 6-8 kg compression | Sleep system, insulation |
| Main triangle frame bag | 3-6 L | Moderate, shielded | 4-6 kg | Tools, food, dense items |
| Seat roll | 8-16 L | Rear spray and mud | 5-7 kg | Clothing, dry layers |
| Top tube bag | 0.8-1.5 L | Low | Under 1 kg | Phone, food, small spares |
| Fork cargo cage | 3-6 L | Highest vibration | 3-4 kg | Water, bulky dry items |
| Backpack | 8-18 L | Sweat plus rain | 3-6 kg on shoulders | Water, camera, layers |
Weight distribution is the constraint that overrides all of it. Above roughly 7 kg on the bars, steering becomes heavy and low-speed control suffers on loose surfaces; above 8 kg at the seat post, the roll sways and the strap path starts to work against itself. Distribute the heaviest items low and central, keep the bars to the lightest bulky items, and re-check trim after the first hour of a loaded ride.
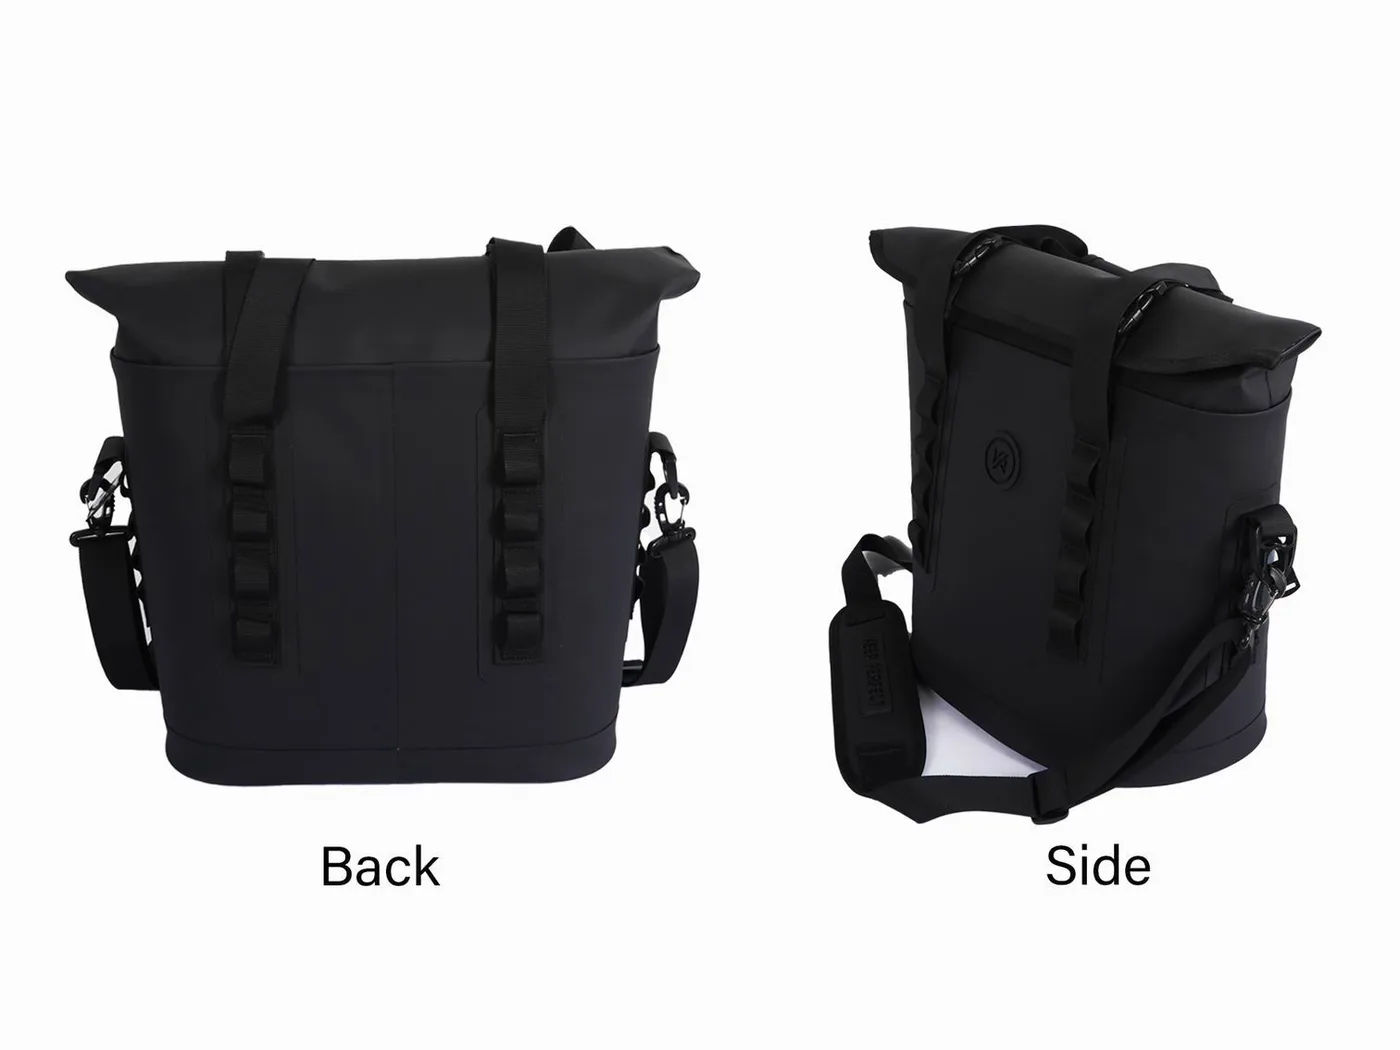
A twenty-minute monthly inspection
- Empty every bag fully and turn it inside out in good light.
- Run a thumb along both fold lines, feeling for grit, salt crystals or stiffened film.
- Inspect every weld corner for a white stress line, working from the base upwards.
- Close the bag with three folds, squeeze it, and listen for a hiss over 30 seconds.
- Pull each compression strap to 8 kg on a luggage scale and confirm the buckle holds.
- Check D-ring eyelets for webbing wear and retire anything past 30 percent.
- Rinse at ambient temperature, then dry in shade with the mouth propped open.
- Store rolled loosely with the buckle unclipped and record the riding hours.
The last step is the one that turns inspection into planning. A bag with 700 recorded riding hours is approaching the interval where corner welds begin to show fatigue, and knowing that before a five-day stage race is worth more than any upgrade. Keep the log in a note on your phone next to your tyre mileage; they correlate closely.
Pre-ride checklist and what to specify for a group
- Size by internal length, not by litres: longest rigid item plus 5 cm.
- Face every closure rearward and slightly downward, and tuck the buckle tail.
- Tension straps to 6-8 kg, retension at 45 minutes, and check at every stop.
- Separate tools and food into their own pouches inside the main bag.
- Wipe or tap both fold faces before every single closure, dusty or not.
- Split the load across at least two sealed volumes so one failure is survivable.
- Inspect weld corners every 20 riding hours and log the total.
- Rinse before wiping, always, and dry in shade with the mouth open.
- Confirm welded seams and an IPX7 rating before committing to a route.
- Cross-check the sizes you need against the full dry bag range.
Clubs, guiding operations and shop fleets face the same list multiplied by every rider, and the useful move is standardisation: one closure type, one roll count, one colour per job, so instruction given once applies everywhere and nobody has to relearn a seal at dusk on a gravel road.
Weather is the variable that turns a manageable ride into a hard one, and gravel routes often run far from shelter. Check the forecast on the morning rather than the night before through NOAA, and treat a 40 percent chance of thunderstorms on an exposed plateau as a reason to carry one more dry layer rather than as a minor inconvenience. The bar roll and seat pack setup used for these loads is covered step by step in our handlebar setup guide, and wet-weather layering decisions sit in the bikepacking wet-weather kit.
One habit separates riders who never think about their bags from riders who are always fiddling with them: they close the bag once, properly, at the start of the day and then leave it alone. Every extra opening doubles the chance of contamination, so pack for the day at the trailhead, keep what you need in a top tube bag, and treat the main roll as sealed cargo until camp.
Frequently asked questions
Q1. What are the most common dry bag mistakes in gravel riding?
The seven that matter are sizing by litres instead of load shape, trusting a splash rating, pointing the closure forward into spray, over-tensioning straps, packing tools with food, leaving dust in the fold, and skipping the rinse after a dry ride.
Q2. How tight should a gravel dry bag strap be?
Six to eight kilograms of compression. Beyond roughly 10 kg the roll deforms into an oval, the first fold opens a channel, and the film takes a permanent crease that stiffens and eventually cracks.
Q3. Which way should the roll-top face on a gravel bike?
Rearward and slightly downward, never forward or up. The front wheel throws a continuous plume of spray and dust into a forward-facing roll, and capillary action does the rest once water passes the first fold.
Q4. Do I need IPX7 for gravel riding or is IPX6 enough?
IPX7, because creek crossings are brief immersions rather than jets. A crossing at 20 km/h immerses the lower third of a bag for three to five seconds, which a splash rating does not cover.
Q5. Why is my bag wet inside after a dry, dusty ride?
Almost always dust in the fold line. Particles of 10 to 60 microns hold the film faces apart, forming a capillary that can move 5 to 15 ml per hour into a sealed bag with no pressure differential.
Q6. Can I wipe dust off a dry bag with a cloth?
Rinse first, then wipe. Dry silica dust at that particle size acts as a mild abrasive, and wiping it across the film produces the grey scuffing many owners mistake for UV damage.
Q7. How much weight can I put on a handlebar roll?
Keep it under about 7 kg. Above that, steering becomes heavy and low-speed control suffers on loose gravel, independent of how well the bag itself is strapped.
Q8. How often should I inspect a gravel dry bag?
Check straps at every feed stop, inspect weld corners every 20 riding hours, and do a full twenty-minute inspection monthly including a squeeze test and a strap pull test at 8 kg.
Q9. Should tools and food share a dry bag?
No. Tool edges abrade a pinhole into thin film over a long vibrating day, and sealant or chain lube contamination never fully washes out of fabric. Give each its own pouch.
Q10. What film thickness handles gravel best?
A 0.5 mm TPU laminate with welded seams. A 0.3 mm film is fine for a small top tube pouch but will not tolerate eight hours of vibration against a tool or a rack.
Q11. How long does a welded seam last on washboard roads?
Corner welds typically begin to show a white stress line after 500 to 800 riding hours. Caught at that stage, the corner can be patched; ignored, it separates and the bag fails at the worst possible moment.
Q12. Do I need a liner inside my main gravel bag?
Yes for the sleep system. A compression sack or light liner inside the roll gives a second independent seal, so a failed roll costs comfort rather than a cold night.
Q13. How many bags should a five-day gravel trip use?
Three: a bar roll for the sleep system, a seat roll for clothing, and a frame bag for tools and food. Fewer openings per bag means less contamination, and a single failure is contained.
Q14. What causes a buckle to slip on a gravel ride?
Packed dust in the cam teeth plus webbing creep of 10 to 15 percent in the first 45 minutes. Rinse the buckle monthly, retension at 45 minutes, and replace any buckle that slips below 6 kg.
Q15. Is a frame bag more protected than a seat roll?
Yes. A frame bag sits inside the triangle, shielded by the rider and the frame itself, while a seat roll takes rear spray and mud directly. Use the frame bag for dense items and tools.
Q16. What is the single habit that prevents most gravel leaks?
Wiping both fold faces before every closure. One 50-micron particle in the outermost fold bypasses two of the three barriers and wets a bag through in 40 to 90 minutes of wet riding.
People also ask
How do you keep a dry bag dry on a gravel bike?
Face the closure rearward and downward, tension straps to 6-8 kg, wipe both fold faces before rolling, and tuck the buckle tail so it cannot pump open. Split the load across two sealed volumes and keep tools in their own pouch.
Why do dry bags fail on washboard roads?
Sustained vibration at 30-45 cycles per second creeps the webbing, wears buckle teeth and fatigues corner welds. A stitched and taped seam also flexes and pumps water through its needle holes under that input.
What size dry bag do you need for gravel riding?
A day loop needs 8-10 litres, a 140 km day 12-14 litres, and a five-day stage 25-30 litres split across three bags. Judge by internal length rather than litres: longest rigid item plus 5 cm.
Can dust really get water into a sealed dry bag?
Yes. A 10 to 60 micron particle in the fold holds the film faces apart and creates a capillary path, which can pull 5 to 15 ml per hour into a bag that was rolled correctly and never submerged.
How do you clean a dry bag after a dusty ride?
Rinse at ambient temperature with low pressure before touching the surface, wipe with a soft cloth, dry in shade with the mouth open, and store rolled loosely with the buckle unclipped.
Are welded seams necessary for gravel bags?
Effectively yes. Washboard flexing works any seam continuously, and needle holes in a stitched seam wick water under that movement even when the same seam passes a static splash test.
Need this in production volume?
QUANZHOU JUNYUAN BAGS has produced waterproof bags since 2014 in an SGS-verified 4,950 m2 facility in Fujian, China. Minimum order 500 pieces, sampling in 6–10 working days, bulk in 35–50 days, FOB Xiamen — write to service@junyuanbags.com with your spec and target market.