Home / Blog / Capacity & Sizing
Dry Bag Size for a Camera Kit
A camera kit needs a dry bag roughly 35% larger than the packed volume of the gear itself: a mirrorless body with one zoom packs to 2.4 litres and belongs in a 6 L to 8 L bag, while two bodies plus a folding drone pack to 11.5 litres and need a 20 L bag. Padding and the roll-top closure together consume 3 to 4 litres on a mid-size bag, which is why sizing by the printed litre figure almost always ends with a bag that will not close on the beach.
This guide gives packed-volume figures for real camera setups, the padding allowance most people forget, the closure and seam specifications that actually protect glass and sensors, and a packing order that keeps a camera reachable on a moving deck. Every recommendation is tied to a measurable load: a 1.4 kg mirrorless body, a 780 g zoom, a 900 g drone airframe or a 1.6 kg travel tripod. Work through the tables, add the padding and closure allowance, then check the result against how you intend to carry the kit.
- Start from the packed volume of the gear, not the bag label
- How padding inserts change the capacity maths
- The 6 L to 10 L bracket: one body and one or two lenses
- The 15 L to 20 L bracket: two bodies, a drone or a long lens
- Roll-top, duffel or backpack for camera carry
- Waterproof ratings and condensation risk for optics
- Salt spray, sand and the lens mount
- Batteries, memory cards and cables inside a sealed bag
- Weight, trim and carrying 6 kg of glass
- Air travel, hand luggage and dry bag sizes
- A packing order that lets you shoot without unpacking
- Care routine after a saltwater or sandy shoot
- Sizing checklist before you buy
Start from the packed volume of the gear, not the bag label
Camera bodies and lenses are dense, hard and irregular, and that combination is what a soft dry bag handles worst. A mirrorless body with a 24-70 mm zoom attached measures roughly 180 x 130 x 150 mm, which is a 3.5 litre bounding box, yet water displacement puts the true packed volume near 2.4 litres because the grip, the lens barrel and the viewfinder hump leave air around them. Planning from the bounding box over-sizes the bag by close to 45%, and that is how a single-body kit ends up rattling around in a 20 L bag.
The litre figure printed on a dry bag is an external volume measured with the mouth open and the bag standing upright. A roll-top closure then removes usable space: three folds take 2.5 to 4 litres off a 20 L bag and about 1.2 litres off a 10 L bag. Published capacity is a ceiling rather than a target. If you want the real number for your own kit, seal it in a soft bag and note how much of the mouth is left, or use displacement in a bucket of known volume.
| Camera kit | Packed volume | Packed weight | Minimum bag | Recommended bag |
|---|---|---|---|---|
| Mirrorless body + one zoom | 2.4 L | 2.2 kg | 5 L | 8 L |
| Mirrorless body + two lenses | 4.1 L | 3.0 kg | 8 L | 10 L |
| Full-frame body + two lenses | 6.8 L | 4.4 kg | 10 L | 15 L |
| Two bodies + drone kit | 11.5 L | 6.1 kg | 15 L | 20 L |
| Full kit with tripod and filters | 17.0 L | 8.3 kg | 25 L | 30 L |
A working rule falls out of those numbers. Take the packed volume, multiply by 1.35 to cover padding, then add 2 litres for the closure on bags up to 20 L and 3 litres above that. A 2.4 litre mirrorless kit becomes 3.2 litres padded and 5.2 litres with the closure allowance, which rounds up to a 6 L or 8 L bag. The multiplier is the step most people skip, and it is the reason a bag that looked generous on the kitchen table refuses to seal once you are standing in the shallows.
How padding inserts change the capacity maths
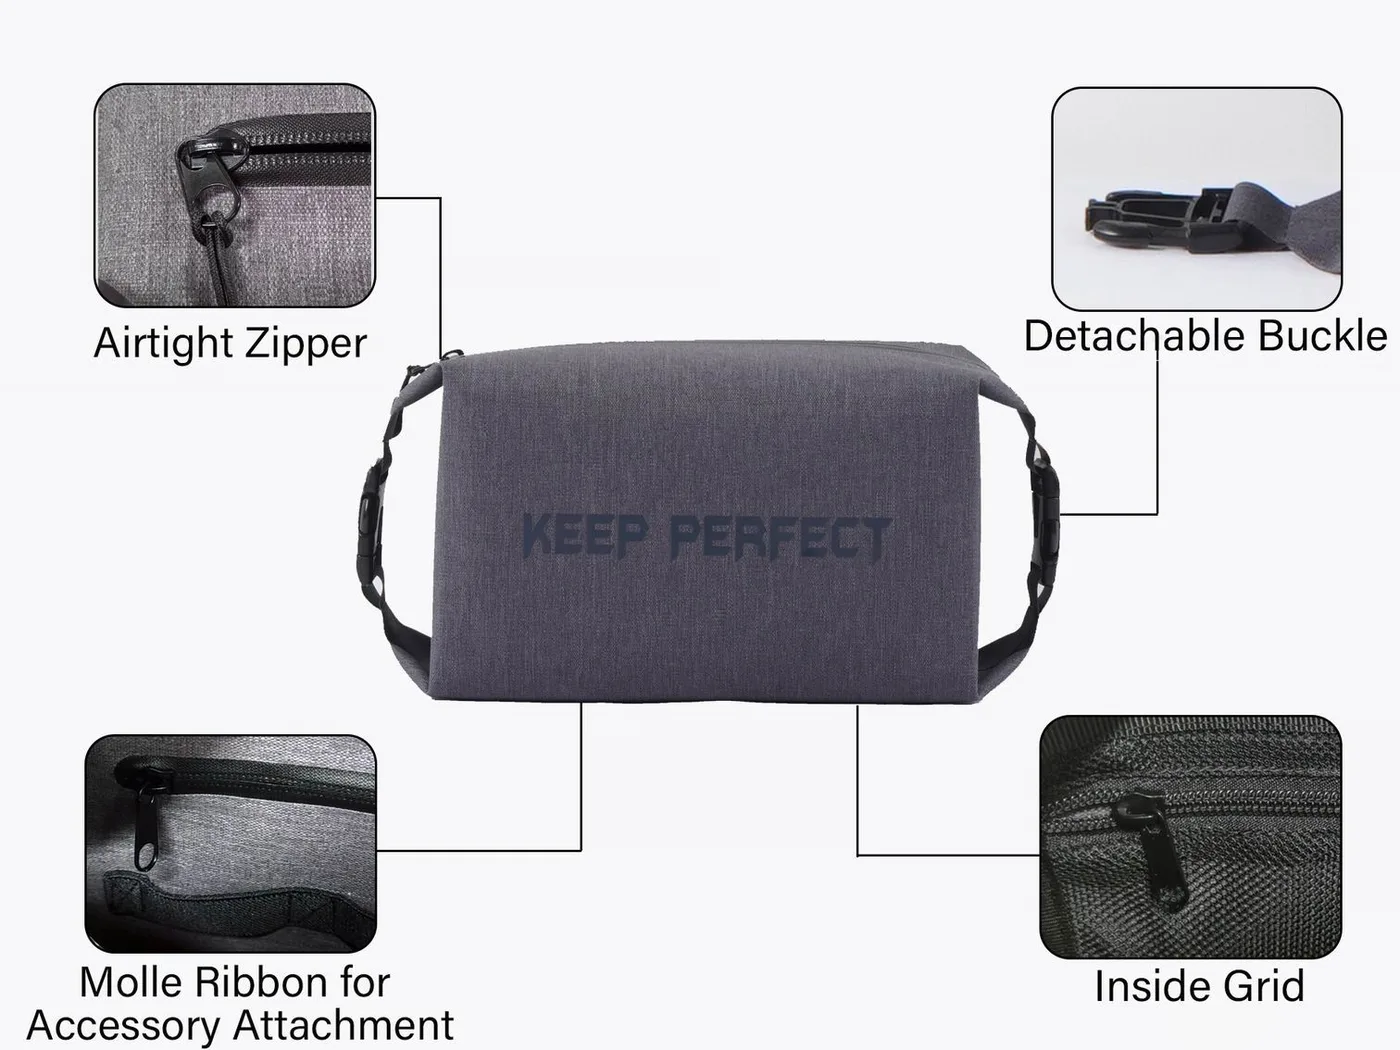
Padding is not optional for camera gear, and it is the largest hidden consumer of volume inside a dry bag. A 10 mm closed-cell foam wrap around a 2.4 litre camera block adds about 1.1 litres, because foam adds thickness on every face and the corners double up. A rigid waterproof case is worse: a small case rated to one metre immersion measures 260 x 200 x 170 mm externally for a 2.4 litre internal payload, which eats 8.8 litres of space inside the dry bag around it.
Three smaller padded pouches beat one large insert. Each pouch carries 4 to 6 mm of foam per face, so three pouches around a body and two lenses add roughly 0.9 litres in total, against 1.4 litres for a single block wrapping the whole group. Pouches also let you lift one lens out without exposing everything else to spray, which matters when you are changing glass on a rocking deck or in a shower of paddle drip.
Bubble wrap and clothing both work as improvised padding, but they behave differently once wet. A fleece compresses to about 60% of its loft when damp and stops absorbing shock, while closed-cell foam keeps its thickness indefinitely. If you pad with clothing, use a dry layer you were not planning to wear, and re-check the padding at every stop, because a bag that has been squeezed into a hatch will have shifted.
The 6 L to 10 L bracket: one body and one or two lenses
A single-body kit is the most common camera load on the water and the easiest to get wrong, because the numbers sit right on the boundary between two bag sizes. Body plus a 24-70 mm zoom is 2.4 litres and 1.4 kg; add a 70-200 mm and the kit reaches 4.3 litres and 2.9 kg. Padded and with closure allowance that is 7.8 litres, so an 8 L bag works if you pack carefully and a 10 L bag works without thinking about it.
| Item | Packed volume | Weight | Padding needed | Shock sensitivity |
|---|---|---|---|---|
| Mirrorless body, bare | 1.5 L | 620 g | Wrap, 10 mm | High |
| Mirrorless body + 24-70 mm f/2.8 | 2.4 L | 1.4 kg | Wrap, 10 mm | High |
| 70-200 mm f/2.8 zoom | 1.9 L | 1.5 kg | Pouch, 8 mm | High |
| Two primes, 35 mm and 85 mm | 0.9 L | 900 g | Pouch, 6 mm | Medium |
| Three spare batteries | 0.25 L | 240 g | Hard case | Low |
| Card wallet and reader | 0.2 L | 180 g | Sleeve | Low |
| Filter pouch, four filters | 0.5 L | 320 g | Rigid | Very high |
| Travel tripod, 1.2 m | 2.6 L | 1.6 kg | Sleeve only | Low |
Filters are the item that surprises people. Four circular filters in a rigid pouch occupy only 0.5 litres, but they are the most shock-sensitive thing in the kit and they cannot share space with a lens barrel. A scratched filter is cheaper than a scratched front element, which is exactly why the pouch belongs where nothing heavy can press on it. The same packing logic applies to documents and laptops; our sizing guide for paper and electronics uses the same padding-then-closure method.
The 15 L to 20 L bracket: two bodies, a drone or a long lens
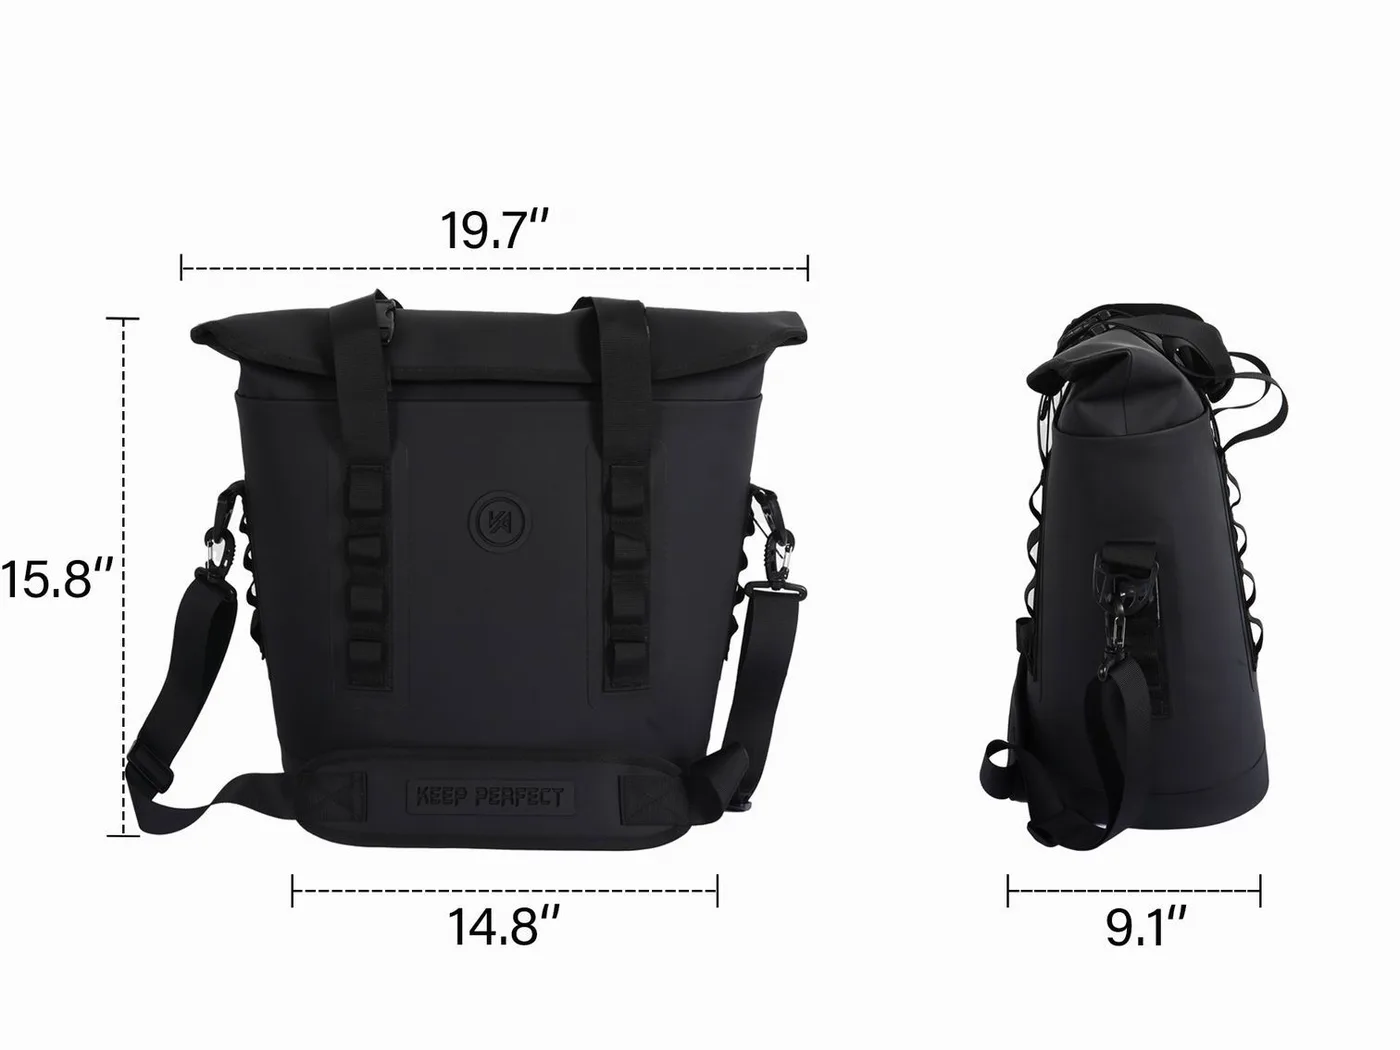
Adding a second body or a folding drone takes the packed volume to 11 or 12 litres, which lands on a 20 L bag once padding and closure are counted. The drone is the awkward part. The airframe folds flat and weighs about 900 g, but the controller, three batteries and a charging hub are boxy and refuse to nest, so together they occupy 4.3 litres in a shape that leaves large air gaps and behaves like 6 litres inside a soft bag.
A 70-200 mm f/2.8 mounted on a body is 3.1 litres and 2.1 kg on its own, and it is long enough that it dictates the bag shape rather than the volume. A tall 15 L roll-top will accept a mounted 70-200 standing vertically; a wide 15 L duffel will not, even though the litre figures are identical. Match the internal height to the longest single item before you trust any capacity number, and read the 20 litre capacity breakdown when two sizes look interchangeable.
Roll-top, duffel or backpack for camera carry
For camera gear the format decision is about access speed and structure rather than waterproofing, because all three formats can be built with welded seams. A roll-top cylinder opens fastest with one hand and lashes neatly to a kayak deck or a packraft tube, but it has no structure at all, so a 4 kg kit slumps to the bottom and compresses the padding unevenly. A dry duffel lays flat, shows you everything at once and spreads the load, which suits a two-body kit that stays in a boat.
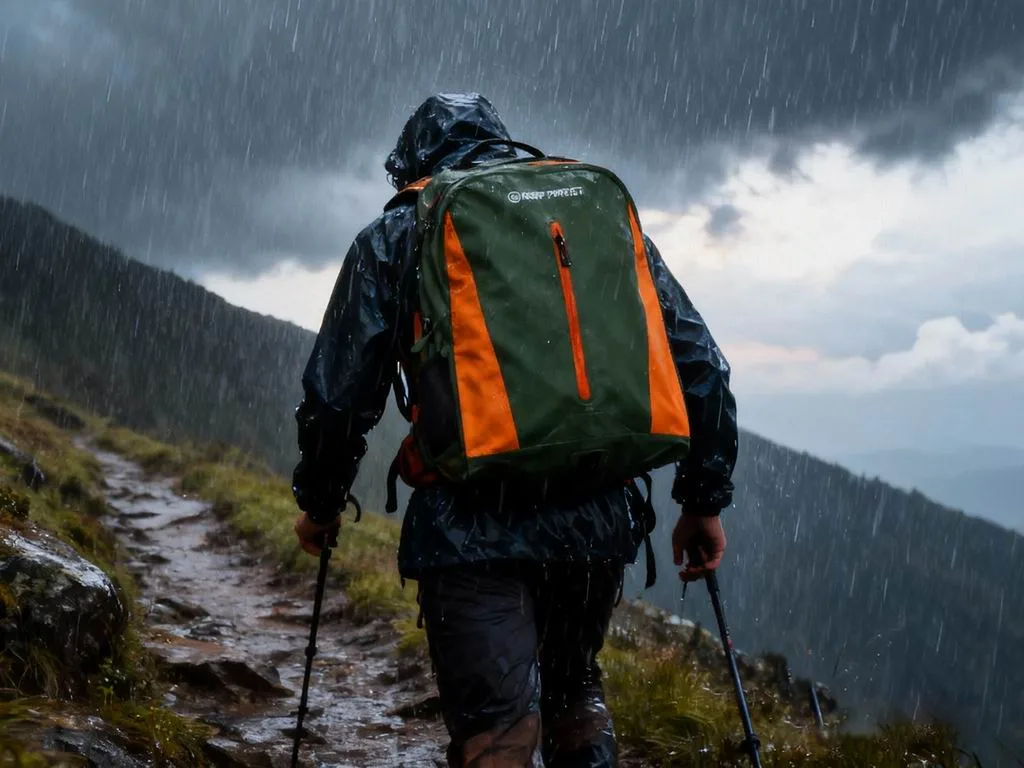
A waterproof backpack with a welded shell is the answer when the camera travels on your back between shots. A 20 L welded pack with a padded back panel carries 6 kg comfortably for two hours and leaves both hands free for a paddle or a trekking pole. The compromise is access: you must take the pack off to open it. Plenty of shooters run a hybrid, keeping the camera in a small roll-top inside a larger TPU waterproof backpack, so the bag that gets soaked and sandy is the cheap one.
Waterproof ratings and condensation risk for optics
Ratings describe a test, not a feeling. IPX6 covers powerful water jets, IPX7 covers 30 minutes at one metre, and both grades are defined in IEC 60529 published by the IEC. For camera gear carried on a boat, IPX6 is the practical floor because bow spray and breaking waves are jet events; IPX7 is what you want if the bag can go overboard. Welded seams matter as much as the grade itself, because a stitched and taped seam holds spray and then leaks under sustained pressure at depth.
Condensation is the failure nobody plans for. A bag closed in 30 °C humid air and then cooled by 12 °C water drops below its dew point on the inside of the film, and a lens front element is the coldest surface in the bag, so that is where water forms. Ten grams of silica gel per 10 litres absorbs roughly 3 g of water before saturating, which covers one or two temperature cycles. Recharge the gel in an oven at 120 °C for an hour the night before a shoot and it is good again.
| Exposure | What reaches the bag | Rating needed | Extra measure |
|---|---|---|---|
| Light rain on a hike | Vertical droplets | IPX4 | Pack liner |
| Bow spray at 20 km/h | Directed jets | IPX6 | Three folds |
| Wave over the gunwale | Burst immersion | IPX7 | Welded seams |
| Bag overboard at 1 m | 30 min immersion | IPX7 | Tether the bag |
| Tropical humidity, 30 °C | Condensation | Any | Silica gel, 10 g per 10 L |
Electronics add one more consideration that clothing does not: a sealed bag is not a dry room. Air trapped at 85% relative humidity will still deposit moisture on a cold sensor stack, and a wet camera that is then switched on can short across the battery contacts. If you want a tighter answer on that, see whether dry bags are airtight enough for electronics, and read the dedicated camera protection article before you trust a single bag with a body you cannot replace mid-trip.
Salt spray, sand and the lens mount
Salt corrodes metal and etches coatings. A three-hour coastal shoot in 40 km/h onshore wind leaves a visible film on a front element within about 90 minutes, and dried salt crystals are abrasive enough to mark a coating when you wipe them off. Rinse the outside of the closed bag with fresh water before you open it on the boat, so no crystals fall into the mouth, and clean the mount with a damp microfibre cloth rather than a dry one.
Sand is worse than salt, because it reaches the focus and zoom helicoids. A zoom barrel that has ingested fine sand feels gritty after one beach session and the grit migrates inward over the following weeks, long after the trip is over. Keep every lens in a pouch inside the dry bag, change glass inside a sheltered space, and never set a body down on a dry bag that has been lying on sand. Coastal wind and spray data from NOAA is worth checking before a shore shoot, since a 40 km/h onshore wind roughly triples the spray load on gear.
Batteries, memory cards and cables inside a sealed bag
Lithium camera batteries are the one part of a kit a dry bag protects well. They are sealed, they tolerate a brief immersion, and they do not mind being packed tightly. What they do mind is contact: three spare batteries rattling together in a soft bag can short across the terminals if an exposed contact touches a metal filter ring. Keep spares in a hard case or in their terminal covers, and check that no wrap is torn before a battery goes into the bag.
Memory cards are more fragile than they look. A card will survive immersion, but a card with a bent pin will not, and bent pins usually happen when a card rides loose in a bag alongside a 1.5 kg lens. Use a rigid wallet and keep it in a pouch pocket rather than at the bottom of the bag. Cables should be coiled in a loose loop and taped, never folded, because a folded USB-C cable cracks at the strain relief after a season of use.
- Carry batteries in the cabin, never in hold luggage, and keep terminal covers on every spare.
- Use a rigid card wallet instead of loose cards where a heavy lens can press on them.
- Coil cables in a loop of at least 150 mm diameter and tape the connector end down.
- Charge devices on dry land only; a wet charging hub left in a sealed bag corrodes within days.
- Label every pouch so a battery can be found by touch in the dark.
Weight, trim and carrying 6 kg of glass
A two-body kit with a drone weighs 6 to 8 kg, which is more than most paddlers ever strap to a deck. Keep camera weight low and central. A 6 kg bag on a kayak front deck lifts the bow and makes the boat weathercock badly in a crosswind, while the same bag stowed behind the seat is almost invisible in the handling. On foot, 6 kg in a frameless soft bag transfers straight to the shoulders, so a welded pack with a proper harness earns its extra 400 g.
Split the load whenever you can. Four kilograms of camera in a 15 L bag on your back and two kilograms of batteries, cards and food in a 5 L bag lashed low is easier to carry and easier to rescue than one 6 kg lump. It also buys redundancy: if one bag floods or goes overboard, you still have a body, a lens and a charged battery in the other, which is the difference between a ruined trip and a ruined afternoon.
Air travel, hand luggage and dry bag sizes
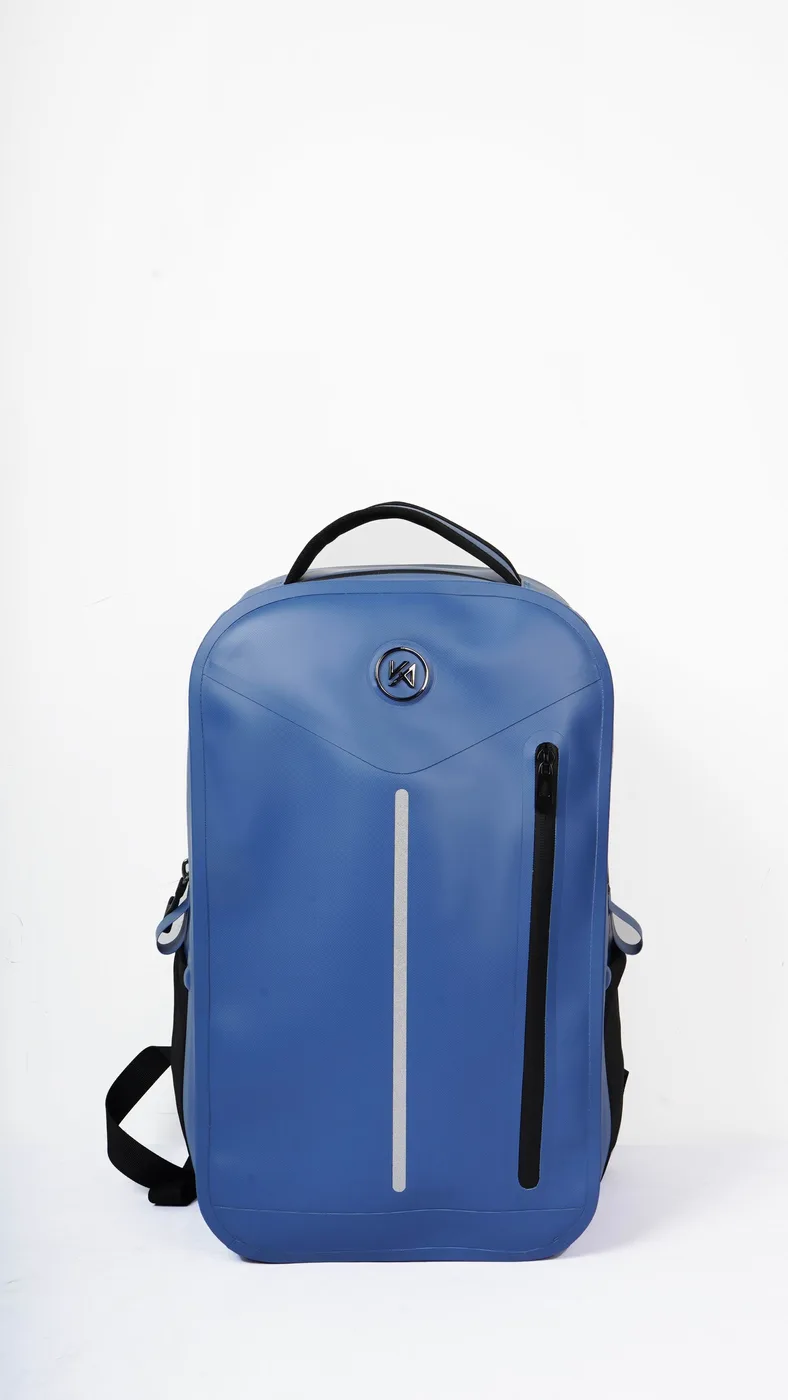
A 20 L dry bag measures roughly 250 x 500 mm when packed, which fits under most cabin seats but will not pass a 200 x 400 mm sizer cage if a rigid camera insert is inside it. Remove the insert or switch to pouches and the bag conforms. Check a dry bag as hold luggage only when it is empty and soft; a packed bag with a tripod inside is treated as a rigid item, and the tripod is the part that comes back bent.
Two rules make airport handling painless. First, batteries and cards travel in the cabin with you, regardless of which bag holds the rest of the kit. Second, close the roll-top with two folds rather than three while you are in transit, so security can open the bag without destroying your packing order, then re-roll to three folds before you reach the water. A clip-on shoulder strap also helps, because a wet cylinder is slippery when you are juggling a boarding pass.
A packing order that lets you shoot without unpacking
- Lay the bag open on a dry surface and place the padded pouches in first, heavy items at the bottom.
- Seat the body with the lens you will shoot first at the top of the stack, mount facing up.
- Place the second lens and the drone pouch beside the body rather than on top of it.
- Add the silica gel sachet last, at the mouth end, where it can be swapped out without unpacking.
- Press the air out with a flat hand, roll three folds, and clip the buckle so the bag sits flat.
- Keep a microfibre cloth and one charged battery in an outside pocket reachable without unrolling.
The point of the order is that the first shot costs you one motion. If the body is buried under a lens pouch and a drone controller, you will unpack on a wet deck and something will get dropped. Side-by-side placement also keeps the weight centred, so a padded kit carried on the back does not pull to one side. Practise the pack order at home once, photograph it, and follow the photograph in the field when the light is going and your hands are cold.
Care routine after a saltwater or sandy shoot
- Rinse the outside of the closed bag with fresh water before you open it anywhere.
- Open the bag indoors or in a sheltered spot so sand cannot blow into the mouth.
- Wipe every lens mount and battery contact with a slightly damp microfibre cloth.
- Turn the dry bag inside out, rinse at ambient temperature, and dry in shade with the mouth open.
- Recharge silica gel at 120 °C for an hour and store the bag loosely rolled with the buckle undone.
The order of those five steps matters more than the steps themselves. Opening a salty bag outdoors is how crystals get inside, and wiping a mount dry is how coatings get scratched. A full walkthrough of roll-top cleaning, including what to do about mildew in a bag that was stored damp, is in our roll-top cleaning guide. Do the rinse the same day; salt left on a buckle for a week starts to pit the spring.
Sizing checklist before you buy
- Weigh and measure the real kit, including the lens you actually use most, not the full shelf.
- Multiply packed volume by 1.35 for padding, then add 2 L for the closure on bags up to 20 L.
- Check internal height against the longest item, especially a mounted 70-200 mm zoom.
- Choose pouches over one large insert: less volume, better access, easier to reseal.
- Specify IPX6 at minimum for boat use and IPX7 if the bag can go overboard.
- Plan for condensation: 10 g of silica gel per 10 L, recharged the night before.
- Decide the carry method first, because a 6 kg kit rules out a frameless soft bag on foot.
- Compare the shortlist against the full product line before committing.
If you are specifying a camera bag for a rental fleet, a guiding operation or a retail range, the checklist becomes the brief. Packed volume, padding allowance, internal height, closure design and the test standard are the five lines that decide whether a bag survives a season of daily use. Waterproof bags have been produced on our line since 2014 in an SGS-verified 4,950 m2 facility, with a 500-piece minimum, sampling in 6 to 10 working days and bulk in 35 to 50 days.
Two last practical checks. A 10 L bag is the most versatile single purchase for a one-body kit and covers the majority of day shoots; our 10 litre packing breakdown shows what else fits alongside the camera. And if you shoot from a kayak, tether the bag every single time, because a 4 kg camera kit that goes overboard is gone in about 40 seconds in a 2-knot current. The roll-top dry bag range covers 5 L to 90 L on one closure geometry, so a spare bag of the same system always fits the same packing order.
Frequently asked questions
Q1. What size dry bag do I need for a camera kit?
Measure the packed volume first. A mirrorless body with one zoom packs to 2.4 litres and fits a 6 L to 8 L bag once padding and the closure are allowed for. Two bodies plus a drone reach 11.5 litres and need a 20 L bag.
Q2. How much padding does a camera need inside a dry bag?
Allow 35% on top of packed volume. A 10 mm closed-cell foam wrap adds about 1.1 litres around a 2.4 litre camera block, and three separate pouches use roughly 0.5 litres less volume than one large insert.
Q3. How much capacity does a roll-top closure cost me?
Three folds remove about 1.2 litres from a 10 L bag and 2.5 to 4 litres from a 20 L bag. Add that to the padded volume, which is why a kit that measures 13 litres needs a 20 L bag rather than a 15 L.
Q4. Can I put a drone in the same bag as my camera?
Yes, but treat the drone as 6 litres rather than its measured 4.3 litres, because the controller, batteries and hub are boxy and leave air gaps. A 20 L bag handles a drone plus one body and lens.
Q5. Does a dry bag protect a camera from shock?
Not on its own. A dry bag is a water barrier with no structure, so impact protection has to come from closed-cell foam pouches or a rigid case inside the bag. A 1.5 kg lens landing on a body will do damage regardless of the rating.
Q6. What waterproof rating should a camera dry bag have?
IPX6 for boat use, where spray and breaking waves are jet events, and IPX7 if the bag could go overboard. The IEC defines both grades in IEC 60529, so ask for the standard, not the adjective.
Q7. How do I stop condensation forming on my lens inside the bag?
Add 10 g of silica gel per 10 litres and let the bag reach water temperature before you open it. Ten grams absorbs about 3 g of moisture before saturating, which covers one or two temperature cycles; recharge it at 120 °C for an hour.
Q8. Is a backpack or a roll-top better for camera gear?
A roll-top opens faster and lashes down on a boat, but has no structure. A welded waterproof backpack carries 6 kg comfortably for two hours and keeps hands free. Many shooters use a small roll-top inside a larger pack.
Q9. Will saltwater damage my lens if it is inside a sealed bag?
Not while the bag is sealed, but salt on the outside of the bag is the risk: rinse the closed bag with fresh water before opening it so crystals cannot fall into the mouth or onto the mount.
Q10. Can I take a camera dry bag as hand luggage?
Yes, if it Softens enough to fit the sizer. A 20 L bag measures about 250 x 500 mm packed and fits under a seat, but a rigid camera insert inside it will push it over. Carry batteries and cards in the cabin.
Q11. How heavy can a camera dry bag load be before it is a problem?
On a kayak, keep deck load under 3 kg and put the rest in a hatch. On foot, 6 kg is comfortable in a welded pack with a harness and uncomfortable in a frameless roll-top, which transfers the load to the shoulders.
Q12. Do I need a second smaller bag for batteries and cards?
Yes. Splitting the kit means a single flood does not take the whole system, and a 5 L bag lashed low carries 2 kg of batteries, cards and food without affecting trim on a boat.
Q13. What size fits a travel tripod?
A 1.2 m travel tripod packs to 2.6 litres and needs a sleeve rather than padding, but it is 450 to 600 mm long, so check the internal height of the bag before you trust the litre figure.
Q14. How do I clean a dry bag after a sandy beach shoot?
Rinse the closed bag outside, open it somewhere sheltered, wipe every mount with a damp cloth, then turn the bag inside out and rinse at ambient temperature. Dry in shade with the mouth open and store loosely rolled.
Q15. Are filters safe loose in a camera dry bag?
No. Four filters in a rigid pouch occupy only 0.5 litres but scratch easily, so keep the pouch where nothing heavy can press on it. A scratched filter is far cheaper than a scratched front element.
Q16. Can I charge batteries inside a dry bag?
No. Charging generates heat and needs ventilation, and a wet hub left sealed in a bag corrodes within days. Charge on dry land, then pack the batteries with their terminal covers on.
People also ask
How do you pack a camera in a dry bag?
Put padded pouches in first with heavy items at the bottom, seat the body with your most-used lens on top, place the second lens beside it rather than on it, add silica gel at the mouth, then press out the air and roll three folds.
Are dry bags safe for camera gear?
They are safe against water and unsafe against impact. A sealed IPX7 bag with welded seams keeps spray and brief immersion out, but shock protection has to come from closed-cell foam pouches or a rigid case inside the bag.
Can you take a camera on a kayak in a dry bag?
Yes, with an IPX7 welded bag, a padded insert and a tether. Keep the bag behind the seat rather than on the front deck, and keep the total deck load under 3 kg so the boat holds its trim in a crosswind.
What size dry bag fits a mirrorless camera?
A mirrorless body with a 24-70 mm zoom packs to 2.4 litres, which becomes 3.2 litres padded and 5.2 litres with the closure allowance, so a 6 L to 8 L bag is correct for one body and one lens.
Do you need a camera insert inside a dry bag?
Yes, because a dry bag has no structure. A 10 mm closed-cell foam pouch around the body and one around each lens adds about 0.9 litres and is the only thing protecting the mount and the front element.
How do you stop condensation on a lens in a dry bag?
Use 10 g of silica gel per 10 litres, recharge it in an oven at 120 °C the night before, and let the sealed bag equalise to water temperature before opening it so the cold front element is not the first surface to collect moisture.
Need this in production volume?
QUANZHOU JUNYUAN BAGS has produced waterproof bags since 2014 in an SGS-verified 4,950 m2 facility in Fujian, China. Minimum order 500 pieces, sampling in 6–10 working days, bulk in 35–50 days, FOB Xiamen — write to service@junyuanbags.com with your spec and target market.