Is a Dry Bag Good Enough for a Camera?
Yes for water, no for everything else on its own. A welded dry bag with a rolled closure and an IPX7 rating keeps a mirrorless body and one lens dry through 30 minutes at one metre, which covers splash, tropical rain and a single capsize. It does nothing for the three failures that actually kill cameras: a 40 cm drop onto a boat deck, humidity trapped inside a sealed shell, and the two minutes you spend fumbling a lens change in the rain. A 3.4 kg camera kit inside a 10L roll-top is waterproof and still vulnerable.
The fix is a two-layer system rather than a better bag. Put the camera in a padded inner pouch with 20 g of silica gel per 5 litres of trapped air, then put that pouch inside a larger welded shell, and rehearse the lens change before the trip. This guide covers the ratings worth paying for, the volume real camera kit occupies, the condensation arithmetic, the format trade-offs between roll-top bags, backpacks and totes, and the test routine to run before you fly.
- What a dry bag genuinely protects a camera from
- IPX ratings and what the immersion test actually means
- How much volume real camera kit occupies
- Condensation: the failure mode nobody packs for
- Crush and impact: padding has to come from inside
- The two-layer system that actually works
- Access: changing a lens without wetting a sensor
- Salt, sand and the front element
- Where each layer of protection stops
- Format: roll-top, backpack, duffel or tote
- Testing your camera setup before you travel
- When a dry bag is not enough
What a dry bag genuinely protects a camera from
A welded dry bag solves one problem completely: liquid water getting from outside to inside. Radio-frequency welded seams have no needle holes, so there is no capillary path for water to follow, and a three-fold roll-top closure puts three contact lines between the water and your kit. In a lab immersion test that construction holds at one metre for 30 minutes, which is far more than a kayak ride or a monsoon street crossing will ever ask of it.
What it does not solve is everything else. The fabric is 0.5 mm of TPU on a 500D face, which transmits a point load almost directly to whatever is inside. There is no padding, no structure, and no cavity that keeps a lens barrel off the bottom of the bag. Treat a dry bag as a waterproof shell that goes around a padded insert, never as the insert itself.
Water and humidity are also different enemies. A bag can pass an immersion test and still fog a cold front element, because the moisture was already inside the air you sealed in. Salt aerosol is a third case: a bag can keep liquid out and still let a fine, drying salt film build on the outside of the closure where your hands touch it every time you open the bag.
IPX ratings and what the immersion test actually means
Ingress protection grades describe a test procedure, not a promise. The IEC publishes the code in IEC 60529, and a serious spec sheet names the standard, the depth and the duration rather than inventing adjectives. IPX6 is a jet test from a 12.5 mm nozzle at 100 litres per minute, which is what a bow wave or a pressure washer produces. IPX7 is 30 minutes at one metre, and IPX8 is a depth the brand defines in its own protocol.
For camera kit the practical target is IPX7 with welded seams. IPX6 alone is a jet rating and says nothing about immersion, so a bag that survives a squirt can still take water during the 90 seconds it spends under a capsized hull. Anything sold on vague words such as stormproof or all-weather without a rating behind it should be treated as splash-resistant until proven otherwise.
| Rating | Test conditions | What it covers on a shoot | Seam requirement | Fails when |
|---|---|---|---|---|
| IPX4 | Splash from any direction, 10 min | Light rain on a city walk | Coated, welded preferred | A wave breaks over the bag |
| IPX6 | 100 L/min jet from 12.5 mm nozzle | Bow spray, deck wash, heavy squall | Welded | The bag is held under water |
| IPX7 | 30 min immersion at 1 m | Capsize, dropped overboard, deep puddle | Welded, continuous | Sustained depth beyond 1 m |
| IPX8 | Depth agreed in the protocol | Diving support, prolonged submersion | Welded, heavier film | Rating not defined by the brand |
| No rating given | None published | Nothing verifiable | Unknown | Every scenario |
One detail buyers miss: the rating belongs to the bag as tested, with the closure rolled the way the test house rolled it. If you overfill the bag, fold twice instead of three times, or trap a strap in the fold, you are no longer carrying the rated construction. The seal is a technique as much as a product, which is why two photographers with the same bag get different results.
How much volume real camera kit occupies
Plan from the packed volume of the kit, then add padding and closure loss. A mirrorless body with a mid-range zoom attached is about 2.2 litres and 1.1 kg. Add a second prime at 0.7 litres, a spare battery pair at 0.2 litres, a compact charger at 0.4 litres and a microfibre cloth, and you are at roughly 3.6 litres before any padding. A full-frame body with a 70-200 mm lens pushes a single kit past 5 litres.
| Kit item | Packed volume | Weight | Fits in 5L | Fits in 10L |
|---|---|---|---|---|
| Mirrorless body plus kit zoom | 2.2 L | 1.1 kg | Tight | Yes |
| Second prime lens | 0.7 L | 0.35 kg | Yes | Yes |
| Two spare batteries | 0.2 L | 0.18 kg | Yes | Yes |
| Compact charger and cable | 0.4 L | 0.25 kg | Yes | Yes |
| Full-frame body plus 70-200 mm | 5.4 L | 2.6 kg | No | Tight |
| Small drone and controller | 4.1 L | 1.5 kg | No | Yes |
| Padded insert, 8 mm foam | 1.6 L | 0.30 kg | Yes | Yes |
Two conversion factors decide the bag size you buy. Padding consumes about 15% of the internal volume, and a three-fold closure removes another 2.5 to 4 litres of usable height on a 20L bag. So a camera kit measuring 4 litres needs a 10L shell with an insert, not a 5L bag; the 5L is the size for the inner pouch that holds the body alone.
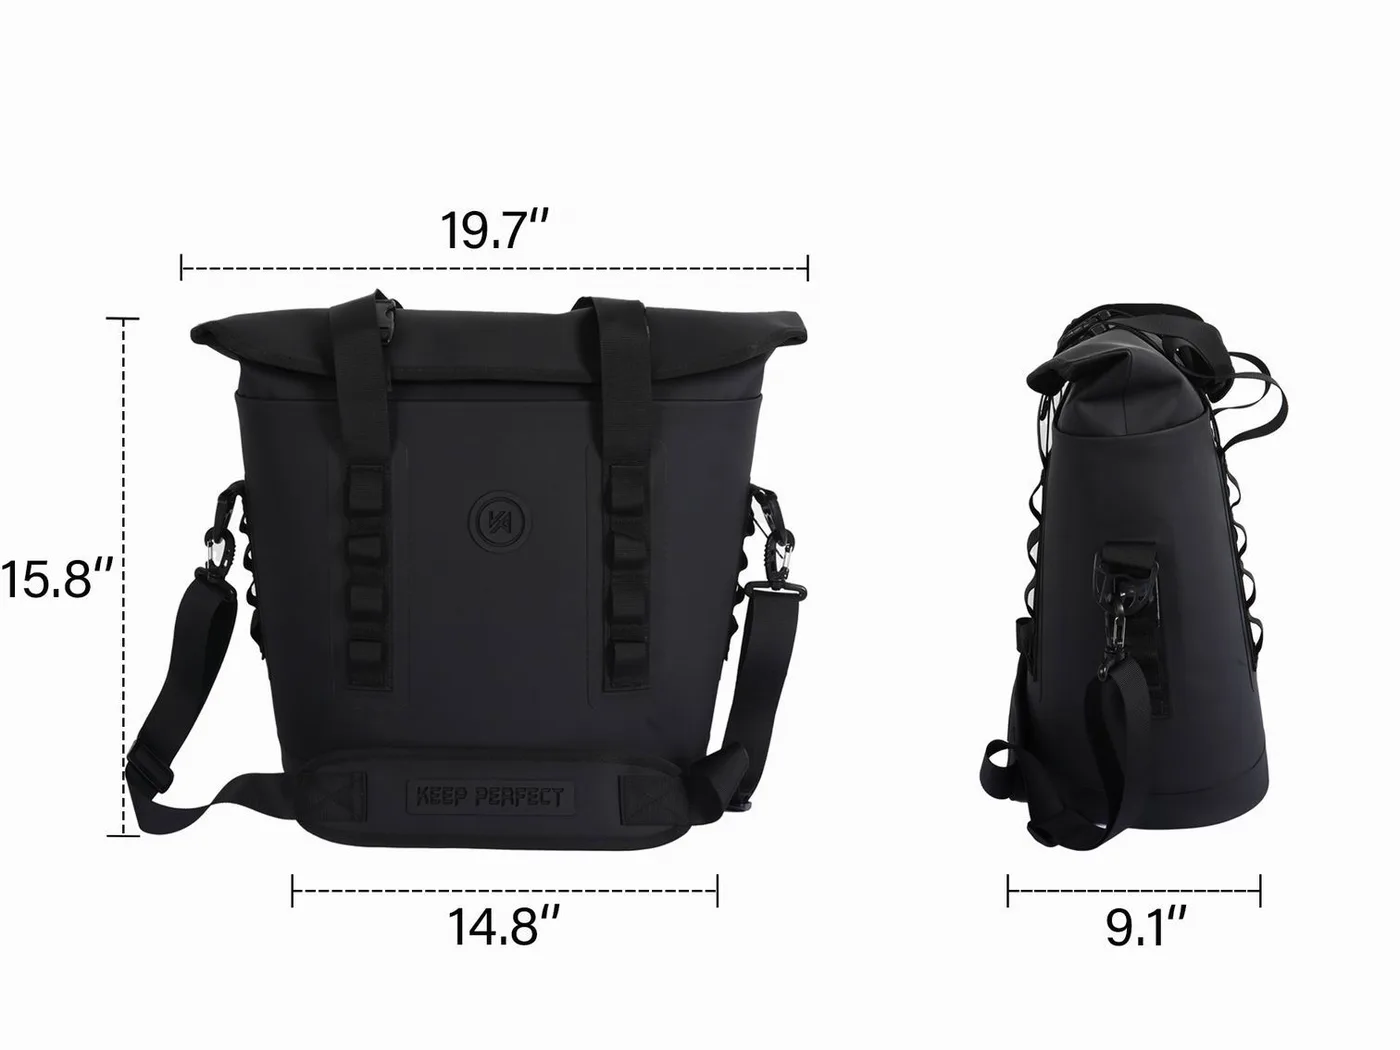
Our roll-top dry bag range runs from 5L to 90L on one closure geometry, so a photographer can standardise: a 5L inner pouch for the body, a 20L outer shell for the full kit and a rain layer, and the same three-fold technique on every bag. Consistent closure geometry matters more than matching colourways when you are packing in the dark.
Condensation: the failure mode nobody packs for
Condensation is the most common way a sealed dry bag damages a camera, and it never shows up in a marketing test. Air sealed inside a bag at 28 °C and 80% relative humidity carries roughly 24 grams of water per cubic metre. Move that bag into 12 °C water and the air inside cools below its dew point, so the vapour condenses on the coldest surface available, which is usually the front element of the lens you just took out of the cold.
The arithmetic is uncomfortably small. A 10L bag holding a 3.4 kg kit has about 4 litres of trapped air, and 4 litres of humid air carries around 0.1 g of water vapour. That is enough to fog a front element for 20 minutes, which is exactly the window in which the light is good and the shot is gone. Warm air plus cold water is the dangerous combination; warm air plus warm water is not.
| Temperature swing | Trapped air humidity | Condensation risk | Silica gel per 5 L | Practical fix |
|---|---|---|---|---|
| 28 °C to 12 °C water | 80% RH | High, fogs in minutes | 40 g | Pre-cool the bag, double sachet |
| 28 °C to 22 °C water | 80% RH | Moderate | 20 g | One fresh sachet |
| 18 °C to 8 °C water | 65% RH | High on metal barrels | 40 g | Warm the camera before opening |
| 18 °C to 18 °C water | 65% RH | Low | 10 g | Standard sachet |
| 5 °C to 2 °C water | 55% RH | Low, but slow to clear | 10 g | No change needed |
Silica gel is the cheap answer and it is measurable. Indicator gel changes colour at about 40% relative humidity, so a 20 g sachet per 5 litres of trapped air keeps the internal atmosphere below the point where condensation forms on glass. Regenerate sachets in an oven at 120 °C for two hours and they are good for another season; a sachet left in a sealed bag for six months is already spent.
Crush and impact: padding has to come from inside
Waterproof film is not impact protection. Drop a 1.1 kg body 40 cm onto a fibreglass deck inside a dry bag and the fabric does almost nothing: the load spreads over a few square centimetres and the lens mount takes it. That is the height of a bag sliding off a thwart, and it is the single most common camera injury we hear about from paddlers.
An 8 mm closed-cell foam insert is the fix, and it should be a real insert with dividers rather than a jumper wrapped around the body. Closed-cell foam does not absorb water, so it keeps working after the bag has been opened in the rain, and a divider stops the body from hammering the lens barrel. Budget 0.3 kg and about 1.6 litres of volume for a good insert on a two-lens kit.
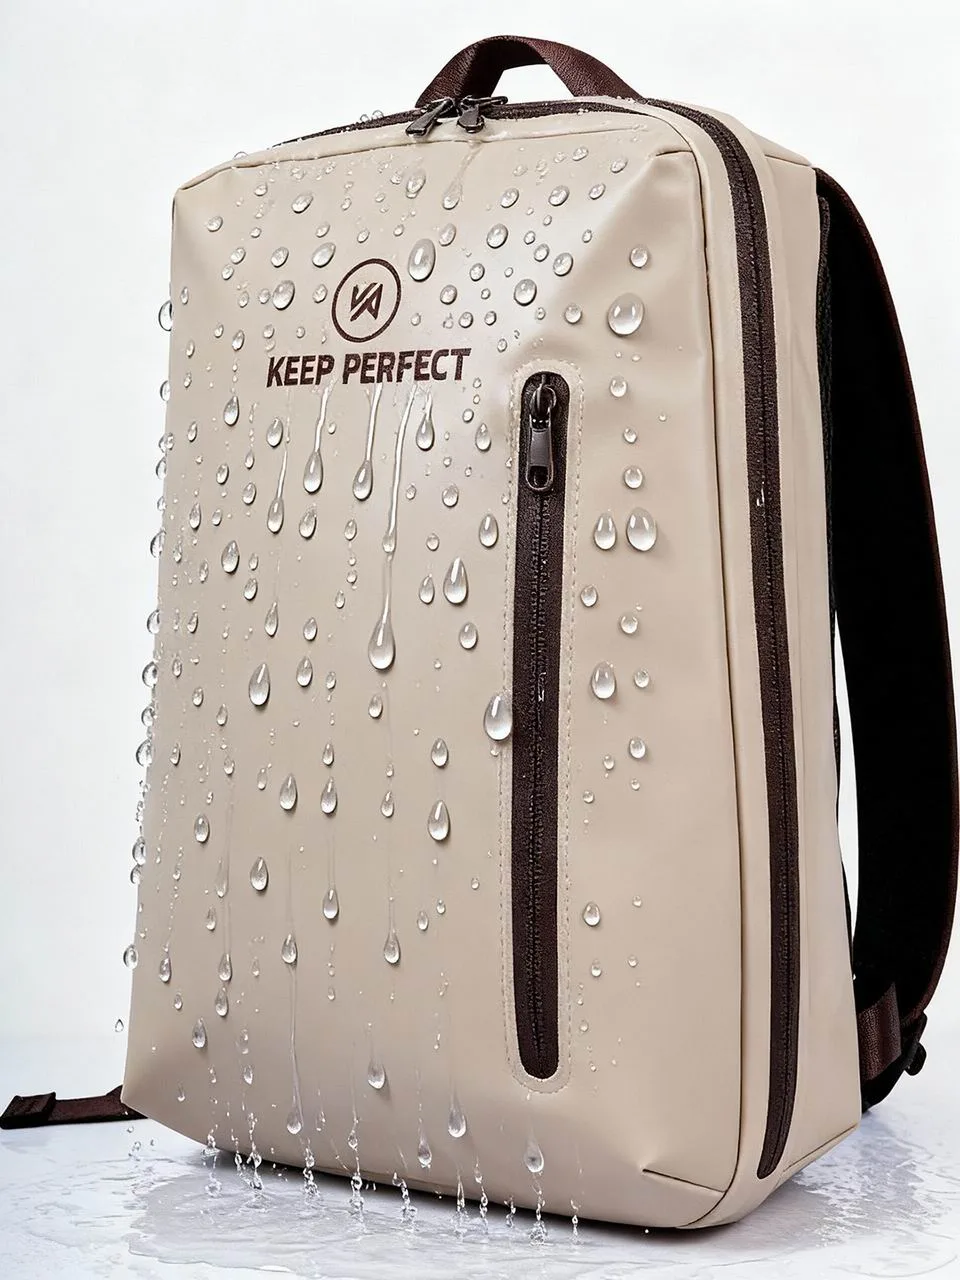
Position matters as much as padding. In a kayak, put the camera bag behind the seat or in the day hatch rather than on the deck, where it takes the slap of every wave. In a rigid-hull boat, wedge it against a bulkhead so it cannot slide, and never leave it on a seat where someone will sit on it. Most crush damage happens on land, not on the water.
The two-layer system that actually works
Layers beat thicker fabric. The inner layer is a 2L to 5L roll-top holding the camera body with its attached lens and one silica sachet. The outer layer is a 10L to 20L welded shell holding the inner pouch, spare lenses, a rain cover and your lunch. Two independent seals mean a single failure wets the outer bag and not the camera, which is the difference between a ruined trip and a wet sandwich.
The second benefit is speed. You can open the outer bag in the rain, in the wind, with cold hands, and the camera stays sealed in its own pouch until you are ready for it. The third benefit is buoyancy: a small inner pouch with trapped air floats predictably, so if the outer bag goes overboard the camera module comes back to you rather than sinking with the lunch.
- Inner pouch 2-5 L: body with attached lens, one 20 g silica sachet, nothing else.
- Outer shell 10-20 L: inner pouch, spare lenses in padded wraps, rain cover, snacks.
- Hardware check: welded D-rings on the outer shell for a tether, never a sewn loop.
- Colour coding: one colour for camera, one for food, so you never open the wrong bag.
Photographers who shoot from small boats often go one step further and tether the inner pouch to the boat with a 4 mm cord and a small carabiner. A 3.4 kg camera kit that goes over the side is unrecoverable below about 4 metres of visibility, and a tether costs 20 grams. Sealed electronics in a wet environment also deserve a check on whether the bag is airtight rather than merely watertight; our airtight question covers that distinction.
Access: changing a lens without wetting a sensor
Access is the trade-off nobody prices in. A roll-top takes about 8 seconds to open and 15 seconds to reseal properly, and every opening is a chance for rain, spray or sand to enter. Plan to open the bag a limited number of times per day and carry the lens you will use most already mounted, so the risky operation happens as rarely as possible.
- Bring the boat or your body between the wind and the bag before you open anything.
- Open the outer shell only; keep the camera in its sealed inner pouch for now.
- Turn your back to the rain, hold the pouch under a shell or jacket hem, and unroll it.
- Take the body out with the mount facing down so nothing can drip into the throat.
- Swap the lens in under 20 seconds, cap the rear element immediately, and mount.
- Reseal the pouch with three folds before you put the loose lens away.
Rehearse this on a kitchen table until it takes under a minute, because the version you invent in a choppy estuary will take three. If you shoot from a kayak, the whole swap is easier from a sheltered eddy than from open water, so plan the day so that lens changes happen at landing points. A rain cover over the camera while it is out buys you another 30 seconds of margin.
Salt, sand and the front element
Salt aerosol travels where liquid water cannot. A fine mist settles on the outside of the bag, dries to crystals around the closure, and then either falls into the bag when you open it or is carried in on your fingers. Rinse the outside of the bag with fresh water before every opening on a saltwater trip, and wipe your hands before they touch a lens barrel.
Sand is worse because it is abrasive rather than soluble. One grain in the closure fold creates a capillary path that wicks water in over an hour, and one grain on a lens mount threads is a repair bill. Run a thumb along the fold line before you roll, keep the bag off the beach by at least two metres, and never set a camera bag on sand even for a moment.
At the end of a salt day, wipe the camera body with a barely damp microfibre cloth, dry the mount ring, and leave the bag open in shade for two hours. Do not put a camera into a sealed bag while it is still damp: you have just built a humidity chamber. The same rule applies to lenses, which is why the inner pouch should hold the body and nothing wet.
Where each layer of protection stops
| Threat | Dry bag alone | Dry bag plus padded pouch | Hard case | Best single answer |
|---|---|---|---|---|
| Rain and spray | Stops it | Stops it | Stops it | IPX7 welded shell |
| 30 min at 1 m | Stops it | Stops it | Stops it | IPX7 welded shell |
| 40 cm drop on deck | No help | Absorbs most of it | Stops it | 8 mm foam insert |
| Trapped humidity | Makes it worse | Reduced by silica gel | Reduced by silica gel | 20 g gel per 5 L |
| Sand in the closure | Fails slowly | Two seals buy time | Gasket seal | Rinse before opening |
Read the table as a decision rule rather than a shopping list. If your shooting is urban and the risk is rain, a dry bag alone is genuinely enough. If you shoot from a boat, the pouch and the silica gel are not optional. If the camera is going to be submerged deliberately, or shipped as hold luggage, a hard case with a gasket is the only honest answer and a dry bag becomes the outer rain layer for the case.
Format: roll-top, backpack, duffel or tote
Format is an access and carry decision. A roll-top is the fastest to open and the easiest to squeeze into a hatch or a pannier. A waterproof backpack with a welded harness carries weight comfortably over 800 metres of portage and keeps your hands free, which matters when you are also carrying a tripod. A dry duffel opens along its length, which is excellent in a tent but slow on a rocking deck.
For city and travel work, a tote with a padded sleeve is underrated: it looks like a normal work bag, it fits a 14-inch laptop alongside a camera insert, and it does not advertise a 2,000 euro kit. If your day is half photography and half laptop, read our laptop protection guide before you buy, because the padding requirements overlap neatly.
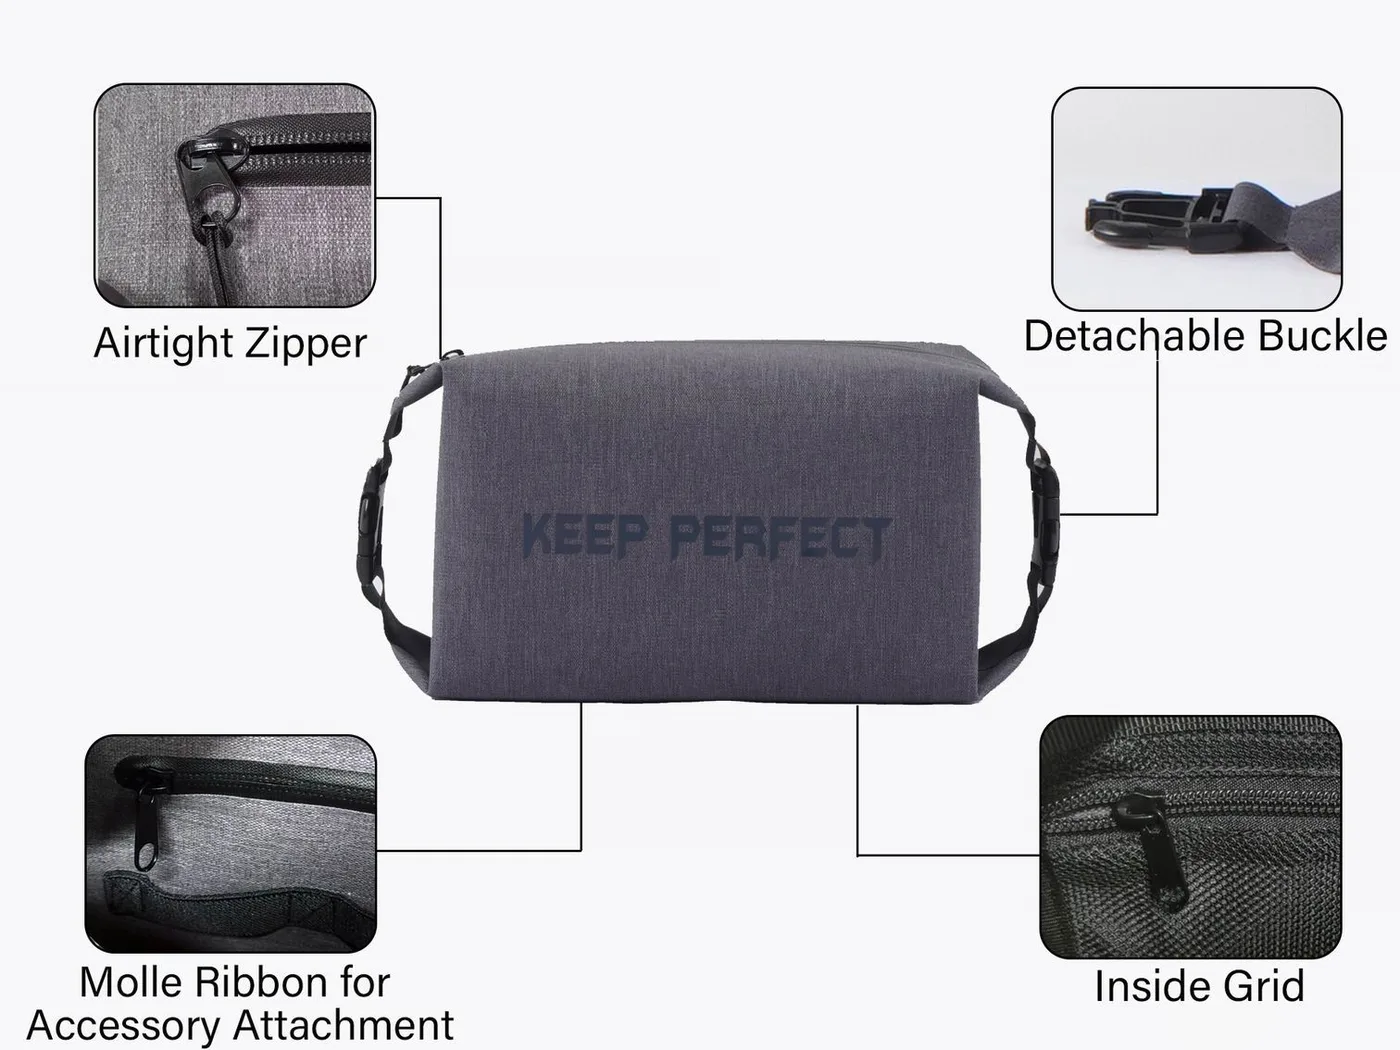
Whatever you choose, check the closure under load. A bag rated for water is only rated as packed and rolled, so load it with the real kit, roll three times, and confirm the buckle still closes without forcing. Forcing a buckle is how a fold gets a permanent crease, and a creased fold is where a bag starts leaking in its second season.
Testing your camera setup before you travel
Run this 20-minute test the week before a trip, not at the airport. It costs nothing, it uses a bath or a large bucket, and it catches the two faults that matter: a seal that leaks under compression and a closure you cannot roll correctly with the real load inside. The ISO publishes environmental test methods for optical equipment, and while you will not run them at home, the principle of testing before exposure is the same.
- Pack the bag exactly as you would on the trip, insert, silica gel and all.
- Roll three folds, close the buckle, and squeeze while listening for a hiss.
- Submerge in a bath for 30 minutes with a 2 kg weight on top to simulate pressure.
- Open, check the insert for any damp patch, and feel the inside of the shell.
- Repeat the test with the bag half full, which is how it will actually be used.
- Photograph the packed layout so you can rebuild it quickly in the field.
If the bag passes wet, run the condensation test: seal it with a humidity meter inside, put it in a cold room or a fridge for 40 minutes, and read the meter. Anything above 60% relative humidity after the cool-down means you need more gel or less trapped air. Camera-sized volumes and the ratings that go with them are covered in our camera kit sizing guide and the IPX rating explainer.
When a dry bag is not enough
There are three situations where the honest answer is no. Deliberate submersion, such as underwater housing support or dive-boat work, needs a gasket case with a pressure rating. Checked airline luggage needs a hard shell, because a soft bag does nothing against a conveyor impact. And long-term storage in a humid climate needs a dry cabinet, not a bag, because a sealed bag holds humidity in rather than letting it out.
For everyone else, the two-layer system is the answer and it costs about 25 euros in gel and an insert. Buy the shell once, replace the insert when the foam compresses, and re-test every spring. A camera that survives six wet seasons is worth far more than the money saved by trusting a single layer.
If you are specifying bags for a photography brand, a rental fleet or a resort kit programme, the same decisions become a brief: film thickness, closure geometry, welded D-rings, insert compatibility and a named test standard. Start from the product line for sizes, then read our camera packing guide for the on-water routine.
Frequently asked questions
Q1. Is a dry bag good enough for a camera?
For water, yes: an IPX7 welded bag with three folds keeps a camera dry through rain, spray and one 30-minute dunk at a metre. For impact and humidity, no, so add an 8 mm padded insert and 20 g of silica gel per 5 litres of trapped air.
Q2. What IPX rating should a camera dry bag have?
IPX7. It covers immersion at one metre for 30 minutes, which is what a capsize or a bag dropped overboard produces. IPX6 only covers jets, so it says nothing about being held under water.
Q3. Will a dry bag protect my camera if I capsize?
Yes, if it is welded, rated IPX7 and rolled three times with the load at about 85% of capacity. A camera in a padded inner pouch inside that shell survives even if the outer bag takes a little water.
Q4. Do I need a padded insert inside a dry bag?
Yes. TPU film and a woven face spread a point load but do not absorb it, so a 40 cm drop onto a deck reaches the lens mount. An 8 mm closed-cell insert costs 0.3 kg and about 1.6 litres.
Q5. How much silica gel goes in a camera dry bag?
About 20 g per 5 litres of trapped air, doubled to 40 g when you move from warm air into water colder than 15 °C. Use indicator gel and regenerate it at 120 °C for two hours.
Q6. Can condensation damage a camera inside a sealed bag?
Yes, and it is more common than a leak. Four litres of air at 28 °C and 80% humidity carries roughly 0.1 g of vapour, enough to fog a cold front element for 20 minutes.
Q7. What size dry bag fits a mirrorless body and two lenses?
A 10L shell. The kit packs to about 3.6 litres, padding adds 1.6 litres, and a three-fold closure removes another 2.5 litres of usable height, so a 5L bag is too small for anything but the body alone.
Q8. Is a dry bag better than a rain cover for a camera?
They do different jobs. A rain cover protects a camera you are using; a dry bag protects a camera you are carrying. Serious wet-weather shooters carry both, and the bag is what saves the kit during transport.
Q9. Can I use a dry bag as a camera float?
A sealed bag with trapped air floats, but do not rely on it. A 3.4 kg kit may float low or sink slowly, so tether the inner pouch to the boat with 4 mm cord and a small carabiner.
Q10. How do I change a lens in the rain?
Open only the outer shell, keep the body in its sealed pouch, turn your back to the rain, take the body out with the mount facing down, and finish the swap in under 20 seconds. Rehearse it at home.
Q11. Does a clear window help on a camera dry bag?
It helps you identify the bag without opening it, which reduces exposure events. The trade-off is one extra weld seam, so choose a window only on an outer shell, never on the inner pouch.
Q12. Does saltwater damage the bag or the camera first?
The camera. Salt aerosol dries to crystals around the closure and is carried inside on your hands, where it attacks mount rings and switches. Rinse the bag exterior before every opening.
Q13. Can I put a camera in a dry bag with a wet towel?
No. A wet towel raises internal humidity to saturation and the moisture condenses on the coldest surface, which is your glass. Wet items go in a separate bag, always.
Q14. Do dry bags block humidity as well as water?
They block liquid water, not water vapour. A sealed bag holds whatever humidity was in the air when you closed it, which is why desiccant is part of the system rather than an optional extra.
Q15. How often should I check the seals on a camera bag?
Before every trip with a 30-second squeeze test, and once a season with a full 30-minute bath immersion under a 2 kg weight. Replace sachets every six months even if the colour has not changed.
Q16. Is a hard case better than a dry bag on a boat?
For deliberate submersion or checked luggage, yes, use a gasket case. For rain, spray and the occasional dunk on a day boat, a welded bag plus an insert is lighter, cheaper and far easier to open one-handed.
People also ask
How do you keep a camera dry in a kayak?
Put the body in a 2-5 L roll-top pouch with a silica sachet, place that pouch in a 10-20 L welded shell, and stow it behind the seat or in the day hatch rather than on the deck. Tether the pouch to the boat.
Are dry bags airtight enough for electronics?
A welded bag with a rolled closure is effectively airtight for storage, which is why trapped humidity is the risk rather than leaking air. Add desiccant and avoid sealing the bag around damp gear.
What size dry bag do you need for a DSLR?
Around 10 litres for a full-frame body with a 70-200 mm attached, since that kit packs to 5.4 litres and padding and the closure take another 4 litres. A 5L bag holds a mirrorless body alone.
Can you use silica gel in a dry bag?
Yes, and you should. Use 20 g per 5 litres of trapped air, choose indicator gel, and regenerate it in an oven at 120 °C for two hours so a sachet lasts a full season.
Does a dry bag protect a lens from impact?
Not on its own. The film spreads a point load without absorbing it, so a 40 cm drop onto a deck still reaches the mount. Use an 8 mm closed-cell insert with dividers inside the bag.
How do you dry a camera that got wet?
Power it down, remove the battery, wipe the exterior, and leave it open in a dry room with 40 g of silica gel for 24 hours. Do not use rice or a hairdryer; both push moisture and dust deeper.
Need this in production volume?
QUANZHOU JUNYUAN BAGS has produced waterproof bags since 2014 in an SGS-verified 4,950 m2 facility in Fujian, China. Minimum order 500 pieces, sampling in 6–10 working days, bulk in 35–50 days, FOB Xiamen — write to service@junyuanbags.com with your spec and target market.