Snowshoeing: What Size Dry Bag Do You Need?
A two-hour snowshoe loop needs one 5L dry bag, a half-day outing needs 10L to 15L, and a full winter day with a stove, a spare insulation layer and a camera needs 20L to 30L split across two bags that weigh under 500 g empty. The driver is not how much you carry but how much you sweat: a snowshoer in a shell at minus 8 °C produces 300 to 500 ml of moisture an hour, and every millilitre of that has to end up somewhere other than on your spare layers.
This guide gives the capacity figures by outing length, the wet and dry split that keeps a sweaty base layer away from a down jacket, where the bag sits on a daypack or a sled, and what cold does to film and buckles at minus 20 °C. Every recommendation is tied to a real item: a 640 g insulated jacket, a 1.1 kg stove kit, a 350 g mitt and hat set, and a 750 ml bottle that freezes in ninety minutes.
- Why snowshoeing is a sweat problem, not a rain problem
- Sizing by outing length: from a two-hour loop to a full day
- The wet layer and the dry layer never share a bag
- Where the bag sits: daypack, sled or shoulder carry
- Cold: film, buckles and the temperature you stop folding at
- Closing a roll-top with mittens and no feeling in your hands
- Waterproof ratings for snow, slush and stream crossings
- What fits in 5L, 10L and 20L on a winter trail
- Weight, and the 10% rule for a winter day
- Water, snacks and the frozen bottle problem
- Electronics: the warm-body rule still wins
- After the outing: thawing, drying and off-season storage
- Choosing between two sizes: the decision rule
Why snowshoeing is a sweat problem, not a rain problem
Snowshoeing is the most consistently damp winter activity there is, because the water comes from inside the system rather than from the sky. A 70 kg adult moving at 3 km/h through 30 cm of fresh snow burns roughly 400 to 550 kcal an hour and produces 300 to 500 ml of sweat in the same period. Almost none of that evaporates through a hard shell, so it sits in the base layer until you stop moving.
The moment you stop, that moisture starts to migrate. Take the shell off at a viewpoint and the damp base layer begins to cool; put the shell back on for the descent and the moisture is now between you and your insulation. A dry bag does not stop you sweating, but it does guarantee that the spare hat, mittens and mid-layer you reach for at that viewpoint have never touched anything damp.
External water is comparatively minor. Snow falls off a shell, spindrift only matters above the treeline, and there is no immersion event unless you punch through a bridge on a hidden creek. That is why the sizing logic here is different from paddling: you are buying volume for a wet layer and a dry layer, not protection against a dunking.
Sizing by outing length: from a two-hour loop to a full day
Pick a size from the clock rather than from the gear list. The single biggest variable on a snowshoe outing is how long you are out, because insulation requirements climb steeply once you pass four hours and the light starts to go. A two-hour loop at midday in full sun needs almost nothing; the same loop starting at 15:00 in January needs a full insulation set.
| Outing | Hours out | Waterproof volume | Packed weight | Bag split |
|---|---|---|---|---|
| Short loop near the car | 1-2 h | 4-6 L | 0.6-1.0 kg | 1 x 5L |
| Half-day forest trail | 3-4 h | 10-14 L | 1.6-2.4 kg | 1 x 10L + 1 x 5L |
| Full winter day | 5-7 h | 18-24 L | 2.6-3.4 kg | 1 x 20L + 1 x 5L |
| Day with a stove and camera | 6-8 h | 24-30 L | 3.8-5.0 kg | 1 x 20L + 1 x 10L |
| Overnight snow camp | 2 days | 40-55 L | 7-10 kg | 1 x 40L + 2 x 10L |
Notice that the 5L bag appears in every row. That is not an accident: a 5L roll-top is the right home for the one wet layer you peel off mid-morning, and it stays useful on the longest trips. If you own one winter dry bag, make it a 5L; if you own two, add a 10L for the insulation set.
The wet layer and the dry layer never share a bag
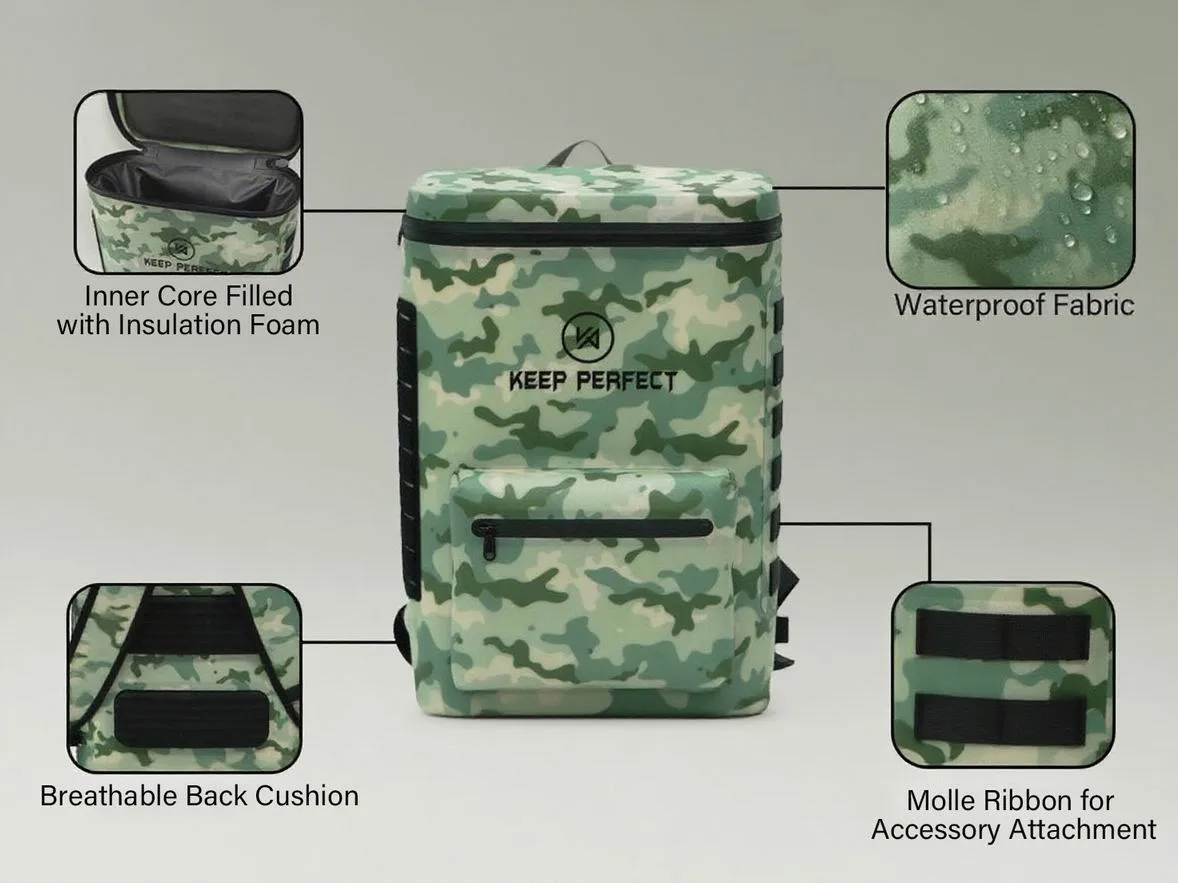
The discipline that makes winter snowshoeing comfortable is a strict two-volume split. The dry volume holds the insulated jacket, spare mittens, a hat, a neck gaiter, the first-aid pouch and any electronics. The wet volume holds what you took off: a damp base layer, wet socks, a soaked neck gaiter, and later in the day the mittens that got snowpacked at a stream crossing.
On a half-day outing the dry volume is about 6 litres and the wet volume about 3 litres, which is why a 10L and a 5L pair so well. Putting both in one 15L bag is technically possible and practically wrong, because opening that bag at a windy viewpoint to throw in a wet base layer exposes the insulation to falling snow and costs you heat every time.
Where the bag sits: daypack, sled or shoulder carry
Most snowshoers carry a 25 to 35 litre daypack and the dry bags go inside it. Place the dry bag against the back panel where your body heat keeps the closure from freezing, and place the wet bag in the outer pocket or under the lid. This is the opposite of summer practice, where wet gear goes as far from your back as possible, and the reason is simple: a frozen closure is a bigger problem than a damp back panel.
A pulk or a child sled changes the calculus completely. Sleds throw slush continuously along the tow lines and the sides, so anything on a sled needs a welded bag with the closure facing up and away from the spray, and it needs to be lashed at two points to the frame. A 30L or 40L dry bag works well here, and the extra capacity is cheap because the sled is carrying it, not you.
Cold: film, buckles and the temperature you stop folding at
Below freezing the limiting component is not the fabric, it is the fold. A 0.5 mm TPU film on a 420D face stays workable to roughly minus 20 °C and can be rolled with two hands; the same thickness in PVC coated fabric goes board-stiff near minus 10 °C and forcing a fold will crease it permanently. Buy for the coldest morning you actually go out in, not the average.
Hardware fails sooner than film. Side-squeeze buckles made from acetal get brittle near minus 25 °C and the tongue can crack if it is levered rather than squeezed. Grit from trail salt or frozen mud accelerates that. Warm a stubborn buckle inside a jacket for thirty seconds and squeeze with the palm, and carry one spare buckle in the repair pouch if you are out for a full week.
| Temperature | 0.5 mm TPU | 0.5 mm PVC | Buckle | Practical move |
|---|---|---|---|---|
| -2 °C, wet snow | Fully flexible | Flexible | Fine, check for grit | Roll three times as normal |
| -8 °C | Flexible, folds easily | Stiff | Stiff but releases | Press the fold with the palm |
| -15 °C | Folds with two hands | Do not fold | Slow, brittle feel | Warm the buckle first |
| -25 °C | Very stiff | Crack risk | Fracture risk | Leave the bag closed all day |
| Indoor thaw | Recovers fully | Recovers slowly | Dry before use | Open only at room temperature |
Closing a roll-top with mittens and no feeling in your hands
The technique that works in winter is a palm press rather than a finger pinch. Fold once along the mouth, then run the heel of the hand along the full width of the fold so it seats evenly, fold again, press again, fold a third time and clip. Three folds remain the standard: two will hold falling snow but not the melt water that pools where the fold sits against a warm pack panel.
Clear the mouth first. Tap the bag upside down twice to drop loose snow, then brush the fold line with a gloved hand before the first fold. If snow is already inside the fold, leave it: a bag rolled with a little snow inside stays damp for a day but survives, whereas a frozen fold wiped with a bare wet glove will stiffen and crack. Deal with it properly that evening indoors.
Waterproof ratings for snow, slush and stream crossings
Snow contact is a mild exposure and it is worth being honest about that. A dry bag inside a daypack on a forest trail will never face a water jet or an immersion, so the rating that matters is seam construction and closure cleanliness. Welded seams wick nothing; a stitched seam with a coating will pass a shake test and then wick melt water for as long as damp snow sits against it, which on a four-hour outing is four hours.
There are two exposures that do justify a step up. The first is a sled, which throws slush at speed and is effectively a low-pressure jet event. The second is a spring creek crossing, where a slip puts the bag under for a few seconds. Both are covered by an IPX6 or IPX7 welded bag, and the test language behind those grades is defined by the IEC rather than invented by whoever writes the hang tag.
| Exposure on a snowshoe trail | What reaches the bag | Rating needed | Construction |
|---|---|---|---|
| Snowfall with the lid open | Damp snow on the fold | IPX4 | Welded, wipe the fold |
| Bag inside a daypack | Body heat, condensation | IPX4 | Welded, dry the interior |
| Sled spray at 8 km/h | Directed slush | IPX6 | Welded, closure facing up |
| Slip into a spring creek | Brief submersion | IPX7 | Welded, 0.5 mm film |
| Bag left outside overnight | Freeze-thaw cycling | IPX6 plus cold-flex | TPU, welded, loosely rolled |
The last row catches people out. A bag that spends the night in a porch goes through a freeze-thaw cycle that no ingress test replicates, and the strain lands on the fold. Roll it loosely and keep it off the ground if you know it will be out overnight; a tightly rolled, frozen bag is how a crease becomes a split.
What fits in 5L, 10L and 20L on a winter trail
Winter gear is bulkier per gram than summer gear, so summer volume intuition misleads. A 640 g insulated jacket occupies about 5 litres loosely packed and 3 litres compressed, and a pair of winter mittens plus a hat plus a gaiter fills most of a 5L bag on its own. The table lists items packed as they would be on a trail, not vacuum-compressed.
| Item | Packed volume | Weight | 5L | 10L | 20L |
|---|---|---|---|---|---|
| Insulated jacket, 640 g | 4.5 L | 640 g | Tight | Yes | Yes |
| Spare mittens, hat, gaiter | 2.2 L | 350 g | Yes | Yes | Yes |
| Wet base layer, sealed | 2.8 L | 420 g | Yes | Yes | Yes |
| First-aid pouch | 0.9 L | 380 g | Yes | Yes | Yes |
| Stove, pot and fuel | 3.4 L | 1.1 kg | No | Tight | Yes |
| Camera body and one lens | 1.8 L | 1.0 kg | No | Tight | Yes |
| Full day kit, all of it | 15.6 L | 3.9 kg | No | No | Yes |
Read the bottom row carefully. A full winter day with a stove and a camera does not fit in a 10L bag, and trying to make it fit is how closures get over-filled and leak. If you regularly carry a stove and optics, the 20L plus 5L pairing in the sizing table is the honest answer, and the 10L is the right size only for the half-day forest loop.
Weight, and the 10% rule for a winter day
Snowshoeing is low-impact and slow, which means it tolerates more weight than running or skiing but punishes badly distributed weight. The practical rule is to keep the total carried load under 10% of body weight, so a 70 kg snowshoer should be at 7 kg or below including water, food and the bags themselves. Two dry bags add 250 to 400 g to that budget.
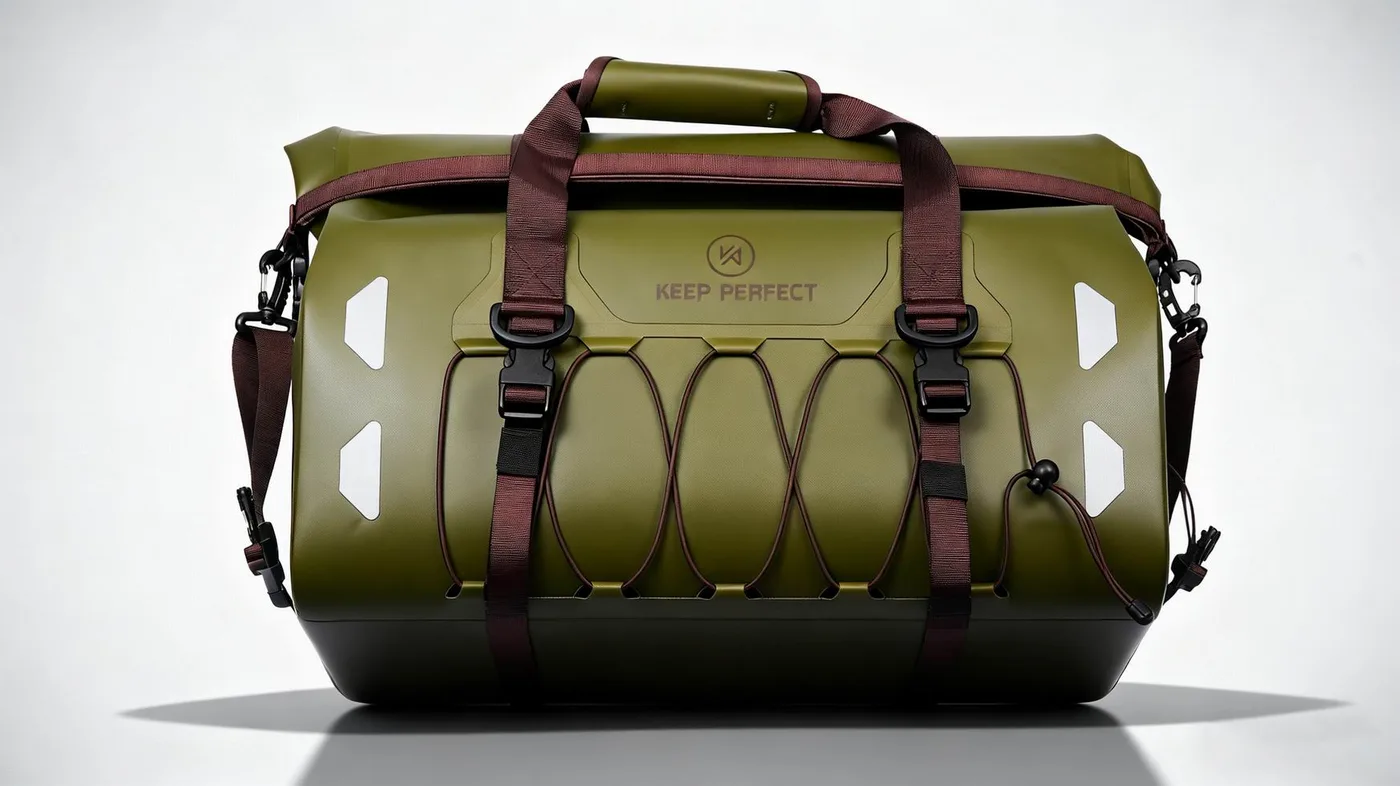
Where you cannot stay under 10%, put the heavy items close to the shoulder blades. A 3 kg bag slung low and away from the back panel levers on the lumbar spine with every step through deep snow, and after five hours that is the difference between a good day and a sore week. This is the same reasoning that applies on the water, and it is covered for paddlers in our carry comfort guide.
Water, snacks and the frozen bottle problem
A standard 750 ml bottle of water at minus 10 °C starts to form ice within ninety minutes and is largely solid by three hours, which is why so many winter snowshoers arrive at a viewpoint with no drinkable water. Insulate the bottle inside the dry bag rather than outside it: wrap it in the spare jacket or a hat and it will stay liquid for four to five hours.
Alternatively carry the bottle inverted, because water freezes from the top down and the cap is the first thing to lock. Either way, do not put a wet bottle straight into the dry bag with electronics; wipe it, cap it, and give it its own corner. Snacks belong in a lid pocket rather than in a dry bag, because a bag opened six times for a snack is a bag that is never properly closed.
Electronics: the warm-body rule still wins
A phone at minus 10 °C loses around 40% of its runtime and many models shut down entirely below minus 20 °C regardless of charge. The countermeasure is body heat, not a better bag. Carry the phone in an inside jacket pocket, and use the dry bag for the spare power bank wrapped in insulation, where it will hold roughly 70% of its rated capacity at minus 5 °C.
Condensation is the other electronics risk, and it happens at the end of the day rather than in the middle. A cold phone taken into a warm hut, or sealed inside a cold bag that then warms up, collects moisture on and inside the device. Let the bag reach room temperature before you unseal it, and leave the phone in its pocket until you are indoors and dry.
After the outing: thawing, drying and off-season storage
- Bring every bag indoors and let it reach room temperature before opening; thirty minutes is typical for a 10L.
- Open, turn inside out and wipe the interior; expect 20 to 40 ml of condensation in a 10L bag.
- Rinse the fold line with fresh water if the bag has seen trail salt or muddy slush.
- Dry in a ventilated room with the mouth open, away from a direct radiator or a wood stove.
- Work each buckle through its full travel while it is still damp, then dry the hardware.
- Store loosely rolled with the buckle unclipped, in a dark cupboard, for the off-season.
Wood stoves and radiators are the two things that kill winter bags faster than the trail does. Direct heat dries the film unevenly, stiffens the fold and can soften a weld line; a hut stove can reach 200 °C on its top plate, which is far past what any laminated fabric tolerates. Air drying at room temperature overnight is enough, and detailed steps for the closure itself are in our roll-top cleaning guide.
Off-season storage deserves one line of its own. Seven months in a hot garage does more damage than three months on the trail, so store dry bags rolled loosely, dark, and off a concrete floor where they will not pick up moisture. Our off-season storage notes cover the temperature and humidity targets, and the same advice applies to any waterproof bag in the range.
Choosing between two sizes: the decision rule
- Buy for the longest outing you do regularly, not the one epic day you plan each winter.
- If you own one bag, make it a 5L; if you own two, add a 10L.
- Pick 0.5 mm TPU over PVC whenever the bag will fold below minus 10 °C.
- Confirm the buckle releases with a mitten on before you leave the shop.
- Choose welded D-rings if the bag will ever be lashed to a sled or a pack frame.
- Keep snacks and water out of the dry bag so the closure is opened less often.
- Check the cold-flex figure on the spec sheet, not just the waterproof adjective.
If you are still between two sizes after that list, choose the larger one. An underfilled dry bag rolls more times and seals better; an overfilled one cannot seal at all, and the failure is silent until you open it at the car. Compare the candidate sizes side by side in the roll-top dry bag range, where 5L through 90L share one fold geometry.
For clubs, guiding operations and rental fleets the same seven lines become a procurement brief: volume, film thickness, seam type, hardware grade, colourway and the cold-flex data behind the waterproof claim. Waterproof bag production has run at our SGS-verified 4,950 m2 facility since 2014, with a 500-piece minimum, sampling in 6 to 10 working days and bulk in 35 to 50 days.
Cold exposure is the risk no bag manages for you. Wet insulation, wind and a long walk back to the car is the classic hypothermia sequence, and the CDC publishes the early signs and the response every winter walker should recognise. Check the wind chill and the freezing level through NOAA before you set out, and see the backcountry skiing guide if your winter also includes days on skins.
Frequently asked questions
Q1. What size dry bag do I need for snowshoeing?
A 5L bag covers a two-hour loop, 10L to 15L covers a half-day, and 20L to 30L covers a full winter day with a stove and a camera. Split it into one dry bag and one smaller wet bag rather than one large one.
Q2. Is a 10L dry bag enough for a winter day out?
For a half-day forest trail, yes. For a full day with a stove, a camera and a spare insulation layer, no: that list packs to about 15.6 litres and 3.9 kg, which needs a 20L plus a 5L.
Q3. Do I need a waterproof bag at all if it is below freezing?
Yes, because the moisture comes from your own sweat rather than from snowfall. A snowshoer produces 300 to 500 ml of moisture an hour, and a dry bag is what keeps the spare insulation from meeting it.
Q4. Does TPU stay flexible in the cold?
A 0.5 mm TPU film on a 420D face folds with two hands down to about minus 20 °C. PVC coated fabric of the same thickness goes stiff near minus 10 °C and should not be folded without warming it first.
Q5. How many times should I roll the bag in winter?
Three folds, pressed flat with the heel of the hand rather than pinched with fingers. Two folds hold falling snow but not the melt water that pools where the fold sits against a warm pack panel.
Q6. Can I open a frozen dry bag?
Only after it has thawed indoors. Forcing a frozen fold creases the film permanently and can crack PVC. Thirty minutes at room temperature is typically enough for a 10L bag, longer for a 30L.
Q7. Where should the dry bag go inside my daypack?
Against the back panel, where body heat keeps the closure from icing. The wet bag goes in an outer pocket or under the lid. That is the reverse of summer practice, and it is deliberate.
Q8. Will my water bottle freeze inside a dry bag?
Yes, within ninety minutes at minus 10 °C unless it is insulated. Wrap the bottle in a jacket or a hat inside the bag and it will stay liquid for four to five hours, or carry it inverted so the cap does not lock first.
Q9. Should I put my phone in the dry bag?
Better in an inside jacket pocket. A phone at minus 10 °C loses about 40% of its runtime and most shut down below minus 20 °C, so body heat beats any bag. Use the bag for the spare power bank instead.
Q10. What rating do I need for a sled or a pulk?
IPX6. A towed sled throws slush continuously along the sides and tow lines, which behaves like a directed low-pressure jet. Lash the bag at two points with the closure facing up and away from the spray.
Q11. Why is there water inside my bag when nothing got in?
Condensation from the air sealed inside it. A 10L bag coming back to a warm room typically holds 20 to 40 ml on the inner wall, so wipe the interior dry before you roll it closed again.
Q12. How do I dry a bag in a hut without damaging it?
Air dry at room temperature with the mouth open. Never put it on a wood stove top or against a radiator: a stove plate can exceed 200 °C, which softens weld lines and stiffens the fold permanently.
Q13. How much weight should a snowshoer carry?
Keep total load under 10% of body weight, so about 7 kg for a 70 kg walker, including water and food. Two dry bags add 250 to 400 g to that budget and are worth it for a guaranteed dry insulation layer.
Q14. Can I carry wet gear in the same bag as my jacket?
No. A damp base layer and wet socks belong in a separate 5L wet bag, sealed, so you never have to open the dry bag at a windy viewpoint to throw something in.
Q15. How long will a winter dry bag last?
Several seasons of regular winter use if it is thawed before opening, wiped dry inside and stored loosely rolled in the dark. Seven months in a hot garage typically does more damage than three months on the trail.
Q16. Is a 5L dry bag too small to be useful in winter?
No, it is the most useful single size. It holds a spare hat, mittens and gaiter set, or one wet base layer sealed away from everything else, and it appears in the kit list for every outing length.
People also ask
How do you pack a dry bag for snowshoeing?
Split dry and wet. The dry bag holds the insulated jacket, spare mittens, hat, gaiter, first-aid pouch and power bank; a smaller wet bag holds the damp base layer and wet socks. Keep snacks in a lid pocket so the dry bag is opened less often.
What size dry bag fits an insulated jacket?
A 640 g insulated jacket packs to about 4.5 litres loosely and 3 litres compressed, so it fits a 5L bag on its own and a 10L bag alongside a hat, mittens and a first-aid pouch.
Are dry bags waterproof in snow?
Snow contact is a mild exposure, so seam construction matters more than a high rating. Welded seams wick nothing; stitched and coated seams wick melt water for as long as damp snow rests against them.
Why does my dry bag stiffen in the cold?
The polymer film loses flexibility as temperature falls. TPU stays workable to about minus 20 °C while PVC stiffens near minus 10 °C, and buckle hardware gets brittle near minus 25 °C in either case.
Can you leave a dry bag outside overnight in winter?
You can, but roll it loosely and keep it off the ground so the freeze-thaw cycle does not strain the fold. Let it thaw indoors before opening it rather than forcing a frozen closure.
Do you need a dry bag for a short snowshoe loop?
A 5L bag is still worth carrying on a two-hour loop. It holds a spare hat and mittens and gives you somewhere to seal a wet layer if the weather turns, and it weighs about 110 g empty.
Need this in production volume?
QUANZHOU JUNYUAN BAGS has produced waterproof bags since 2014 in an SGS-verified 4,950 m2 facility in Fujian, China. Minimum order 500 pieces, sampling in 6–10 working days, bulk in 35–50 days, FOB Xiamen — write to service@junyuanbags.com with your spec and target market.