Choosing a Dry Bag for Snowboarding
A snowboarding day needs two sealed volumes rather than one: 12 to 18 litres for dry layers and electronics that must not get wet, and a separate 20 to 35 litre space for boots, goggles and outerwear that will be wet by 3 pm. Roll-top closures beat zips below minus 10 °C because a zip slider iced with refrozen meltwater stops moving, while a roll still seals with stiff film. Choose 0.5 mm TPU with welded seams, acetal hardware you can work with gloves on, and a closure you can reach without taking the pack off.
This guide compares the formats and materials against real resort and backcountry conditions, sizes the load from a lift-served day to a dawn patrol tour, and covers the details that decide whether a bag works: snow packed in the fold, glove operation at minus 15 °C, board carrying, gondola etiquette and the ten-minute lodge routine that stops a bag smelling by February. Every recommendation carries a number you can check.
- What snowboarding asks of a waterproof bag
- Wet gear out, dry layers in: the two-volume rule
- Sizing from a resort day to a dawn patrol tour
- Roll-top, zip or bucket below freezing
- Cold-flex: TPU against PVC on the mountain
- Hardware you can operate with gloves on
- Snow in the closure and how to stop it
- Boots, goggles and hydration: what travels where
- Avalanche kit and the access rule
- Carrying on a board, a pack or a lift
- Post-day care in a warm lodge
- What a season of riding wears out first
- Selection checklist
What snowboarding asks of a waterproof bag
Snow is a slower problem than rain. It arrives as dry powder at minus 12 °C, sits harmlessly on the shell, then melts against a warm back panel or a heated lodge bench and becomes water that finds the closure. A bag that shrugs off a downpour can therefore deliver a damp base layer by mid-afternoon, because the water is generated inside the system rather than falling on it.
The second demand is thermal. A bag used at altitude is handled with gloves on, at temperatures where fine motor control degrades quickly, and in wind that strips heat from anything exposed. That combination argues for large, simple hardware and against small zip pulls, fine cam levers and anything requiring a pinch grip.
The third is access. Snowboarders need goggles, a layer and water within seconds of stopping, often while standing on a slope, and they need avalanche equipment accessible in under a minute in the backcountry. A bag that is genuinely waterproof but takes ninety seconds to open is the wrong bag, however good its rating looks on paper.
Wet gear out, dry layers in: the two-volume rule
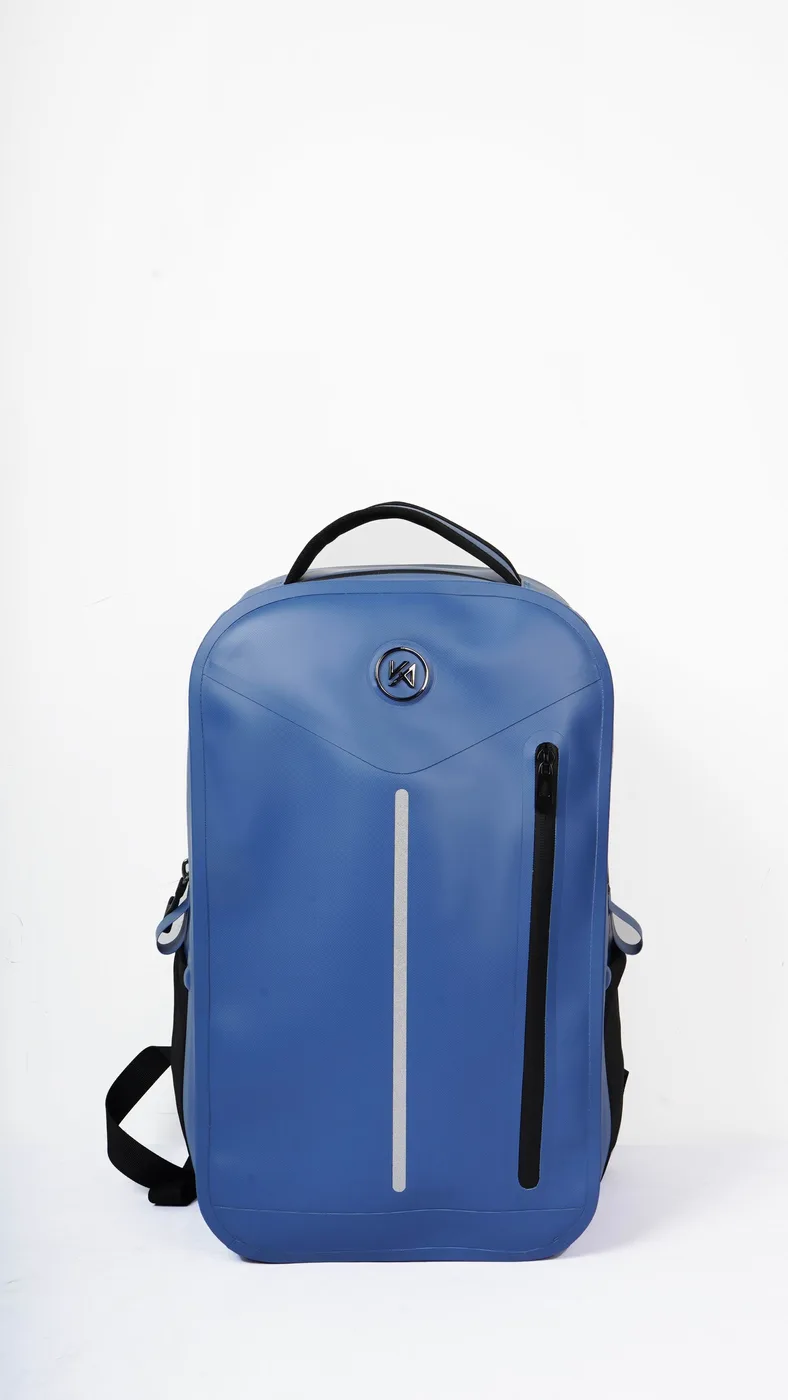
Sort the load by what happens to it during the day. Boots, wet gloves, a soaked neck gaiter and an outer shell will be damp by mid-morning and should never share a sealed space with a spare base layer or a phone. Two volumes solve it: one for the wet-and-tolerable category, one for the must-stay-dry category, with the wet side vented rather than sealed so it can breathe.
The counter-intuitive part is that the wet side should not be fully waterproof. A welded bag holding damp boots traps moisture and produces odour within days, which is why a mesh-sided or ventilated compartment is better for that category. Reserve the welded roll-top for the things that would end the day if they got wet: insulation, electronics, spare gloves and a dry base layer.
Within the dry volume, use a small pouch as a second seal for electronics. A 2 litre pouch at the top of the bag costs almost nothing, keeps a phone and a spare battery away from any meltwater collecting at the base, and means the main closure is opened less often, which is the simplest way to reduce risk.
Sizing from a resort day to a dawn patrol tour
Volume follows the day type. A lift-served day needs far less than people expect, because there is no need to carry a full layer system when a lodge is ten minutes away. A backcountry tour needs substantially more, because the consequences of a wet spare layer are measured in hours rather than minutes, and because shovel, probe and skins all take space.
| Day type | Dry volume needed | Wet or outer volume | Total load | Suggested format |
|---|---|---|---|---|
| Lift-served half day | 6-9 L | 4-6 L | 2.0-3.0 kg | 14-18 L welded backpack |
| Full resort day | 10-14 L | 6-10 L | 3.0-4.5 kg | 20-25 L pack with a liner |
| Park or rail session | 8-12 L | 5-8 L | 2.5-3.8 kg | 18-22 L pack, low profile |
| Dawn patrol tour | 14-20 L | 10-15 L | 4.5-7.0 kg | 30-40 L pack plus 10 L roll |
| Full backcountry day | 18-26 L | 12-18 L | 6.0-9.5 kg | 35-45 L pack plus two rolls |
| Multi-day hut trip | 25-35 L | 15-25 L | 8-13 kg | 45-60 L split across three bags |
The wet column is what people forget when they size a bag, and it is why a 25 litre pack feels full by lunchtime on a full resort day. Boots alone occupy 8 to 12 litres when carried, and goggles, helmet and outer shell add another 5. If you are choosing between two sizes on a resort day, take the larger one and use the space as a vented wet compartment rather than cramming everything into one sealed cavity.
Roll-top, zip or bucket below freezing
Closure type is the decision that matters most in cold, and the answer is less obvious than it is in summer. A zip gives faster access and a squarer pack, but a slider packed with refrozen meltwater will not move, and forcing one is the fastest way to break a waterproof zip. A roll-top has no moving parts to ice up, and while stiff film is harder to fold, it still seals when rolled with a gloved hand.
| Closure | Access speed | Behaviour at -15 °C | Risk in snow | Best snowboard use |
|---|---|---|---|---|
| Roll-top, three folds | 8-12 s | Stiff but functional | Snow in the fold if not brushed | Primary dry volume |
| Roll-top, four folds | 12-18 s | Hard to fold with gloves | Higher chance of a poor roll | Rarely worth it |
| Waterproof zip | 3-5 s | Slider can ice solid | Ice in the teeth | Outer pockets only |
| Bucket with a lid | 5-8 s | Lid brittle when cold | Snow packs around the rim | Camp or hut use |
| Roll-top plus a storm flap | 10-15 s | Best of the roll options | Flap keeps spindrift off the fold | Backcountry tours |
On that table, the storm-flap variant is the one riders overlook. A short flap over the roll keeps spindrift off the fold line while riding a chair into a headwind, which removes the single most common cause of a wet bag on a lift-served day. It costs a few seconds of access and saves a layer change later.
If you prefer a zip for access, use it for outer pockets only and keep the main dry volume on a roll. That hybrid is what most backcountry packs converge on, and it is the arrangement described in our roll-top versus zip comparison and in the notes on bucket formats.
Cold-flex: TPU against PVC on the mountain
Material behaviour separates bags that work from bags that crack in a single season. TPU stays flexible well below the temperatures a snowboarder meets and welds cleanly, so the seam is as strong as the shell. PVC coated fabric stiffens as plasticiser migrates out, and a stiff film does not fold tightly, which is why a PVC bag can test waterproof in a shop and leak at minus 15 °C where the same fold cannot be made properly.
| Property | TPU laminate, 0.5 mm | PVC coated, 0.55 mm | Why it matters on snow |
|---|---|---|---|
| Flex at -20 °C | Firm but foldable | Boardy, creases whiten | Determines roll quality in cold |
| Flex at -30 °C | Near the service limit | Cracks at a crease | Deep cold tours and high wind chill |
| Weld seam strength | Matches the shell | Glue or tape dependent | Seams fail before film does |
| Abrasion on a board | High resistance | Moderate | Rubbing against edges and boots |
| Repairability | Heat-patchable | Adhesion unreliable | Trail-side fixes |
| Weight per m² | 520-600 g | 620-720 g | Weight carried all day |
The row that decides the purchase is the third one. A bag that folds happily at minus 20 °C but cannot be rolled cleanly at minus 30 °C is perfectly adequate for a lift-served resort and marginal for a high-altitude tour, and that boundary is the honest difference between the two materials rather than a marketing talking point. Read the fuller comparison in the TPU versus PVC guide and the temperature detail in the freezing conditions notes.
Hardware you can operate with gloves on
Gloves change everything about hardware choice. A small cam lever that is delightful with bare hands becomes impossible with a mitt, and riders then remove gloves to open a bag, which is how fingers get cold enough to make the next closure worse. Choose large acetal buckles with a clear release face, glove-friendly pull tabs, and any adjustment that works with a whole-hand grip rather than a pinch.
Metal hardware deserves a specific warning. Aluminium and steel conduct heat away from a bare hand, and at minus 15 °C contact can be genuinely unpleasant, so exposed metal buckles and hooks are a poor choice anywhere the rider touches. Acetal stays neutral to the touch, resists icing better and does not freeze to a glove. Our buckle type guide covers load ratings as well as cold behaviour.
Snow in the closure and how to stop it
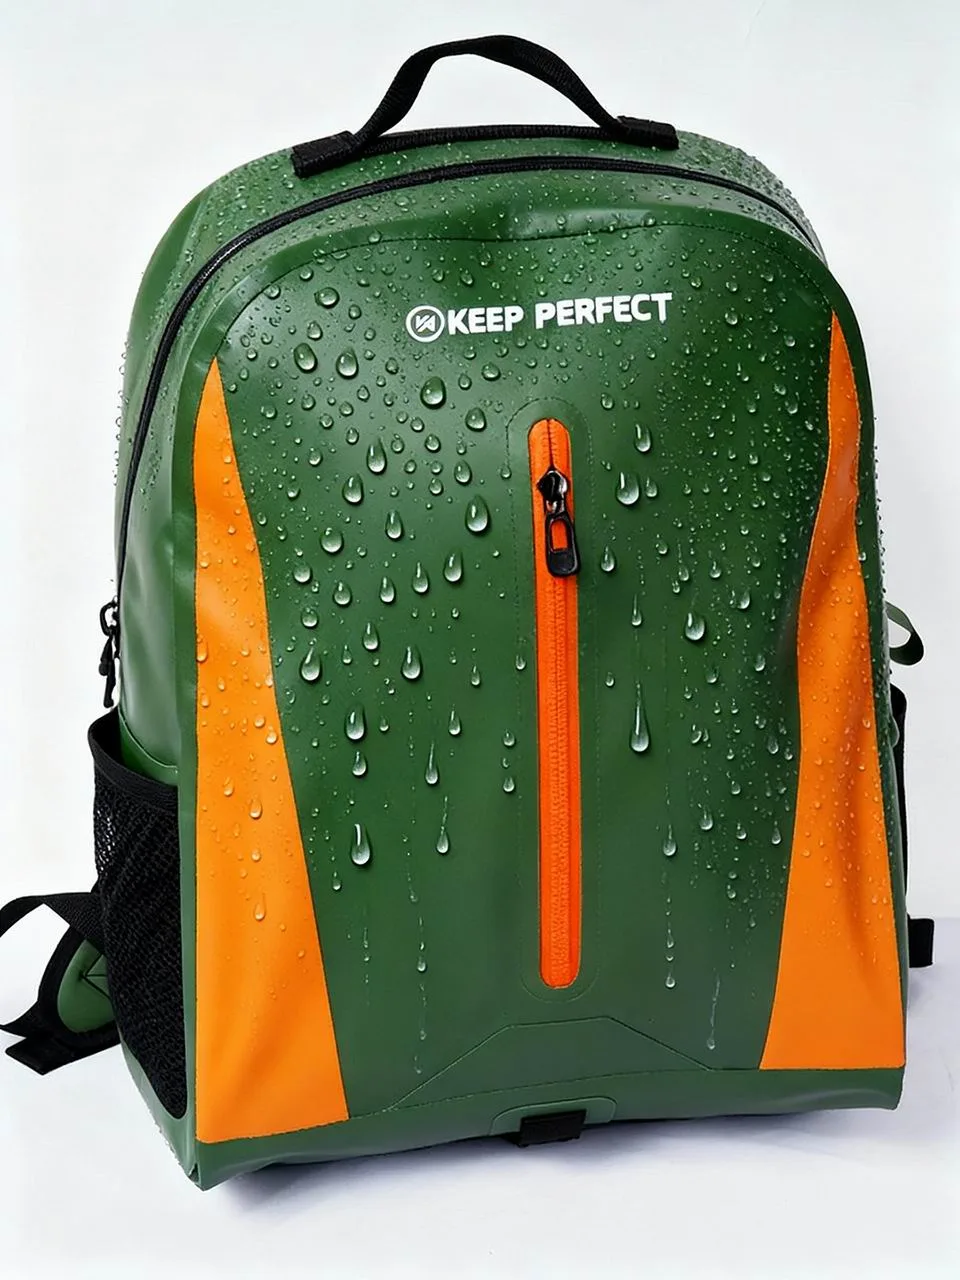
Powder finds the fold. It lands on the roll while the bag is open on a slope, compacts when the roll is made, and then melts against a warm back panel to create a capillary path straight into the bag. Preventing it is a three-step habit: close the bag facing away from the wind, brush the fold with a gloved hand before rolling, and make the first fold wide enough that the second and third folds cover it completely.
If snow does get in, do not force the buckle. Ice expands as it warms, and a buckle pulled tight over an iced fold puts pressure straight onto the mouth weld. Leave the bag open in the lodge for fifteen minutes, tip out the meltwater, dry the fold with a cloth, and re-roll. The same rule applies to a bag left on a gondola rack overnight.
Boots, goggles and hydration: what travels where
Placement is a weight and access decision. Boots are the heaviest and wettest item and belong low and outside, or in a vented compartment if the bag has one. Goggles need a soft, accessible pocket where they cannot be scratched by an edge or a buckle, and a spare lens belongs in the dry volume in its sleeve. Water belongs in an insulated sleeve, because a hydration bladder on a back panel freezes at altitude and a frozen hose is useless by noon.
Electronics go high and inside a pouch. A phone kept in an outer pocket at minus 15 °C loses battery capacity quickly, and a warm inner position near the body preserves it. Spare batteries belong in the same pouch, and a hand warmer in that pouch on a cold day costs nothing in weight and keeps a phone functional for photography.
Avalanche kit and the access rule
Shovel, probe and transceiver must be reachable in under a minute, in a dedicated compartment that does not require unpacking anything else. That requirement overrides waterproofing for that specific compartment: a shovel blade kept in a sealed welded bag is a shovel you cannot reach quickly. Use an external or top-loading compartment with a drain, and keep the transceiver on the body rather than in any bag.
The rest of the safety kit, meaning a first-aid pouch, a repair strip, a head torch and a spare layer, goes in the dry volume but near the top. Practise the sequence once at the start of the season with gloves on and time it; most riders find their first attempt takes over two minutes, and knowing that is more useful than any equipment upgrade.
Carrying on a board, a pack or a lift
How the bag travels matters as much as what it holds. On a chairlift, a pack should sit on the lap or between the knees rather than hanging on the back, where it is crushed against the seat back and its closure is pressed open. In a gondola, bags go on the rack or the floor, never on a heated bench where snow melts into the fold and refreezes on the way out.
Carrying a board changes the load path. Strapping a bag to a board is possible for short walks but the bag rubs against edges and bindings, which abrades film quickly, so use a padded sleeve or carry the bag separately. If you must strap, keep the bag on the topsheet side, away from the edges, and check the base for scuffing after every trip.
Post-day care in a warm lodge
- Open every bag in the entrance hall before carrying it into a warm room.
- Tip out meltwater and snow, then prop the mouth open on a rack or a hanger.
- Wipe the fold line dry with a cloth and brush out any grit or salt.
- Remove wet boots and outerwear from any sealed compartment immediately.
- Air goggles and gloves outside the bag so they do not steam the interior.
- Work each buckle ten times while warm, then leave it unclipped overnight.
- Check the base and strap path for abrasion from board edges.
The first step is the one that prevents the condensation problem described in our condensation guide. A bag carried sealed from minus 12 °C into a 22 °C lodge will condense water on its inner film, and owners routinely mistake that for a leak. Opening it in the cool entrance for ten minutes lets the air exchange gradually and removes the effect almost entirely.
Never dry a bag on a radiator, a boot dryer or in front of a fire. Rapid uneven heat sets creases into film that is stiff from cold, and a crease is permanent. Room temperature and airflow do the job in a few hours, and the bag will last several seasons longer for it.
What a season of riding wears out first
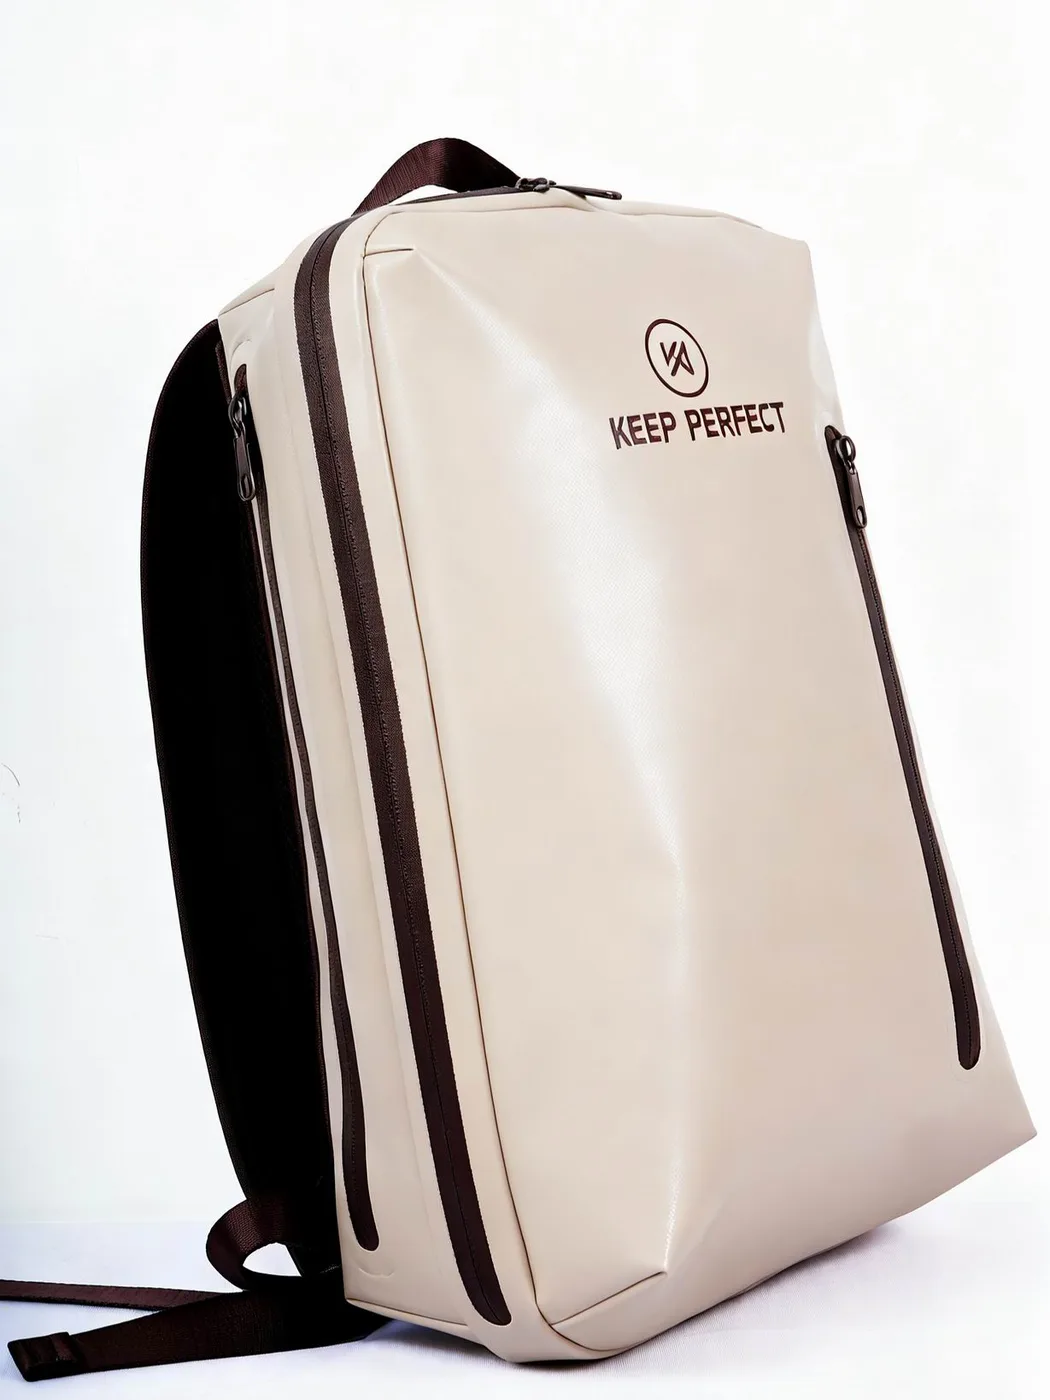
Wear on a snowboard bag is concentrated where you would expect and in one place you would not. The expected points are the base, which rubs against board edges and bindings during carries, and the shoulder strap path, where webbing under a 6 to 9 kg load saws across the film. The unexpected one is the fold line, which stiffens from repeated rolling with compacted snow in it long before the base shows any damage at all.
| Component | What wears it | Visible sign | Practical interval | Action |
|---|---|---|---|---|
| Base film | Board edges and bindings | Grey matte scuffing | Every 20 riding days | Patch at 25 mm overlap |
| Strap path | Webbing under load | Burnished film, fuzzy webbing | Every 20 riding days | Sleeve or re-route the strap |
| Fold line | Compacted snow in the roll | Whitening that stays warm | Every 10 riding days | Brush and shift the fold |
| Corner welds | Freeze and thaw flexing | White stress line | Every 300 riding hours | Patch or retire |
| Buckles | Ice and grit in the cam | Slip below 8 kg | Monthly | Rinse, dry, replace |
A full season of 40 riding days puts a frequently used bag at roughly 300 hours, which sits comfortably inside the 500 to 800 hour window before corner welds need serious attention. What shortens that is storage: a bag left clipped, damp and folded in a warm hallway over summer will show crease damage before it shows any riding wear at all. The inspection habit matters more than the riding load.
Selection checklist
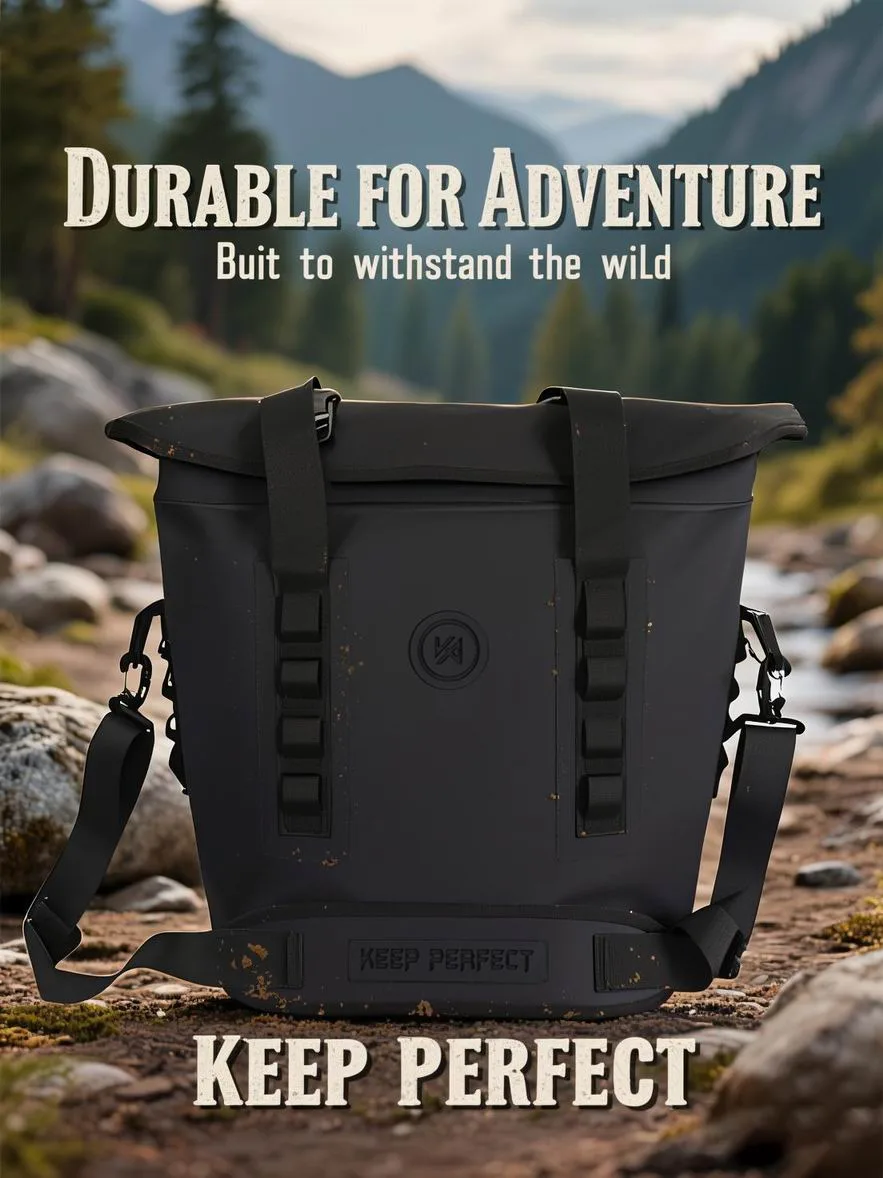
- Two volumes: one welded for dry layers, one vented for wet gear and boots.
- Roll-top for the main closure, zip only for outer pockets you can ice safely.
- 0.5 mm TPU laminate with welded seams rather than a PVC coating.
- Acetal hardware with a glove-friendly release; avoid exposed metal.
- A storm flap over the roll if you ride chairs into headwind often.
- Brush the fold before rolling, and never force a buckle over ice.
- Electronics and spare batteries in a pouch high in the dry volume.
- Avalanche kit in its own compartment, reachable in under a minute.
- Open bags in a cool entrance before taking them into a warm lodge.
- Compare sizes across the full dry bag range before committing.
Resort instructors, guide operations and club programmes specifying bags for a season face the same list multiplied, and the useful adaptation is standardisation: one closure type, one roll count, one colour per job, so briefing given once applies everywhere.
Weather and avalanche information should be checked the morning of any mountain day rather than the night before, and the mountainous forecasts published by NOAA are the practical starting point in US ranges. Cold exposure itself deserves equal attention to kit: the health guidance from the CDC covers frostbite and hypothermia recognition, which matter more than any bag specification once the temperature drops.
Finally, match the bag to the day rather than to the season. Most riders are better served by a mid-size welded pack with a liner for resort days and a larger roll-top system for tours than by one oversized bag that compromises both. The backcountry skiing guide covers the tour end in detail, and our winter travel notes handle the journey to the mountain.
Frequently asked questions
Q1. What size dry bag do I need for snowboarding?
A lift-served day needs 10 to 14 litres of dry volume plus 6 to 10 litres for wet gear, roughly a 20 to 25 litre pack. A full backcountry day needs 18 to 26 litres dry and 12 to 18 litres wet, meaning a 35 to 45 litre pack plus a roll.
Q2. Is a roll-top or a zip better for snowboarding?
A roll-top for the main dry volume. A zip slider packed with refrozen meltwater stops moving at minus 10 °C or below, while a roll still seals with stiff film. Keep zips for outer pockets only.
Q3. Do I need a waterproof bag for a resort day?
You need a welded dry volume for spare layers, gloves and electronics, and a separate vented space for wet boots and outerwear. One sealed bag holding both will steam your dry kit by lunchtime.
Q4. Is TPU or PVC better in the cold?
TPU. It stays foldable to about minus 30 °C and welds cleanly, while PVC stiffens and creases whiten below minus 10 °C, which stops the fold sealing properly even though the material has not cracked.
Q5. Why is my bag wet inside after a day on the mountain?
Usually snow compacted into the fold, then melted by body heat, or condensation from carrying a sealed cold bag into a warm lodge. Brush the fold before rolling and open the bag in a cool entrance first.
Q6. Can I put wet boots in a dry bag?
Only briefly, and preferably not at all. A sealed bag traps the moisture and produces odour within days. Use a vented or mesh compartment for boots and keep the welded volume for dry layers and electronics.
Q7. How do I stop my hydration system freezing?
Use an insulated sleeve on the hose, keep the bladder close to your back, and blow water back out of the hose after every drink. A hose left full at altitude freezes within about an hour.
Q8. Where should avalanche equipment go?
In its own compartment, reachable in under a minute, with the transceiver on your body rather than in any bag. Speed of access overrides waterproofing for shovel and probe storage.
Q9. Can I strap a dry bag to my snowboard?
For short walks only, on the topsheet side away from the edges, with a padded sleeve if possible. Board edges and bindings abrade film quickly, so check the base for scuffing after each trip.
Q10. How do I dry a snowboard bag overnight?
Open it in a cool entrance for ten minutes, tip out meltwater, then prop the mouth open at room temperature with airflow. Never use a radiator, boot dryer or fire, which sets permanent creases in cold film.
Q11. What temperature is too cold for a dry bag?
A 0.5 mm TPU bag remains usable to about minus 30 °C, but roll quality suffers as the film stiffens. Warm the fold with a hand, make the first fold wide, and pull the buckle with the heel of the hand.
Q12. Should I choose metal or plastic hardware for snow?
Acetal. It stays neutral to the touch, resists icing and can be released with a mitt, whereas metal conducts heat away from a bare hand and can freeze to a glove at minus 15 °C.
Q13. How much does a full snowboard day load weigh?
Three to 4.5 kg for a resort day and 6 to 9.5 kg for a full backcountry day including shovel and probe. Boots alone are 1.5 to 2.5 kg of that when carried.
Q14. Do I need a storm flap over the roll?
It helps considerably on chairs and exposed ridge traverses. Spindrift packs into the fold line otherwise, and a flap costs a few seconds of access while removing the most common cause of a wet bag.
Q15. Can a phone survive a day on the mountain in a dry bag?
Yes, if it is in a pouch high in the dry volume and kept warm. Cold reduces battery capacity sharply at minus 15 °C, so keep it near your body and carry a spare battery.
Q16. How often should I inspect a snowboard bag?
Check the fold and buckles every ride, and inspect welds and the base thoroughly every 20 riding days. A season of roughly 40 days puts a bag at around 300 hours, well inside the 500 hour weld interval.
People also ask
How do you keep gear dry while snowboarding?
Use two volumes: a welded roll-top for dry layers, gloves and electronics, and a vented compartment for wet boots and outerwear. Brush the fold before rolling and keep the closure out of the wind.
What size bag do you need for a day of snowboarding?
About 20 to 25 litres for a lift-served day, split into 10-14 litres dry and 6-10 litres wet. A backcountry day needs 35 to 45 litres plus a roll, because shovel, probe and skins all take space.
Are roll-top bags better than zips in snow?
Yes for the main compartment. An iced zip slider can stop moving entirely below minus 10 °C, while a roll-top has no moving parts and still seals when the film is stiff and you are wearing gloves.
Why does snow get into a sealed dry bag?
Powder lands on the open fold, compacts when you roll, and melts against body heat to create a capillary path. Facing the closure away from the wind and brushing the fold before rolling prevents it.
How do you dry snowboard gear overnight?
Open the bag in a cool entrance, tip out meltwater, then prop the mouth open at room temperature with airflow for several hours. Avoid radiators and boot dryers, which set permanent creases in cold film.
Do dry bags work in sub-zero temperatures?
A 0.5 mm TPU bag works to about minus 30 °C, though the film stiffens and roll quality drops. Warm the fold, make the first fold wide and close with the heel of your hand rather than fingertips.
Need this in production volume?
QUANZHOU JUNYUAN BAGS has produced waterproof bags since 2014 in an SGS-verified 4,950 m2 facility in Fujian, China. Minimum order 500 pieces, sampling in 6–10 working days, bulk in 35–50 days, FOB Xiamen — write to service@junyuanbags.com with your spec and target market.