Home / Blog / Travel & Packing
Camera Gear in a Dry Bag
A mirrorless body with a 24-70 mm and a 70-200 mm zoom, two spare batteries, a charger and a small cleaning kit weighs 3.4 kg and packs to about 11 litres, which means a 15L dry bag is the tight realistic fit and a 20L is the comfortable one. Add a 14-inch laptop and the load rises to 4.8 kg and 14 litres, so a 20L bag becomes the minimum. The water itself is rarely what ruins a camera; condensation is. Air sealed at 28 °C and 80% relative humidity carries 21.6 grams of water per cubic metre, and cooling that bag to 16 °C releases roughly 8 grams per cubic metre as liquid, which is more than enough to fog a rear element.
This guide covers the volume and weight maths for real camera loads, the two-bag system that separates impact protection from waterproofing, desiccant quantities that actually work in the tropics, the access trade-off between a roll-top and a waterproof zip, and the battery rules that decide whether a kit travels in the cabin. Every recommendation is tied to a measurable load, because guessing at capacity is how a 1.2 kg lens ends up wedged against a closure that will not seal.
- What a camera kit really weighs and occupies
- Condensation: the enemy that arrives after the water does
- Sizing a dry bag for a body and two lenses
- The two-bag system: padding inside, waterproofing outside
- Packing order that keeps glass away from the closure
- Desiccant quantities that actually work
- Roll-top versus waterproof zip: the access trade-off
- Buoyancy: what happens if the bag goes in the water
- Sand, salt spray and the lens-change window
- Batteries, cards and small items on the move
- Air travel: cabin, security and the checkpoint routine
- A five-minute routine after every wet day
What a camera kit really weighs and occupies
Start with a weighed kit rather than a published spec sheet, because the numbers that matter are packed volume and real mass, not the advertised body weight. A full-frame mirrorless body with a battery and card is about 720 g and occupies 1.6 litres once you allow for the grip and the mount. A 24-70 mm f/2.8 zoom adds 800 g and 1.4 litres in its hood-reversed position; a 70-200 mm f/2.8 adds 1.2 kg and 2.8 litres and is the single item that decides which bag you buy.
Accessories accumulate faster than expected. Two spare batteries are 160 g, a dual charger with a cable is 240 g, a blower, cloth and filter wallet add 300 g, and a compact travel tripod is 1.3 kg and 3.5 litres strapped outside. A realistic three-lens travel kit lands between 3.4 and 5.2 kg, and the difference between those two figures is the difference between a 15L and a 30L bag.
| Item | Mass | Packed volume | 15L bag | 20L bag | 30L bag |
|---|---|---|---|---|---|
| Mirrorless body plus grip | 720 g | 1.6 L | Yes | Yes | Yes |
| 24-70 mm f/2.8 zoom | 800 g | 1.4 L | Yes | Yes | Yes |
| 70-200 mm f/2.8 zoom | 1.2 kg | 2.8 L | Tight | Yes | Yes |
| Two spare batteries | 160 g | 0.2 L | Yes | Yes | Yes |
| Charger and cables | 240 g | 0.6 L | Yes | Yes | Yes |
| Cleaning and filter wallet | 300 g | 0.7 L | Yes | Yes | Yes |
| 14-inch laptop in a sleeve | 1.4 kg | 2.4 L | No | Tight | Yes |
| Three-lens kit total | 4.8 kg | 9.7 L | Tight | Yes | Yes |
Condensation: the enemy that arrives after the water does
Every photographer who has lost a lens to a dry bag lost it to humidity, not to a wave. Warm air holds more water than cold air, and a bag sealed in a 28 °C tropical room then carried into an air-conditioned room at 18 °C crosses its dew point on the inside surface of the film. Water condenses first on the coldest thing available, which is usually the metal barrel of a lens or the glass itself, and a film of moisture on a rear element can take days to clear.
Two habits prevent almost all of it. First, pack the bag in the same temperature band you will open it in, or let it acclimatise for 20 to 30 minutes unopened before you lift the lid. Second, never pack a damp item: a lens cloth that went into the bag at 60% moisture content will raise the internal humidity of a sealed 20L bag within two hours, and no amount of desiccant recovers from that quickly.
The failure mode is easy to spot if you know what to look for. Fog on the outside of the bag means nothing; fog on the inside of the film, or droplets on a lens barrel when the bag has never been in water, means the humidity inside is above the dew point and the kit needs to come out and dry in moving air. Our condensation guide covers the same physics for clothing and electronics.
Sizing a dry bag for a body and two lenses
Capacity planning for camera gear is different from planning for clothing, because camera items are rigid, dense and cannot be compressed to fit a gap. Clothing packs at roughly 60% efficiency; camera bodies pack at closer to 85%, because once a body and a lens are placed they occupy their full volume and the remaining space is unusable slivers. That is why a 10L bag that swallows a full day of clothing will not swallow two lenses.
Work on 85% fill as the ceiling. A bag filled past that point cannot be rolled three times, and a closure that only makes two folds will hold spray but not immersion. In practice that means the comfortable capacity for a body plus two lenses and accessories is 20L, and the comfortable capacity once a laptop joins the kit is 30L. The camera kit sizing guide breaks this down by lens combination.
| Kit | Packed volume | Minimum bag | Comfortable bag | Rolls achievable at minimum size |
|---|---|---|---|---|
| Body plus one prime | 3.0 L | 5L | 10L | 3 |
| Body plus two zooms | 6.0 L | 10L | 15L | 2 at 10L, 3 at 15L |
| Body, two zooms, accessories | 9.7 L | 15L | 20L | 2 at 15L, 3 at 20L |
| Full kit plus 14-inch laptop | 13.5 L | 20L | 30L | 3 at 30L |
| Two bodies, three zooms, drone | 22 L | 30L | 40L | 3 at 40L |
The two-bag system: padding inside, waterproofing outside
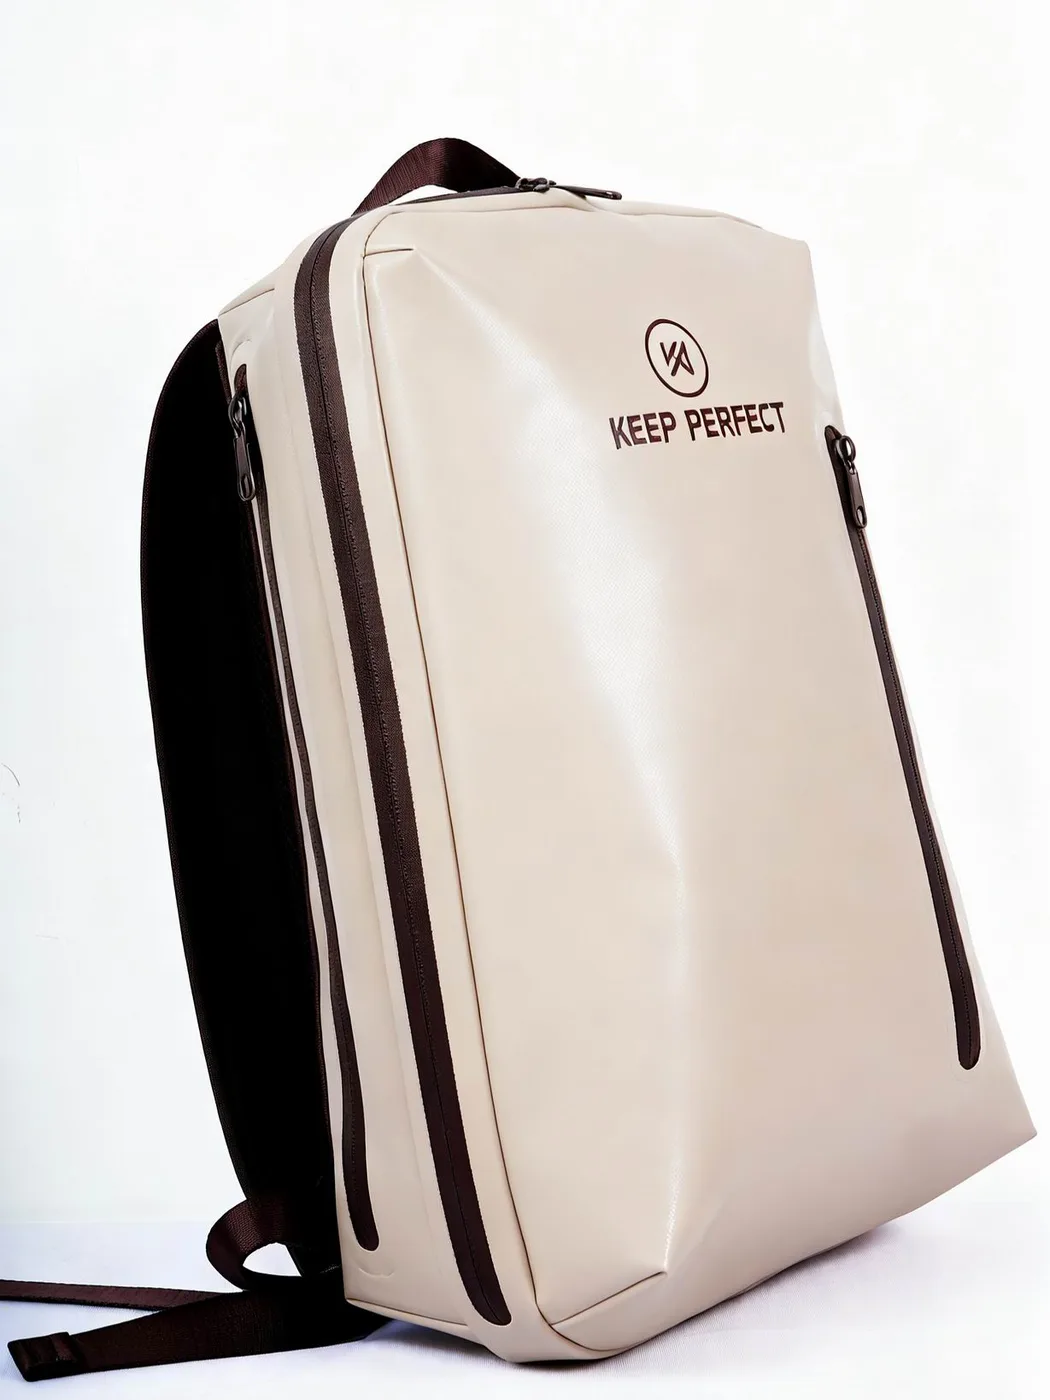
A dry bag is a waterproof shell, not a camera bag. It has no padding, no dividers and no structure, so a body and a lens dropped into one will knock together every time the bag is set down. The solution is not a padded dry bag, which is a rare and expensive compromise, but a padded camera insert that lives inside a waterproof outer shell.
Choose an insert sized to about 90% of the dry bag volume so it slides in without forcing the film, and check the combined weight before you commit. A 20L dry bag at 640 g plus a 700 g insert is a 1.34 kg empty carrier, which is heavy for a day on foot but reasonable for a boat or a vehicle. If the empty weight matters more than the padding, use lens pouches and wrap bodies in a 5 mm neoprene sleeve instead.
The outer shell should be a welded roll-top rather than a coated pack. Camera gear is dense, so if the bag ends up in the water it will sink, and a fabric shell with a water-repellent finish gives you seconds of protection while a welded TPU shell gives you the 30 minutes an IPX7 rating promises. Compare shell options in the backpack versus liner comparison.
Packing order that keeps glass away from the closure
Load order decides both protection and seal quality. Heavy, rigid items go at the bottom where the weld corners are strongest; soft items fill the voids; nothing rigid goes in the top 100 mm, because that is the zone the roll folds through. A 70-200 mm placed vertically in the top third will force the fold around it and create two channels on either side of the barrel where water can track in.
- Lay the bag flat and place the heaviest lens at the bottom, barrel horizontal, hood reversed.
- Set the camera body beside it with the mount facing inward and the screen against a soft layer.
- Fill gaps between bodies and lenses with the cable pouch and the cleaning wallet, never with air.
- Put batteries and cards in a small zip pouch above the gear, where you can reach them in five seconds.
- Press the air out gently from the bottom upward, then make three full folds and clip the buckle.
Leave the load at 85% and the roll will sit flat and even. Overfill it and the fold becomes a wedge, which is the single most common cause of a dry bag that leaks only sometimes. If you regularly travel with a fixed kit, mark the fill line on the outside of the bag with a 2 mm line of waterproof tape so packers get it right without measuring.
Desiccant quantities that actually work
Desiccant is not optional in the tropics, but it is also not magic. Silica gel absorbs roughly 30% of its own mass in water vapour before it is saturated at 80% relative humidity, so 40 g of fresh silica will pull about 12 g of water out of a sealed bag before it stops working. A 20L bag sealed at 28 °C and 80% humidity contains about 0.43 g of water vapour, so on paper a small sachet is enough; in practice every opening lets in a fresh exchange of air, and the sachet is spent within weeks.
The working rule for travel is 20 g of silica per 10 litres, doubled for a trip that involves daily opening in humid conditions, and regenerated or replaced every three to four weeks. Indicating silica that changes colour is worth the small premium, because a saturated sachet that looks fresh is worse than no sachet at all: it gives false confidence while the humidity climbs.
| Bag volume | Silica gel, temperate | Silica gel, tropics | Replacement interval | Notes |
|---|---|---|---|---|
| 5L | 10 g | 20 g | 6-8 weeks | One body and a prime |
| 10L | 20 g | 40 g | 4-6 weeks | Body plus two small zooms |
| 20L | 40 g | 80 g | 3-4 weeks | Full travel kit |
| 30L | 60 g | 120 g | 3 weeks | Kit plus laptop |
| 40L | 80 g | 160 g | 2-3 weeks | Two bodies and a drone |
Roll-top versus waterproof zip: the access trade-off
Access speed is the real argument for a waterproof zip on a camera bag. A roll-top takes 8 to 12 seconds to open and 15 to 20 seconds to re-roll and clip properly, which is tolerable twice a day and maddening twenty times a day. A waterproof zip takes three seconds either way, but it needs two hands, it is the first component to fail in salt and sand, and a failed zip cannot be field-repaired with tape.
For boat-based and beach-based photography, a roll-top is still the better answer, because the closure has no moving parts to jam and a 0.5 mm film bag survives being dragged across sand. For street and travel work where the bag is opened constantly, use a roll-top outer bag for the water moments and a lightly padded shoulder insert with a conventional zip for the shooting day, moving the camera between them when conditions change.
| Closure | Open time | Close time | Salt and sand tolerance | Field repair |
|---|---|---|---|---|
| Roll-top, three folds | 8-12 s | 15-20 s | Excellent | Not needed |
| Waterproof zip | 3 s | 3 s | Poor without rinsing | Tape only, temporary |
| Bucket with a lid | 5 s | 8 s | Good | Clip replacement |
| Roll-top plus inner pouch | 14 s | 22 s | Excellent | Not needed |
Buoyancy: what happens if the bag goes in the water
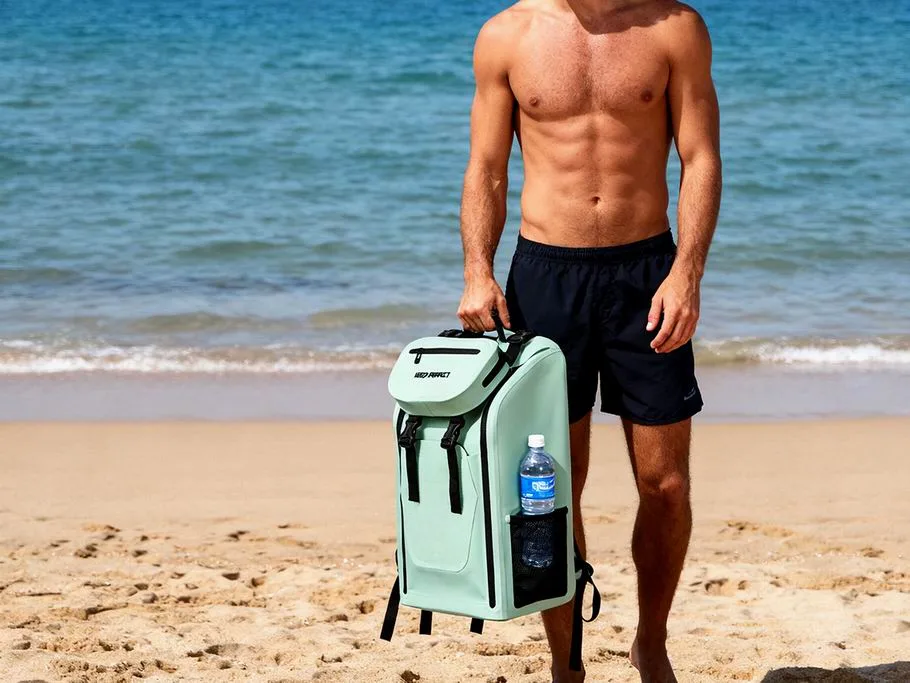
Camera gear is dense, and density is what decides whether a bag floats. A 20L bag with 6 litres of trapped air displaces 20 litres of water and generates about 20 kg of upward force at the point of full submersion, but the moment the bag is packed to 85% with 5 kg of metal and glass, the trapped air falls to 2 or 3 litres and the net buoyancy turns negative within a few seconds of the air being squeezed out.
Treat any camera bag as a sinking object and tether it. A 6 mm cord clipped to a welded D-ring and to a fixed point on a boat or a board costs 40 g and turns a lost kit into a recovered one. Cold water adds urgency: in water below 15 °C, useful hand function drops sharply within minutes, so a swimming recovery is not a reliable plan. Check conditions and water temperature through NOAA before any shoot that puts the kit near open water.
Sand, salt spray and the lens-change window
Sand damages camera gear in two ways and both are worse than water. A single grain in a lens mount prevents the bayonet from seating fully, which lets light leak and lets dust into the body; a grain on a sensor is a cleaning job that costs more than a second dry bag. Salt spray is slower but more corrosive, and it attacks the exposed contacts on a battery grip within hours.
Run a three-step change routine: turn your back to the wind, work inside the mouth of the dry bag rather than in open air, and cap both the body and the removed lens before anything moves. Total exposure time should be under eight seconds. Keep a rocket blower in an outside pocket, never inside the bag with the gear, because a blower that has been used on a sandy body carries sand on its own nozzle.
Batteries, cards and small items on the move
Loose batteries are the most common cause of damage inside a camera bag. A bare lithium cell with an exposed terminal can short against a lens barrel or a set of keys, and a shorted cell in a sealed bag is a genuine hazard, not a nuisance. Keep every cell in a rigid plastic case, and keep the cases in one brightly coloured pouch so they are identifiable without unpacking.
Memory cards need the same discipline. A 60 g card wallet with twelve slots keeps a full shoot organised and stops the habit of carrying loose cards in a pocket, which is how a card ends up through a wash cycle. Label cards by shoot day with a 6 mm sticker rather than writing on them, because marker ink on a card surface can flake into a camera slot.
Battery transport is regulated, and the rules are published rather than invented. Cells under 100 Wh travel in the cabin without airline approval; cells between 100 and 160 Wh need airline sign-off and are typically limited to two spares per person. The safety standard behind those limits is maintained by IEC, and matching the rating printed on the cell to your airline limit is worth doing before you pack, not at the check-in desk.
Air travel: cabin, security and the checkpoint routine
Camera gear stays in the cabin. A checked dry bag is a checked dry bag: it can be left on a wet belt, opened by handlers, and it offers no impact protection for a 1.2 kg zoom. A 20L or 30L dry bag with a padded insert fits under most cabin seats and inside most overhead bins, and the whole point of a waterproof shell is that it does not care about rain on the apron or a wet taxi.
At the checkpoint, expect a laptop out of its sleeve and a separate tray for batteries and a camera body if the lane is busy. Roll-top bags are slower to reopen than zip bags, so do the unpacking at the tray table rather than in the queue. Detailed checkpoint sequencing is covered in our airport security guide, and the weight and dimension limits that decide whether the bag stays with you are set out in the cabin bag guide.
A five-minute routine after every wet day
- Open the bag indoors at ambient temperature and let it acclimatise for 20 minutes before touching the gear.
- Lift the insert out, wipe the outside of the film with fresh water and a soft cloth to remove salt.
- Check every battery contact and lens mount for moisture, then dry with a lint-free cloth.
- Inspect the fold line for sand grains and rinse the closure before re-rolling.
- Weigh or squeeze-test the desiccant, regenerate it if the indicator has shifted, and reseal the bag with three folds.
That routine is also the inspection routine. Water inside a bag that never went near a wave means condensation and a humidity problem; water that appears only after a dunking means a closure problem; and sand on the fold means a packing problem. Diagnosing which of the three you have takes about two minutes and prevents the repeat occurrence that actually costs money.
Two accessories change the arithmetic more than any bag upgrade. A 40 g rain cover for the camera while it is in use lets you shoot in conditions that would otherwise keep it sealed, and a 300 g dry bag dedicated to wet items keeps a soaked rain shell out of the camera bag entirely. Both are cheaper than one fogged lens.
When you are choosing the shell itself, buy one size larger than the maths suggests and one film thickness heavier than the minimum. A 0.5 mm TPU body survives being dragged across a boat deck where a 0.3 mm film picks up scuffs that eventually become pinholes, and the 90 g penalty on a 20L bag is trivial next to a 3 kg kit. Compare the current dry bag range against your measured kit, and if you carry a laptop alongside the camera, read the laptop protection guide before you decide on padding. Our own production line has built waterproof bags since 2014 in an SGS-verified 4,950 m2 facility, with sampling in 6 to 10 working days and a 500-piece minimum per colourway.
Frequently asked questions
Q1. Can you put camera gear in a dry bag?
Yes, and it is the most reliable way to keep a kit dry on water. Use a padded insert inside a welded roll-top shell, size the bag so the kit fills no more than 85% of the volume, and add 20 g of silica gel per 10 litres to control condensation.
Q2. What size dry bag fits a camera and two lenses?
A body with a 24-70 mm and a 70-200 mm plus accessories packs to about 9.7 litres, so a 15L bag is the tight minimum and a 20L is comfortable. Add a 14-inch laptop and the load reaches 13.5 litres, which needs a 30L for a proper three-fold closure.
Q3. Will a dry bag stop condensation on my lens?
No. A dry bag seals whatever humidity is already inside, and warm air cooled below its dew point will condense on the coldest surface, usually the lens barrel. Pack at the temperature you will open at, use silica gel, and never pack a damp cloth.
Q4. How much silica gel do I need in a camera dry bag?
Twenty grams per 10 litres in temperate conditions and double that in the tropics, replaced or regenerated every three to four weeks. Indicating silica is worth the premium because a saturated sachet looks identical to a fresh one.
Q5. Do I need a padded insert inside a dry bag?
Almost always. A dry bag has no padding or dividers, so bodies and lenses knock together whenever the bag is set down. A padded insert at about 90% of the bag volume gives impact protection while the welded shell provides the waterproofing.
Q6. Is a roll-top or a waterproof zip better for a camera bag?
A roll-top for water and sand exposure, because it has no moving parts to jam and cannot fail from grit. A waterproof zip opens in three seconds instead of twelve, which suits street shooting, but it is the first component to fail in salt and cannot be repaired in the field.
Q7. Will a dry bag with camera gear float?
Usually not. Packed to 85% with around 5 kg of metal and glass, trapped air drops to 2 or 3 litres and net buoyancy goes negative within seconds. Tether the bag with a 6 mm cord clipped to a welded D-ring rather than relying on flotation.
Q8. Can I take a dry bag of camera gear as cabin baggage?
Yes, and you should. A 20L or 30L bag with a padded insert fits under most cabin seats and in most overhead bins. Batteries under 100 Wh travel in the cabin without approval; between 100 and 160 Wh needs airline sign-off.
Q9. How do I change a lens on a beach without getting sand in the body?
Turn your back to the wind, work inside the mouth of the dry bag rather than in open air, and cap both the body and the removed lens before anything moves. Keep total exposure under eight seconds and keep the blower outside the bag.
Q10. What film thickness should a camera dry bag use?
0.5 mm. The 90 gram penalty on a 20L bag is trivial next to a 3 kg kit, and a heavier film survives being dragged across a boat deck or wet sand, whereas 0.3 mm picks up scuffs that eventually become pinholes.
Q11. Should batteries be packed inside the dry bag?
Yes, but only in rigid plastic cases with the terminals covered. A bare cell with an exposed contact can short against a lens barrel or a set of keys, and a shorted cell in a sealed bag is a real hazard rather than a nuisance.
Q12. How heavy is a full camera dry bag?
Around 4.2 to 5.6 kg for a body, two zooms and accessories in a 20L bag, including roughly 640 g for the bag itself and 700 g for a padded insert. Add 1.4 kg if a 14-inch laptop travels in the same shell.
Q13. Can a dry bag protect a camera from a dunking?
Yes, if it is rated IPX7, the seams are welded and the closure was rolled three times on a load under 85% fill. That covers 30 minutes at one metre. It does not cover a closure rolled around a lens barrel or a bag left open on a deck.
Q14. How do I dry a camera after it got damp inside a bag?
Remove everything, open the bag indoors and let it acclimatise for 20 minutes, then wipe mounts and contacts and dry the gear in moving air rather than direct sun. A 30-minute session in front of a fan beats a hot car, which can drive moisture deeper into a lens.
Q15. Do I need a separate bag for wet items?
Yes. A soaked rain shell or a wet towel raises the internal humidity of a sealed bag within two hours and overwhelms any reasonable amount of desiccant. A 300 g dry bag dedicated to wet kit costs less than one fogged element.
Q16. How often should I inspect a camera dry bag?
After every wet day, and before every trip. Check the fold line for sand, the weld corners for fatigue, and the buckle for salt crystals. A 30-second air test, closing the bag and squeezing it while listening for a hiss, catches nearly every seal failure.
People also ask
How do you pack a camera in a dry bag?
Place the heaviest lens at the bottom with the hood reversed, set the body beside it facing inward, fill gaps with soft pouches, then press the air out and close with three full folds. Keep the load at 85% so the roll sits flat and even.
Are dry bags safe for camera equipment?
They are safe for water, dust and sand, and they are the best option on a boat or a beach. They are not padded, so a camera insert or neoprene sleeves are needed for impact protection, and silica gel is needed for humidity.
What size dry bag do I need for a DSLR?
Around 15L for a body with one standard zoom and 20L for a body with two zooms and accessories. A full-frame body with a battery is about 720 g and 1.6 litres, and each large zoom adds 1.4 to 2.8 litres of rigid volume.
Why is my lens foggy inside a dry bag?
Because the air sealed inside the bag was warmer and more humid than the temperature the bag later reached, so it crossed its dew point and condensed on the coldest surface. Pack dry, acclimatise the bag before opening, and use fresh silica gel.
Can you take camera batteries on a plane in a dry bag?
Yes, in the cabin. Cells under 100 Wh need no airline approval and those between 100 and 160 Wh need sign-off, normally limited to two spares per person. Keep every cell in a rigid case so terminals cannot short against gear.
Is a waterproof backpack better than a dry bag for cameras?
A waterproof backpack carries better on a long walk but holds less usable volume per litre and is slower to open fully. For boat, beach and wet-season work a roll-top dry bag with a padded insert is the safer choice, and many photographers carry both.
Need this in production volume?
QUANZHOU JUNYUAN BAGS has produced waterproof bags since 2014 in an SGS-verified 4,950 m2 facility in Fujian, China. Minimum order 500 pieces, sampling in 6–10 working days, bulk in 35–50 days, FOB Xiamen — write to service@junyuanbags.com with your spec and target market.