Home / Blog / Waterproof Technology
Quality Control for Waterproof Bags
Quality control for waterproof bags needs at least 5 gates: material receipt, first-piece approval, in-process weld checks, finished leak testing and pre-shipment inspection. For a 500-piece run, inspect to a documented AQL such as 2.5 for workmanship while testing waterproof performance on a separate risk-based sample; hold every unit with an open seam, failed closure or visible flange channel. A pass is evidence tied to a lot, machine and date, not a clean-looking bag.
Waterproof construction can hide defects that ordinary luggage inspection misses. A panel may look smooth while a narrow weld contains an unbonded channel; a buckle can operate correctly yet crack after ten cold cycles; a roll-top can pass a spray check and leak when squeezed underwater. This guide turns the process into measurable checkpoints, explains which tests are destructive, and shows how to separate cosmetic variation from defects that threaten containment, carrying safety or the declared water-exposure level.
- Start quality control with a measurable product brief
- Qualify incoming laminate before it reaches cutting
- Approve cutting, orientation and first-piece assembly
- Control RF and heat welds during production
- Inspect seam intersections and high-risk details
- Test closures, buckles, straps and valves
- Use air tests to locate small leak paths
- Separate spray, immersion and ingress claims
- Build a sampling plan around defect risk
- Control repairs, rework and nonconforming units
- Final inspection, packing and release records
- A release checklist that keeps evidence useful
Start quality control with a measurable product brief
Inspection cannot rescue an undefined requirement. Before cutting begins, the approved brief should name laminate construction, fabric mass, thickness, colour tolerance, usable capacity, seam width, closure folds, buckle material, strap load and intended water exposure. Attach drawings with datum points rather than measuring from curved edges. If the bag is expected to resist 30 minutes at one metre, state the applicable protocol and acceptance evidence; if it is intended only for rain, do not allow an immersion claim to appear later.
Create a critical-to-quality list that ranks characteristics by consequence. A discontinuous waterproof weld is critical because it defeats the primary function. A loose load-bearing strap is major because it can drop a heavy bag. A 2 mm print shift may be minor if it remains inside the approved artwork zone. This hierarchy keeps inspectors focused and connects directly to sampling. The dry bag terminology glossary helps teams use the same words for throat, fold, flange and seam instead of recording ambiguous comments.
| Characteristic | Target example | Defect class | Verification |
|---|---|---|---|
| Main weld continuity | No open channel | Critical | Visual plus air test |
| Usable capacity | 20 L ±5% | Major | Water mass |
| Shoulder strap attachment | No slip at 300 N | Major | Static load |
| Body colour | ΔE within approved limit | Minor or major | Instrument and light box |
| Print position | ±3 mm from datum | Minor | Template measurement |
| Packed dimensions | Within ±10 mm | Minor | Conditioned measurement |
Qualify incoming laminate before it reaches cutting
Incoming fabric checks should confirm identity, roll number, width, mass per square metre, overall thickness, surface condition and bond integrity. Sample from the beginning, middle and end of each roll because coating or lamination can drift across length. Condition specimens in the inspection room before measurement, then compare them with the approved reference. A 500D face bonded to 0.5 mm TPU cannot be accepted merely because the colour looks right; the wrong backing chemistry may weld poorly even when weight appears similar.
Inspect rolls under consistent lighting for pinholes, creases, contamination and edge damage. Mark defects on the roll map so cutting can avoid them and preserve traceability from finished unit back to material section. Perform a small trial weld whenever the lot, colour or laminate batch changes. Peel behaviour should show a stable bonded zone rather than easy interfacial separation. Material test methods and terminology can be anchored to publications from ASTM International, while the project brief defines the actual threshold for the chosen construction.
Approve cutting, orientation and first-piece assembly
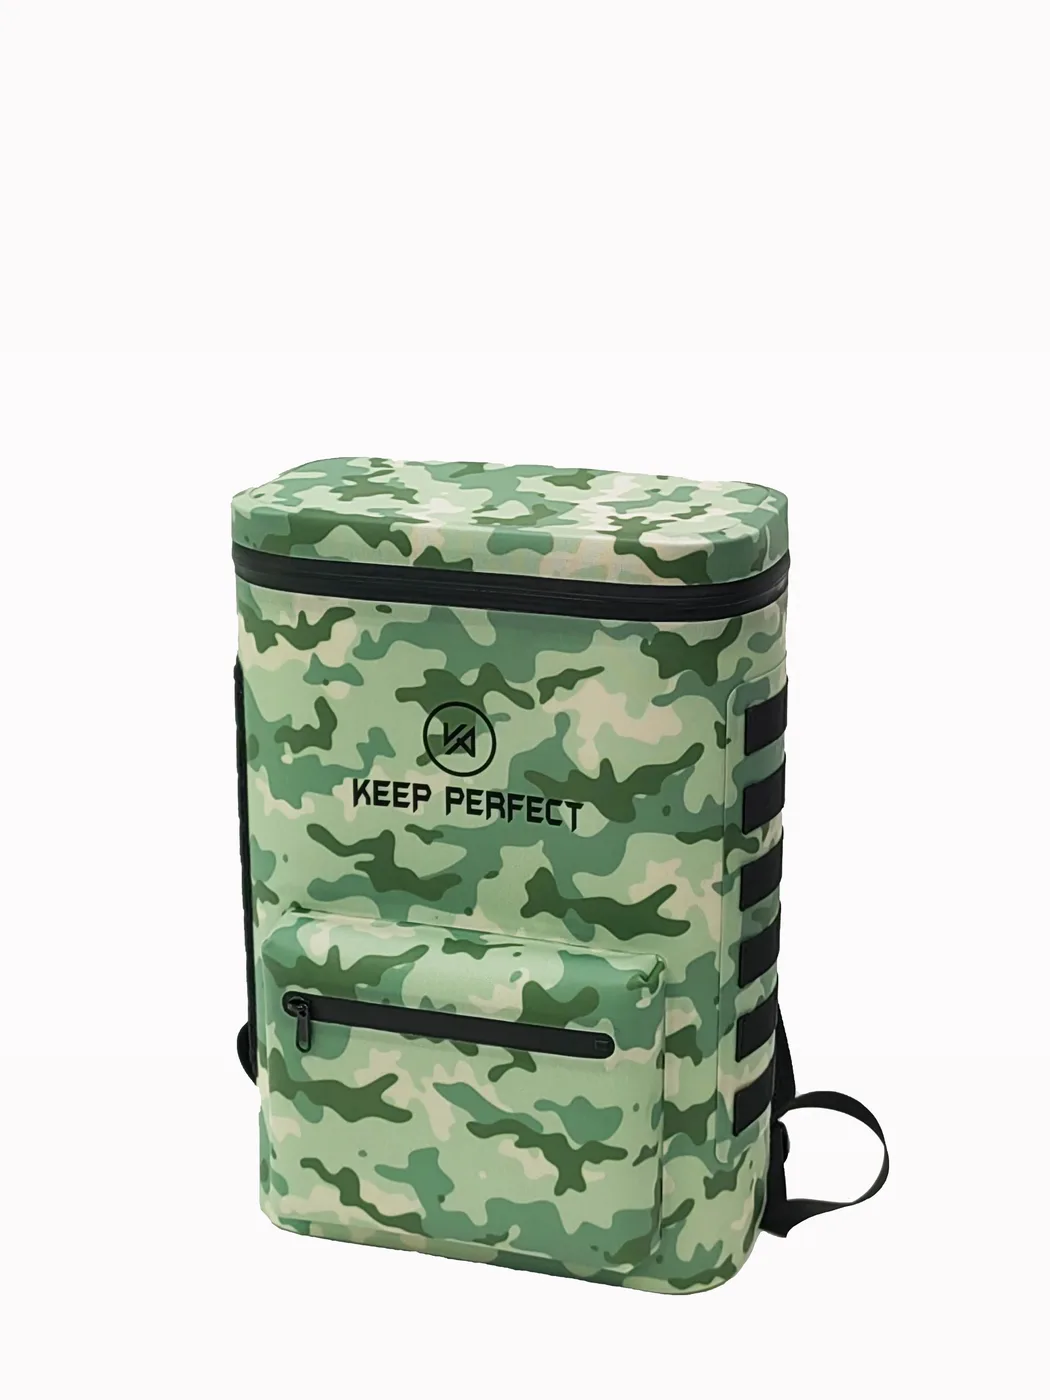
Cutting accuracy influences both volume and weld alignment. Check the first set of panels against the controlled pattern at named points, with special attention to valve holes, handle patches and curved base corners. Grain or reinforcement orientation should remain consistent if the textile face has directional stretch. Bundle tickets need material lot, colour, size and cut date. Mixing visually similar 0.3 mm and 0.5 mm laminate can produce a bag that passes assembly but fails the intended abrasion or cold-flex requirement.
The first fully assembled piece is the point to verify sequence, fixtures and access. Measure finished body dimensions after it rests for a defined period, close the roll-top three times, operate every buckle and inspect both sides of each weld. Confirm that no reinforcement edge enters a folding zone and that a handle cannot lever against a nearby seam. Sign and retain this piece as the physical reference. Bulk work should not begin while first-piece observations remain open, because a repeated 2 mm tooling error becomes expensive after hundreds of cycles.
Control RF and heat welds during production
A weld is created by the interaction of energy, pressure, dwell time, cooling and clean surface contact. Record the approved machine recipe and prevent casual adjustment. At start-up, after a break, after tooling cleaning and whenever material lot changes, make test coupons from the actual laminate. Inspect width and continuity, then peel or burst them according to the project method. A glossy line alone proves very little; excessive energy can thin the film while producing a visually strong edge.
In-process checks should occur often enough to catch drift before a whole shift is affected. A practical rhythm is first piece, every 50 units, and after any interruption, adjusted for risk and process history. Operators should place suspect pieces in a clearly identified hold area rather than repairing them at the station without records. Our explanation of RF welding for dry bags describes the energy mechanism, while welded versus stitched seams shows why needle-hole inspection does not apply to a continuous welded envelope.
| Process checkpoint | Frequency example | Measurement | Reaction on failure |
|---|---|---|---|
| Start-up coupon | Each machine and shift | Width and peel behaviour | Stop and reset recipe |
| Body side weld | Every 50 units | Continuous 10-15 mm band | Hold back to last pass |
| Base intersection | Every 25 units | No wrinkle or channel | Inspect fixture alignment |
| Valve flange | Every 25 units | Complete circular bond | Clean tool and retest |
| Post-break restart | Every interruption | Coupon plus first piece | Release only after pass |
Inspect seam intersections and high-risk details
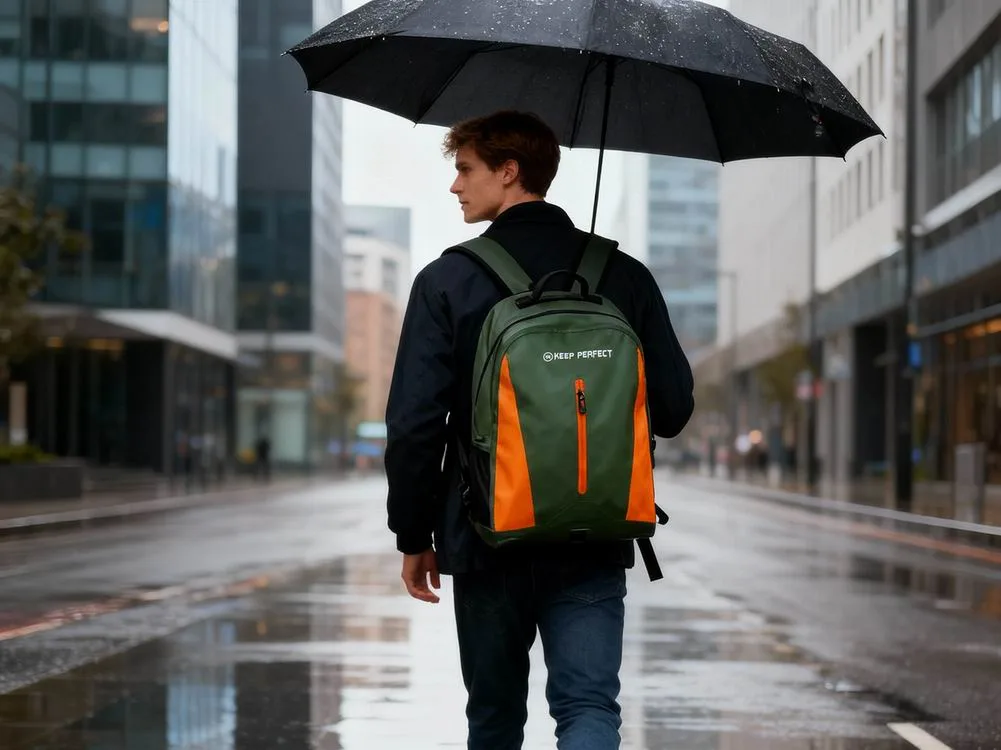
Straight seams are usually stable; failures concentrate where geometry changes. Base corners, three-layer overlaps, folded reinforcements, valve flanges and strap patches create uneven pressure or thermal mass. Inspect these zones from both surfaces with raking light. Look for fish-mouth openings, trapped fibres, scorched film, thinning, edge lift and a channel that connects inside to outside. Flex each intersection gently rather than pulling hard enough to create damage during inspection.
Map recurring defects by location. If eight bags show a channel at the same base corner, the issue is probably fixture pressure, panel placement or stack thickness rather than random workmanship. One annotated defect map communicates more than eight notes saying “leak.” Cut open one failed sample when root-cause evidence is needed and compare cross-sections with a passing piece. Destructive analysis costs a unit, but it can protect the remaining lot and produces a training reference that photographs alone cannot provide.
Test closures, buckles, straps and valves
The waterproof envelope is only one system. Roll-top stiffeners must align without twisting, buckles need full engagement and webbing must hold adjustment under load. Cycle each hardware type on the first piece, then use sampled functional checks through production. Apply a static strap load that reflects intended carrying mass with a defined safety margin; for example, a 12 kg working load may be checked at 300 N for 60 seconds. Observe seam distortion, webbing slip and cracking rather than recording only whether the assembly breaks.
Valves require separate seat, cap and flange checks. Operate a purge valve repeatedly with a representative soft load and test for reverse air leakage. Place absorbent indicator material inside before shallow-water checks so tiny ingress becomes visible. Keep hardware test results tied to component lot numbers, especially when identical black buckles arrive from different mould runs. Detailed valve functions are covered in the dry bag valve guide; quality records should still state the exact mechanism fitted to the inspected unit.
| Component test | Example load or cycle | Pass condition | Defect revealed |
|---|---|---|---|
| Buckle operation | 20 open-close cycles | Positive latch, no crack | Brittle moulding |
| Webbing slip | 150 N for 60 s | Less than 5 mm movement | Poor adjuster geometry |
| Strap attachment | 300 N for 60 s | No seam opening | Weak patch weld |
| Purge valve | 50 purge cycles | Returns and seals | Sticky membrane |
| Roll-top fold | 100 flex cycles | No surface fracture | Stiffener or film stress |
Use air tests to locate small leak paths
Low-pressure air testing is fast and diagnostic. Close the bag, introduce only enough air to remove wrinkles, and apply a mild soap solution to welds or immerse one test zone at a time. A stream of growing bubbles locates the path. Avoid overinflation, which can create a failure that did not exist. Calibrate the method with known good and intentionally flawed references so inspectors learn the difference between trapped surface bubbles and continuous leakage.
Air testing can be applied to every unit when risk, size and cycle time justify it, but the test parameters must be controlled. Specify pressure or bag firmness, dwell time, solution concentration and areas examined. Record repair and retest separately; a repaired piece should never return to the line without a second full check. The air inflation leak test guide gives a field sequence, while production testing adds calibrated instruments, traceable references and a clear stop rule when repeated failures appear.
Separate spray, immersion and ingress claims
A spray cabinet, shallow dunk and formal ingress test answer different questions. Spray reveals opening design and surface shedding. Brief immersion can expose obvious channels. A declared IP level requires the conditions in the referenced standard, including water depth, duration and specimen state. IEC 60529 is maintained through the IEC; saying “tested like IPX7” after an informal tub check is not equivalent to a supported classification. Quality records should preserve the report, specimen identity and configuration.
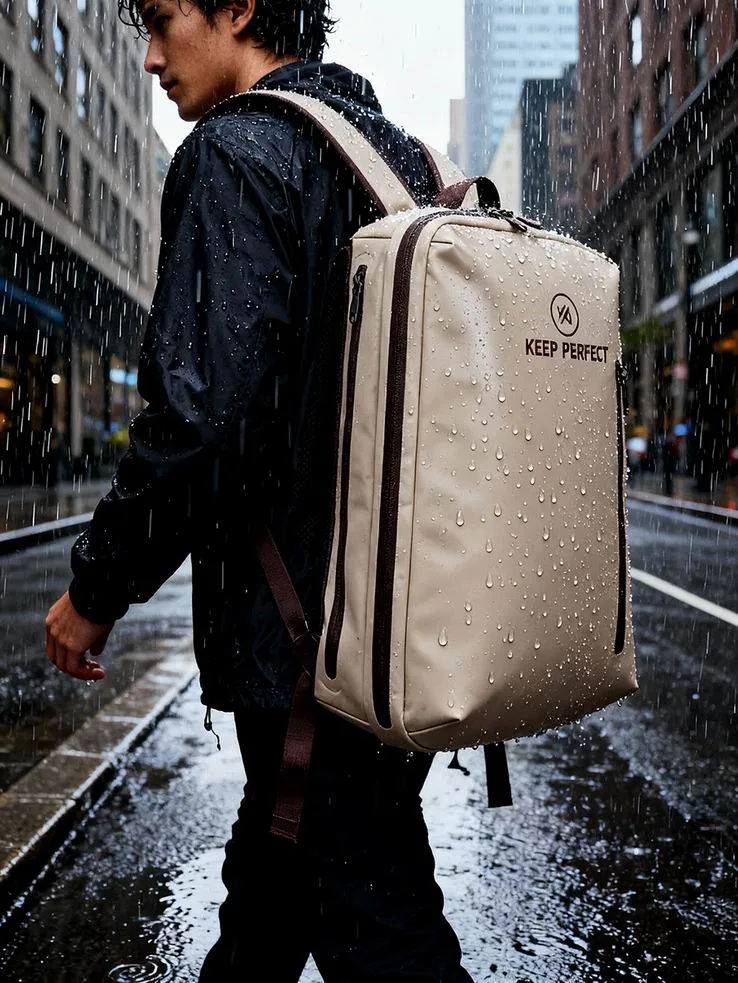
Select test intensity from the use case. A commuter tote intended for driving rain may need repeatable spray exposure and seam checks, while a kayaking roll-top marketed for short immersion needs stronger evidence. Test a closed, production-representative article with normal accessories installed, not a bare shell with ports blocked. Review the distinctions in dry bag immersion testing and write the release plan so a cosmetic inspection cannot substitute for water-performance verification.
Condition samples before comparison and use water at a recorded temperature, because stiff cold folds may seal differently from warm relaxed ones. Dry and inspect the article after each exposure rather than beginning the next test with hidden moisture. When a failure appears, repeat on an untouched sample only after preserving the first evidence. Repeated testing of the same leaking piece may enlarge the path and obscure whether the initial cause was a closure error, flange issue or weld channel.
Build a sampling plan around defect risk
AQL sampling is a decision tool, not a promise that every unit is perfect. Define lot size, inspection level, sample size and acceptance numbers before inspection begins. Use defect classes consistently: open waterproof seams and unsafe attachments may require zero acceptance; major functional defects may use AQL 2.5; minor appearance points may use a different threshold. The exact plan should reflect contractual requirements and risk. Changing defect classes after seeing results destroys the objectivity that sampling is meant to provide.
Keep functional performance separate from broad visual sampling when necessary. An AQL table might select dozens of pieces for workmanship, while a smaller stratified group undergoes destructive seam peel, cold flex or long immersion. Draw that group from different cartons and production periods, not the easiest pieces at the top. The dedicated AQL inspection guide explains sampling logic. For quality management structure and controlled records, consult the ISO information on management and conformity standards.
Review sample sizes when evidence changes. A stable mature process may support the agreed normal plan, while a new laminate, tool repair or repeated field complaint justifies tightened inspection until capability is re-established. Do not reduce checks merely because a shipment date is close. If destructive testing consumes saleable pieces, budget those units in the order from the start. A planned test allowance protects independence; otherwise there is pressure to choose unusually perfect specimens or skip the test that provides the strongest evidence.
| Defect example | Class | Suggested acceptance stance | Reason |
|---|---|---|---|
| Open main weld channel | Critical | Zero accepted | Direct water path |
| Detached load-bearing strap | Critical | Zero accepted | Drop and injury hazard |
| Valve does not reseal | Major | Apply agreed AQL | Functional failure |
| Capacity 9% below target | Major | Apply numeric tolerance | Load does not fit |
| Print shift of 2 mm | Minor | Compare with visual limit | Appearance only |
| Loose thread on non-sealed trim | Minor | Trim and record trend | No envelope effect |
Control repairs, rework and nonconforming units
Every repair method needs prior approval. Trimming a loose thread on external binding is not equivalent to reheating a waterproof seam. Identify the defect, segregate affected units, determine the time window and trace back to the last confirmed check. Reworked units should receive the original inspection plus any additional test needed to confirm the repair did not harm adjacent film. Marking and records must prevent an untested repaired bag from being packed with conforming pieces.
Root-cause action should change a process variable, fixture, material control or work instruction rather than simply asking an operator to be more careful. Verify effectiveness on a defined number of subsequent pieces, such as three consecutive start-up coupons and 100 units without recurrence. If the cause remains uncertain, expand the hold rather than releasing on optimism. A clean defect log also informs warranty test planning, because field returns can be compared with known production signatures instead of treated as isolated anecdotes.
Final inspection, packing and release records
Final inspection confirms identity, count, dimensions, appearance, accessories, labelling, function and packaging after production is complete. Sample cartons across the pallet or container position. Open bags long enough to check odour and internal cleanliness, then restore the specified closure state. Moisture trapped during packing can create mildew without any waterproof defect. Carton marks, barcodes and size labels need the same controlled reference as the article, because a perfect 20 L bag in a carton labelled 30 L is still a release failure.
The release pack should contain purchase reference, lot and material numbers, inspection date, sample plan, defect tally, test data, photographs, disposition and authorised sign-off. Keep raw measurements, not only a one-word pass. Production since 2014 at an SGS-verified 4,950 m2 facility with 7 lines and 149 machines provides the process context for 500-piece minimum runs, 6 to 10 working-day sampling and 35 to 50 day bulk schedules. See our production team for the wider waterproof bag programme.
A release checklist that keeps evidence useful
Release only when the approved specification and physical reference agree with the finished lot, incoming materials are traceable, first-piece approval is signed, in-process checks are complete and test failures have documented dispositions. Confirm the waterproof test matches the actual claim. Verify critical defects are absent, major and minor counts meet the agreed sampling plan, and all reworked pieces were retested. Inspect packaging dryness and carton identity before the goods leave controlled custody.
Good quality control for waterproof bags is a connected evidence chain. Material identity supports weld settings; weld records support leak performance; sampling supports the lot decision; field feedback updates future controls. No single dunk test, inspection photo or certificate can replace that chain. When a result fails, stop at the nearest verified point, contain the affected range and correct the cause. That discipline costs less than sorting finished stock and gives buyers a result they can audit rather than a promise they must simply trust.
Close the loop after shipment by coding return reasons to the same defect map used during production. A base-corner leak, strap slip and closure misuse need different responses even if all arrive under one warranty label. Review rates by material lot and production period, then feed confirmed patterns into the next first-piece checklist. When no pattern appears, retain the evidence rather than inventing a cause. Quality control improves through comparable records across time, not through changing tests each time an isolated complaint arrives.
Frequently asked questions
Q1. What quality checks do waterproof bags need?
Use five gates: incoming material checks, first-piece approval, in-process weld control, finished leak and hardware tests, and pre-shipment inspection. Keep each result traceable to its material lot, machine, date and inspected sample.
Q2. What is AQL 2.5 for waterproof bags?
AQL 2.5 is a sampling basis often applied to major workmanship defects. It does not mean 2.5% of bags may knowingly fail, and critical waterproof or safety defects can require zero acceptance.
Q3. Should every waterproof bag receive a leak test?
Risk determines frequency. High-consequence products may justify a controlled low-pressure air check on every unit, while other runs combine in-process controls with stratified sampling. The plan must be written before inspection.
Q4. How are welded seams inspected?
Inspect both surfaces for continuous width, channels, wrinkles, edge lift, contamination, scorch and thinning. Add low-pressure air testing and periodic destructive coupons because appearance alone cannot prove bond strength.
Q5. What is a critical defect in a dry bag?
An open main weld, unsafe detached carry point or another condition that defeats waterproof function or creates a safety hazard is commonly critical. The approved defect list should define examples for that exact design.
Q6. Is a spray test enough for a waterproof claim?
Only for a rain or spray claim with matching conditions. It does not demonstrate immersion performance. Formal ingress claims require the applicable standard, specimen configuration, depth or flow and duration.
Q7. How often should weld settings be checked?
Check at shift start, after breaks, after tooling cleaning and when material lots change. Periodic checks such as every 50 units can catch drift, with tighter frequency at high-risk intersections.
Q8. Why test the first finished piece?
It confirms pattern dimensions, assembly order, tooling, closure alignment, hardware operation and weld access before the same error is repeated across the run. Retain it as a physical reference.
Q9. How do you test a dry bag strap?
Apply a defined static load for a fixed time, such as 300 N for 60 seconds where appropriate to the use. Observe webbing slip, attachment distortion, seam opening and hardware cracking.
Q10. Can a failed waterproof seam be reworked?
Only with an approved method and complete retest. Uncontrolled reheating can thin nearby film or hide a channel. Segregate, record and verify every reworked unit before release.
Q11. What records should accompany inspection?
Keep lot references, sample plan, raw dimensions, defect counts, test parameters, photographs, rework history, disposition and sign-off. A pass label without raw evidence is difficult to audit.
Q12. How should incoming TPU laminate be checked?
Confirm roll identity, width, mass, thickness, colour, surface condition, bond integrity and trial-weld behaviour. Sample across roll length and map defects before cutting.
Q13. What is the difference between visual and functional inspection?
Visual inspection finds appearance and obvious assembly issues. Functional inspection operates closures and hardware, applies loads and challenges the waterproof envelope under controlled conditions.
Q14. How are waterproof test samples selected?
Draw them across cartons, machines and production times. A convenient top-of-carton sample can miss drift that occurred earlier or on another line.
Q15. Does passing AQL prove every bag is waterproof?
No. AQL supports a lot decision from a sample. Process controls and appropriate waterproof testing are still needed, and accepted lots can contain occasional nonconforming pieces.
Q16. When should a production lot be held?
Hold it when a critical defect appears, repeated failures suggest process drift, traceability is missing or required tests are incomplete. Release follows documented containment, cause correction and verification.
People also ask
What is quality control for waterproof bags?
It is the planned system of specifications, material checks, process measurements, functional tests, sampling and traceable release records used to verify each production lot.
How do you test if a waterproof bag leaks?
Close it correctly and use controlled low-pressure air with a bubble method to locate paths. Add the appropriate spray or immersion test for the declared exposure level.
Why do welded dry bag seams fail?
Typical causes include contamination, low or excessive energy, uneven fixture pressure, misalignment, thick intersections and material-lot changes that were not matched by validated settings.
Are all waterproof bags tested to IPX7?
No. Many are intended for rain or splash only. An IPX7 claim needs a test aligned with IEC 60529 and evidence for the production-representative configuration.
Can visual inspection find every dry bag leak?
No. A narrow internal channel may be nearly invisible. Air, spray or immersion methods provide functional evidence that complements visual inspection.
How does AQL sampling work for bags?
A predefined lot size and inspection level determine how many units are selected and the acceptance numbers for each defect class. Critical defects may use a stricter zero-acceptance rule.
Need this in production volume?
QUANZHOU JUNYUAN BAGS has produced waterproof bags since 2014 in an SGS-verified 4,950 m2 facility in Fujian, China. Minimum order 500 pieces, sampling in 6–10 working days, bulk in 35–50 days, FOB Xiamen — write to service@junyuanbags.com with your spec and target market.