Dry Bag Care After Backpacking
Backpacking wear on a dry bag comes from three sources rarely seen on the water: daily open-and-close cycles, grit ground into the film at pack contact points, and food oils that migrate from a cooking bag into everything sharing the stuff sack. Fifteen minutes correctly spent at the end of a seven-day trip, plus one hour at home within 24 hours of the drive home, prevents most of the damage that retires a bag early.
Forget generic cleaning advice here, because the failure pattern is different. A paddling bag fails at the closure from sun and salt; a backpacking bag fails at the corners from abrasion, at the closure from repeated rolling, and inside from food residue that nobody notices until the smell arrives. This guide works through the camp routine, the home routine, three specific problems, and a service-life table so you can judge what is worth repairing.
- What a week on the trail does differently
- Two preparation decisions before you leave
- The five-minute camp routine
- Where a dry bag wears inside a backpack
- Food oils and the smell that arrives late
- Sweat, body salt and the lining nobody sees
- Creasing from daily roll cycles
- The first hour at home
- Getting grit out of buckles and the fold
- Mildew: spotting it before it spreads
- Drying, airflow and realistic timings
- Storage between trips and service life
- Kit list for the post-trip bench
What a week on the trail does differently
On water, a dry bag gets soaked and dries. On a trail it stays dirty. Fine quartz grit enters every fold and every buckle channel, and unlike salt it does not dissolve on contact with fresh water, so it stays put and abrades the film from inside each time the closure rolls. That is why the same 20L bag can look three years older after one dusty thru-hike than after two seasons of paddling.
The second difference is compression. Inside a backpack your dry bag is squeezed against other kit for eight hours a day, five days running. Constant lateral pressure plus heat from your back drives grit particles into the film surface, a process called embedding, and once embedded they cannot simply be rinsed out. This also means the load you carry matters: a bag squashed beside a stove abrades far faster than one sitting beside a sleep mat.
Two preparation decisions before you leave
Pack less air than feels natural. A bag rolled tight and pressed flat takes up less room in a pack, attracts less condensation, and does not rub against its neighbours. Conversely, a loose half-empty sack slumps into gaps in your pack and spends every step being kneaded against whatever is beside it, which is precisely how the fabric thins at the corners.
Second, decide what gets double protection now rather than in camp. Anything greasy, scented or staining belongs inside a secondary pouch: cooking oil, cheese, sunscreen, soap, stove fuel caps. A single leak from a food bag ruins everything downstream, and no cleaning method fully removes oil that has soaked into a welded corner crevice. Our food kit sizing notes cover the volume side of this split.
The five-minute camp routine
- Stand the bag upright away from the cooking area before you open it, never set it down in dirt.
- Close it before moving camp rather than carrying it open; one windy minute fills it with dust.
- Brush the fold line with a dry finger or cloth before rolling, then roll three times.
- Store it off the ground overnight, ideally hanging, so rodents and damp cannot reach it.
- Keep the food bag separate from the clothing bag, even when both are sealed.
One camp habit is worth singling out because it prevents more damage than any cleaning step: always set the pack down rather than dropping it. A loaded pack dropped onto gravel puts perhaps 40 kg through one buckle for a fraction of a second, and that impulse is what cracks a buckle body or splits a webbing attachment. It also distorts whatever is inside, so tears from the same trip tend to cluster on whichever side you habitually set the pack down.
Hanging deserves a word. Rodents find food bags at night and their interest is not limited to what they can smell through the seams; a chewed corner is game over for that bag and possibly for its contents. Our notes on pest protection in storage apply on the trail too, and a simple cord loop from a tree limb costs about 20 grams.
Where a dry bag wears inside a backpack
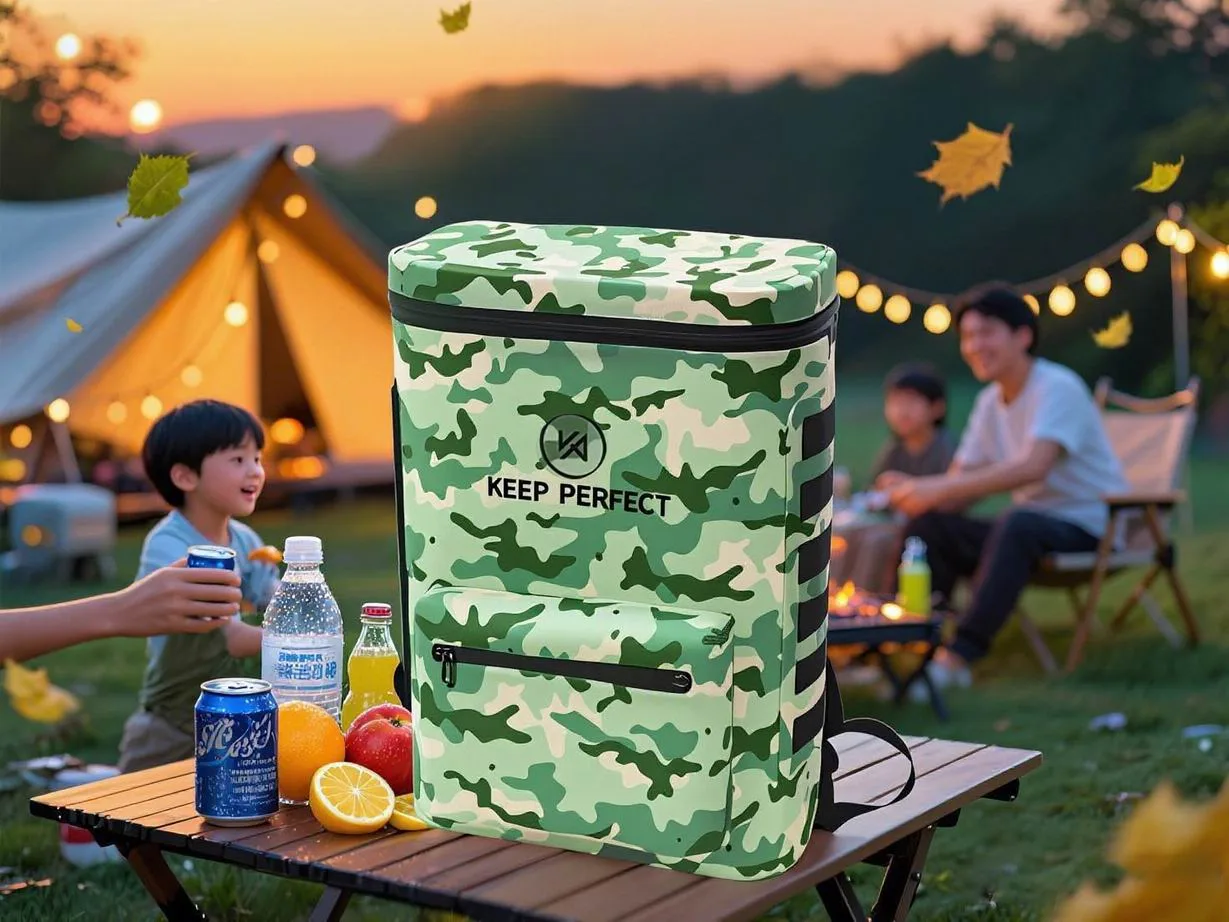
Abrasion is predictable once you know where contact happens. The base corners take the load against your pack’s floor panel. The vertical edges rub along the pack’s side compression straps. The top roll sits under your lid or against your shoulder blades, and the buckle takes every knock when you set the pack down on rock.
Mapping those points tells you what to reinforce and what to inspect. Troubling signs are easy to read: a matt patch where the film once had sheen means thinning has begun, and any area that looks chalky has lost surface polymer. Inspect these five zones after every trip and you will catch failure months before a hole appears.
| Contact zone | What rubs against it | Typical wear after 7 days | Inspection sign | Mitigation |
|---|---|---|---|---|
| Base corners | Pack floor panel | Visible scuffing | Loss of sheen | Pack high in the bag compartment |
| Vertical edges | Side compression straps | Grey rubbing marks | Matt patches | Loosen straps, pad contact |
| Roll line | Shoulder blade area | Crease stiffness | Whitening at fold | Vary the fold weekly |
| Buckle body | Rock and grit when set down | Scratches | Hairline cracks | Clip before setting the pack down |
| Webbing loops | Carabiner and cord friction | Fraying | Lifted fibres | Use smooth hardware only |
Food oils and the smell that arrives late
Oil migration is the hidden problem of trail use. A cooking kit bag may look fine for three days, then the whole pack smells by day five, because oils creep along creases and into welded corners by capillary action. Once there, they are very hard to remove, and worse, they soften the film locally and attract grit that accelerates abrasion.
Contain it early rather than cure it later. Double-bag anything with oil content, wipe the outside of food containers before they go in, and give food bags their own colour so they never travel with clothing. If the smell has already moved in, our step-by-step deodorising method is the safest route, since aggressive cleaners strip a TPU film far faster than most people expect.
Sweat, body salt and the lining nobody sees
A bag worn or carried against your back collects salt through the pack wall, especially in temperatures above 25 degrees when a loaded pack runs wet for hours. Salt crystals settle into the closure channel and act as both grit and a moisture magnet, so they keep ridges of the roll damp, which is how mildew starts without anyone spilling anything.
Cold trips add one more consideration. Below freezing, the film stiffens and rolling becomes harder, so warm the roll line briefly with your hands before folding and never force a stiff closure down; a forced fold at minus 5 degrees can crack a film that would flex happily at 10 degrees. Let a frozen bag warm indoors for twenty minutes before opening it at all.
Turning the bag inside out at the end of each day lets that layer evaporate. It takes twenty seconds and it is the single most effective habit for multi-day trips, particularly if you use a waterproof backpack whose harness padding holds its own share of salt. Rinse the inside weekly even if the outside looks clean.
Creasing from daily roll cycles
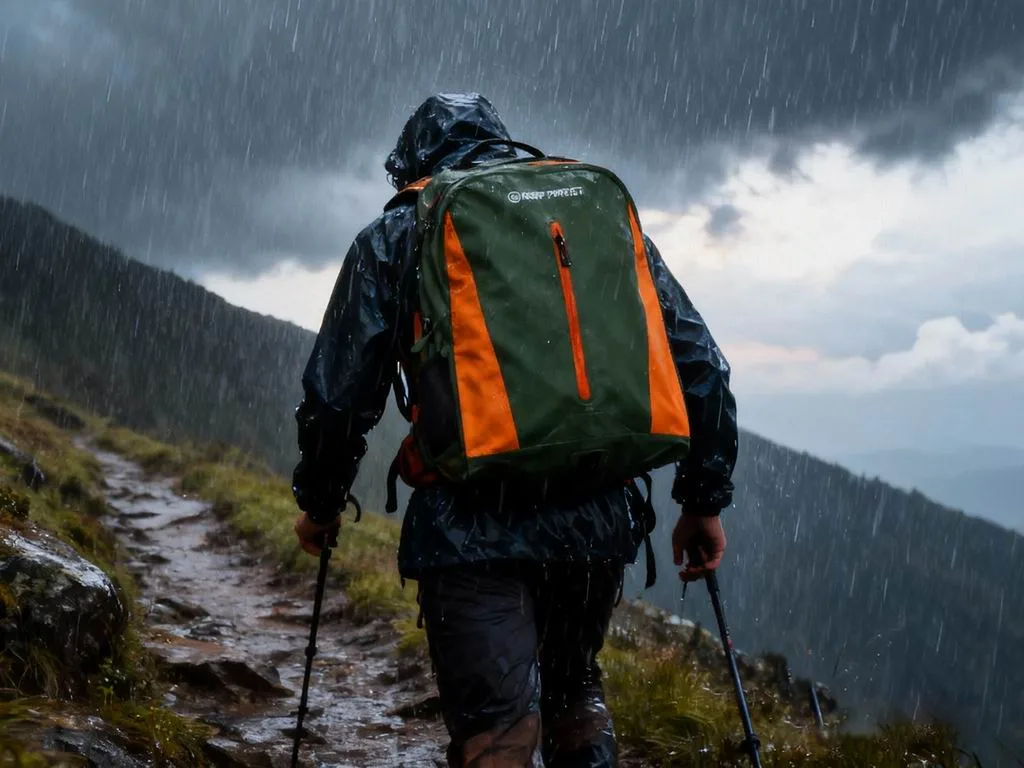
A thru-hiker opens and closes the clothing bag perhaps sixty times over a week, and every one of those closures happens at roughly the same place. After two hundred cycles the film in that band begins to whiten and lose elasticity, which is exactly where a later leak appears. Rotate the fold by shifting your starting grip an inch each time and the fatigue spreads over twice the area.
Two numbers help here: three folds is the minimum for reliable sealing, and beyond four folds the extra bending costs more life than the marginal sealing gains. See the roll count analysis and our longer piece on avoiding crease damage for the reasoning behind both figures.
The first hour at home
- Empty everything out at the door, including the lining pockets you forgot were there.
- Shake out loose grit, then invert the bag and tap the corners against a hard outside surface.
- Wipe the interior with a damp microfibre cloth and plain water; no detergent yet.
- Rinse or brush the buckle and closure channel until a cloth comes away with no grit.
- Wipe the exterior, then air dry open-mouthed in moving air, out of direct sun.
- Test before storage: roll closed, squeeze, and listen for a slow hiss.
Resist the washing machine entirely. Agitation drums a welded bag against itself and against the drum, flexing corners thousands of times, and most unexplained seam failures trace back to one enthusiastic cycle. The full reasoning is set out in our separate machine washing answer, and the safe alternative is described in the main cleaning guide.
Getting grit out of buckles and the fold
Buckles collect surprising amounts of quartz dust, and once packed in, that dust grinds the release mechanism with every use. Flush the buckle body under a cold tap while working the lever through twenty full cycles, then dry it before storage. If anything still grates, a soft toothbrush dislodges grains that water alone will not move.
The fold line needs gentler treatment. Lay the roll open flat, run a slightly damp cloth along the whole width in one direction, then dry immediately. Never scrape it dry and never reach for a solvent: alcohol sprays, bug repellent and most glass cleaners haze or craze TPU on contact, and the damage usually shows up weeks later as a brittle patch right where you wiped. Our dedicated notes on keeping closures clear cover the field version of this step for long trips.
Mildew: spotting it before it spreads
Mildew rarely arrives as a green bloom first. The earliest sign is a faint musty smell when you open the bag after a warm night, followed by grey speckling in the interior creases near the base. Catch it at that stage and you can treat it with diluted white vinegar, 1 part to 4 parts water, wiped and left for ten minutes before a thorough rinse.
Leave it and the mycelium grows into the surface texture of the film, at which point no cleaning fully removes it. The EPA publishes household guidance on damp and biological growth that applies equally well here, and anyone with respiratory sensitivity should read the health notes from the CDC before tackling a badly affected bag indoors. Detailed step order is in our mildew removal guide.
Drying, airflow and realistic timings
Moving air beats warmth, and shade beats sun every time. A bag hung open in a through-draught at 20 degrees dries fully in about three to four hours, whereas the same bag left closed on a warm floor can stay damp for days. Direct sunlight pushes the surface well above ambient and accelerates UV embrittlement on the very panels you rely on.
| Drying method | Time to fully dry | Risk | Best for |
|---|---|---|---|
| Hung open, moving air in shade | 3 - 4 h | None | After every trip |
| Inverted on a rack, indoors | 5 - 8 h | Low | Interior lining and corners |
| Open near a fan, overnight | 8 - 12 h | Low | Heavily soaked interiors |
| Left closed on the floor | Days | Mildew | Never appropriate |
| Direct strong sun | 1 - 2 h | UV embrittlement | Emergency only |
A dedicated rack setup pays for itself in one season if you hike regularly, mainly because it removes the temptation to store damp kit. Whatever you use, keep the mouth propped open: a closed bag that looks dry on the outside frequently holds several millilitres of water in its lowest corner.
Storage between trips and service life
Store loosely rolled rather than tightly, with the buckle unclipped, in a cool dark place. Tight rolling freezes creases in place for months, and an engaged buckle under tension slowly deforms the strap. If you only hike twice a year, take the bags out each quarter, roll them once in a different place and check the three zones named earlier.
| Use pattern | Trips per year | Expected service life | First thing to fail |
|---|---|---|---|
| Weekend hikes, average care | 10 - 15 | 6 - 9 years | Roll line whitening |
| Thru-hike plus weekends | 30 - 60 | 3 - 5 years | Base corner abrasion |
| Mixed hiking and paddling | 20 - 30 | 5 - 8 years | Buckle mechanism |
| Stored damp between trips | Any | 1 - 3 years | Interior mildew and seam lift |
| Machine washed regularly | Any | Under 2 years | Unexpected seam failure |
Water crossings deserve their own line in the plan too. Wading with a loaded pack turns a dry bag into a submerged object for perhaps thirty seconds at a time, and that is more than enough to find any closure weakness. Cross with the roll facing upstream, keep the bag high, and check the inside at the far bank. A slow weep caught there costs minutes; discovered at camp it costs a dry sleep system.
Those ranges assume reasonable care and a welded construction at 0.5 mm or heavier. Thinner 0.3 mm films behave well for light loads but lose their service advantage quickly once abrasion enters the picture, which is why long-distance walkers generally carry the heavier construction despite the 90 to 140 gram penalty on a 20L bag. Weight is not free, but neither is replacing a bag twice on a long trail.
Compare a bag against the whole picture, not one trip, since most people overestimate how hard they are on gear and underestimate how much difference one wash made. Full retirement criteria are covered in the retirement checklist, which also explains how to tell a repairable puncture from a systemic failure.
Kit list for the post-trip bench
- Two microfibre cloths: one for inside, one for outside.
- A soft toothbrush for buckles, closure channels and webbing.
- A small funnel for drying the corners that never seem to air out.
- Diluted white vinegar, 1 to 4, for early-stage mildew.
- A repair patch set sized to your film thickness.
- A drying rack or a couple of hangers with smooth, wide shoulders.
- A notebook line noting the date of each inspection and what you found.
Keep that list assembled rather than gathered each time. The reason bags get damaged after a trip is rarely ignorance of what to do; it is that the cloth is somewhere else, so people improvise with whatever is nearest, usually something abrasive, solvent-based or both. A permanent bench kit removes the improvisation entirely.
Finally, note what failed rather than only what worked. Recording tiny faults such as a stiff buckle in October means that by February you know what to watch, and over two seasons those notes tell you exactly which models and which sizes suit how you walk. Our own line has built welded waterproof bags since 2014 in an SGS-verified 4,950 m2 facility, and this kind of feedback is what shapes a durable range.Compare sizes in the roll-top dry bag range, review the off-season storage rules before you put anything away for winter, and use the Academy for longer maintenance routines.
Frequently asked questions
Q1. How do you care for a dry bag after backpacking?
Empty it at the door, shake out grit, wipe the interior with a damp cloth and plain water, rinse the buckle and closure until no grit appears, then hang it open-mouthed in moving shade for three to four hours. Test the seal with a squeeze before storing loosely.
Q2. Why does my dry bag smell after a hiking trip?
Usually food oils and body salt rather than anything spilled. Oils creep into welded corners by capillary action and stay there, so wipe food containers before packing and keep cooking kit in its own bag.
Q3. Can I put a dry bag in the washing machine?
No. The drum flexes welded corners thousands of times and causes most unexplained seam failures. Hand wash with water and a soft cloth, then air dry inverted in moving air.
Q4. How long does a dry bag take to dry?
Three to four hours hung open in moving air at about 20 degrees. Closed on a floor the same bag can stay damp for days, which is exactly how mildew gets started.
Q5. How do I remove grit from the closure?
Lay the roll open flat, wipe along the whole width in one direction with a slightly damp cloth, then dry immediately. Flush the buckle under cold water while working the lever through about twenty cycles.
Q6. What should I do about early mildew?
Treat it on the day you smell it. Wipe the interior with white vinegar diluted one part to four parts water, leave for ten minutes, then rinse thoroughly and dry in moving air.
Q7. Is it safe to use detergent on a TPU dry bag?
Plain water handles most trail dirt. If you must use something, use a very small amount of pH-neutral soap, rinse completely, and never use solvents, alcohol sprays or bleach, all of which haze or embrittle the film.
Q8. Where do dry bags wear out first on a backpack?
Base corners against the pack floor panel, vertical edges against side compression straps, and the roll line under your shoulder blades. Inspect all three after every trip for loss of sheen or chalkiness.
Q9. How often should I clean a bag on a long hike?
Empty and invert it daily so the lining can dry, wipe out loose grit every two to three days, and do a full clean with water within 24 hours of getting home.
Q10. Should I store dry bags rolled or flat?
Loosely rolled with the buckle unclipped. Tight rolling freezes creases into the film for months, and a buckle left engaged under tension slowly deforms the strap it is attached to.
Q11. Can I hang my dry bag at camp to protect it from animals?
Yes, and you should if food has touched it. Use a smooth cord loop rather than hanging by the strap, and keep it away from anything bearing weight that could damage the film.
Q12. How do I stop crease damage from daily packing?
Shift your starting grip along the roll line about an inch each time so the fold does not land in exactly the same place. Three folds is the minimum for sealing; more than four costs more life than it gains.
Q13. What is causing white lines along my roll top?
Stress-whitening from repeated folding in one spot. Rotate the fold line, avoid over-rolling, and check that the bag is not being compressed at that point inside your pack.
Q14. Can I repair a punctured dry bag after a trip?
Most punctures up to about 10 mm patch cleanly with a TPU patch matched to the film thickness. Larger tears, especially at a welded corner, usually mean retirement rather than repair.
Q15. How do I keep food odour out of clothing bags?
Keep them separate by colour and never let them share a stuff sack. Wipe containers before packing, double-bag anything oily, and give food kit its own dedicated bag permanently.
Q16. When should I stop using a backpacking dry bag?
When you see through-thickness cracking at a crease, a seam lifting at its edge, or base corner wear that exposes the face fabric. Those are structural failures, unlike surface scuffs, which are cosmetic.
People also ask
Do dry bags need cleaning after every hike?
They need opening and airing after every hike and a proper clean within 24 hours of getting home. Grit left in the closure channel abrades the film every time it is rolled, so delay turns into measurable wear.
How do you get the musty smell out of a dry bag?
Wipe the inside with white vinegar diluted one part to four parts water, leave it ten minutes, rinse thoroughly, then hang it open in moving air until completely dry. Treat it early, before visible spotting appears.
Can you tumble dry a dry bag?
No. Heat and tumbling both attack welded seams. Air dry open-mouthed in shade with moving air, which takes three to four hours at typical room temperature.
Why does my dry bag leak after a long hike?
Most commonly because grit is trapped in the closure roll, or because the fold line has creased enough to lose elasticity. Rinse the closure, rotate the fold position, and retest with a squeeze.
What abrades a dry bag inside a backpack?
Base corners against the pack floor, vertical edges against compression straps, and buckles when the pack is dropped on rock. Pad the contact points and loosen side straps to slow it down.
How long should a backpacking dry bag last?
Six to nine years for weekend use with decent care, three to five years for thru-hiking, and under two years if machine washed. The roll line and base corners are usually the first failures.
Need this in production volume?
QUANZHOU JUNYUAN BAGS has produced waterproof bags since 2014 in an SGS-verified 4,950 m2 facility in Fujian, China. Minimum order 500 pieces, sampling in 6–10 working days, bulk in 35–50 days, FOB Xiamen — write to service@junyuanbags.com with your spec and target market.