Home / Blog / Design & Branding
Dry Bag Personalisation Ideas
Personalising a dry bag adds 0.30 to 2.80 USD to the unit price and between zero and 25 working days to the programme, and the outcome is decided by six choices: print method, logo coverage, colourway count, hardware finish, window panel and packaging. A one-colour screen print on a 20L roll-top costs about 0.35 USD per piece and changes nothing about the schedule, while a moulded branded buckle costs 0.45 to 0.90 USD per piece but needs a 15 to 25 day tooling window and a 2,000-piece commitment. Order those six decisions correctly and a first sampling round comes back usable rather than approximate.
Start with the surface you can actually print on, because artwork briefs are almost always drawn too large. A welded 20L bag presents roughly 0.28 m2 of outer panel area, yet only about 0.09 m2 sits clear of welds, the roll zone and the base radius. What follows gives the real printable envelope for each size family, the ink technologies that survive folding and salt water, and the cost and schedule consequence of every option, so a brand team can write a brief that clears sampling in one pass.
- What personalisation actually changes on a dry bag
- Print methods: screen, digital and heat transfer compared
- Logo size and placement that survive a folding closure
- Colourways that sell as a set
- Hardware and trim as a branding surface
- Windows, woven labels and badges: where each works
- Artwork rules for welded TPU panels
- Colour matching across a size range
- Packaging, hang tags and the unboxing moment
- Sampling, minimums and what moves unit cost
- Compliance and labelling on branded waterproof bags
- Personalisation ideas by use case
- A brief you can send to a production partner
What personalisation actually changes on a dry bag
A welded dry bag offers four printable surfaces and each behaves differently. The front panel is flat, always visible and the only area where a mark reads at three metres. The base panel is hidden while the bag is carried but is seen every time it is set down on a dock or a hotel floor. Webbing takes a repeating wordmark at 10 to 12 mm cap height. Hardware, meaning buckles and cam levers, can carry a moulded or laser-marked mark, but only above a tooling threshold. Choose the surface before the artwork, because the artwork brief follows the surface, not the other way round.
The constraint that catches most brand teams is the roll zone. On a 20L roll-top the top 90 to 110 mm of the bag is folded three times on every closure, so any ink sitting there is bent through a tight radius dozens of times per season. Screen ink with a heavy plasticiser load cracks at that fold within a few months; a flexible, low-build ink system does not. The practical rule is to keep artwork at least 25 mm below the top fold line, which on a 20L leaves a clear band of about 140 mm by 160 mm on the front face.
Print methods: screen, digital and heat transfer compared
Screen printing remains the default for a reason. A spot colour laid down at 60 to 90 microns builds a film that resists abrasion on a 500D TPU face and holds through 40 or more wash-and-abrasion cycles before visible fade. Setup is a mesh screen at 40 to 70 USD per colour, which is why one- and two-colour marks are economical and six-colour crests are not. Coverage is the limit: solid ink above roughly 60% of the printable area stiffens the panel enough to change how the bag rolls closed.
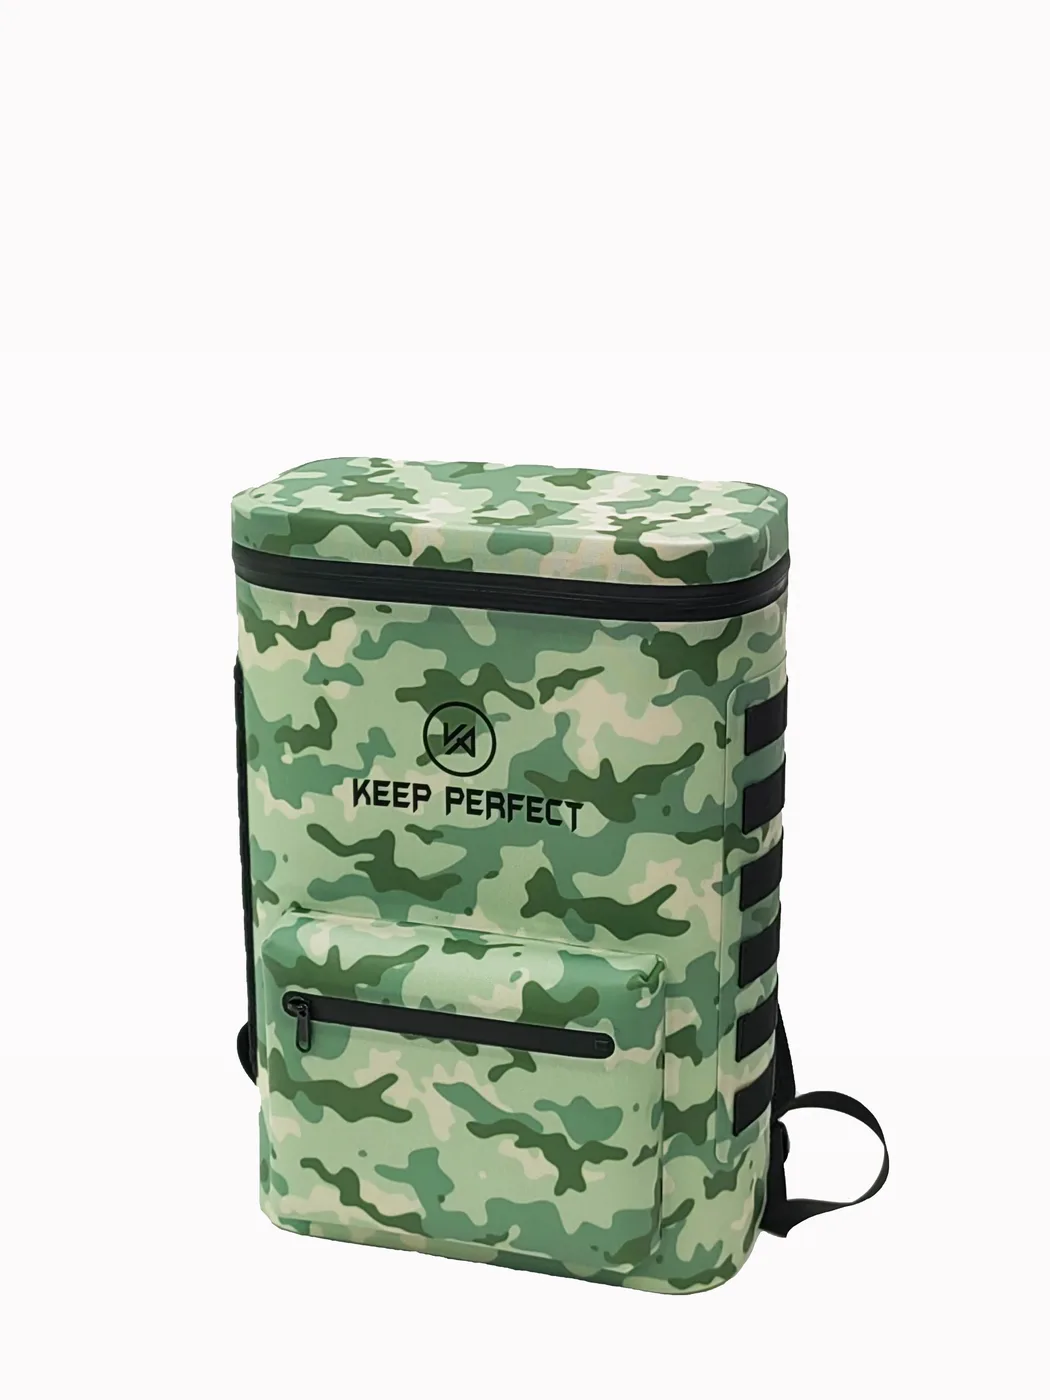
Digital transfer and sublimation exist for the jobs screen cannot do. A gradient, a photograph or a camouflage pattern needs digital output, and on a polyester face fabric sublimation bonds dye into the fibre instead of sitting on top of it, which is why a four-colour camo holds registration to about 1.5 mm and outlasts a surface print under abrasion. The cost is real at 1.10 to 2.80 USD per piece plus four to six extra days. Heat-transfer badges sit between the two at 0.20 to 0.40 USD for a small mark.
| Method | Best for | Setup cost | Added cost per piece | Cycles to first fade | Practical minimum |
|---|---|---|---|---|---|
| Screen, 1-2 spot colours | Wordmarks, single-colour crests | 40-70 USD per screen | 0.30-0.55 USD | 40+ | 500 pieces |
| Screen, 4-6 colours | Detailed crests, team badges | 70-120 USD per screen | 0.70-1.20 USD | 35-45 | 500 pieces |
| Digital transfer | Gradients, photographic art | 0-25 USD file charge | 1.10-1.90 USD | 25-35 | 300 pieces |
| Sublimation on polyester face | Camo, all-over pattern | 30-60 USD | 1.60-2.80 USD | 30-40 | 500 pieces |
| Heat-transfer badge | Small secondary mark | 15-30 USD | 0.20-0.40 USD | 20-30 | 200 pieces |
| Woven label on trim tab | Heritage look | 25-45 USD | 0.35-0.60 USD | No fade, but needs stitching | 500 pieces |
Logo size and placement that survive a folding closure
Printable area grows with the bag, but not in proportion to volume, because weld geometry does not scale at the same rate as capacity. A 10L bag gives roughly 90 mm by 110 mm of clear front face, a 20L gives 140 mm by 160 mm, and a 40L gives 190 mm by 210 mm. All three figures assume a 25 mm clearance below the top fold and a 15 mm clearance from any weld. Designers who draw to the silhouette rather than to the clearance send artwork back twice before it fits.
Placement is a visibility decision as much as a geometry one. A mark on the front panel centre reads when the bag is carried, stacked on a shelf and photographed for a listing. A mark on the base panel reads when the bag is standing on a deck, and it is the cheapest place to add a second, smaller mark that does not compete with the main logo. A mark on the side gusset crosses a fold line and should carry only small repeat patterns.
| Placement | Visible when | Max print width on a 20L | Risk to the closure | Typical added cost |
|---|---|---|---|---|
| Front panel centre | Carried, shelved, photographed | 140 mm | None if 25 mm below the fold | 0.30-0.60 USD |
| Lower front third | Carried, set down | 160 mm | None | 0.30-0.60 USD |
| Base panel | Standing on a deck or floor | 120 mm | Abrasion from ground contact | 0.30-0.55 USD |
| Above the roll line | Only when the bag is open | 90 mm | Ink cracks at the fold | Not recommended |
| Side gusset | From the side only | 60 mm | Crosses a fold crease | 0.25-0.45 USD |
| Webbing strap | Close range, always | 12 mm cap height | None | 0.20-0.45 USD per metre |
Colourways that sell as a set
A range works when every colourway shares one base fabric and one construction and differs only in face colour, so a single pattern, one print setup and one quality record cover the whole drop. The usual watersports set is black, blue and mint, with olive added for field programmes and camo for hunting. Retail orders run close to 5:3:2 in favour of black, which means the dark colourway should hold the longest production run and the tightest colour tolerance of the set.
Colour carries a thermal cost that is easy to forget. A black 500D TPU panel in direct sun at 32 °C ambient reaches 48 to 52 °C at the surface, roughly 8 to 12 °C hotter than the same bag in mint, which matters if anything inside is heat sensitive. Dark colourways also show salt residue as a pale film after one day on the water, so a rinse note on the hang tag is a cheap way to reduce avoidable returns. Tolerances are normally held to Delta E of 1.5 or better against the reference swatch.
| Colourway | Typical programme | Base fabric | Ink that reads best | Care note |
|---|---|---|---|---|
| Black | Watersports, commuting | 500D TPU | White or light grey | Surface 8-12 °C hotter than mint in full sun |
| Olive | Hunting, bushcraft | 500D TPU | Black or tan | Low glare, hides dirt |
| Woodland camo | Hunting, tactical | 500D TPU polyester face | Sublimated four-colour | Registration tolerance 1.5 mm |
| Mint | Resort, swim | 420D TPU | Black | Shows dirt; keep clear of sunscreen |
| Pink | Resort, family | 420D TPU | White | Sunscreen staining risk, rinse same day |
| Blue | Paddle, sailing | 500D TPU | White | Standard marine tone, sells year round |
Hardware and trim as a branding surface
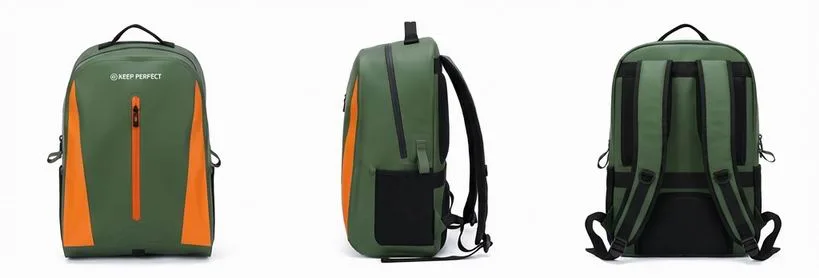
Buckles, cam levers and D-rings are the most durable branding space on the bag because the mark is moulded rather than printed. A moulded wordmark on a 25 mm side-release buckle survives years of salt, sand and UV, where a printed mark on the same buckle abrades inside a season. The catch is tooling: a new buckle mould runs 1,800 to 3,500 USD and only makes sense above roughly 2,000 pieces in a single colourway.
Below that threshold, laser marking on a stock buckle gives a permanent, subtle result at 0.15 to 0.30 USD per piece with no tooling at all. Webbing is the other inexpensive surface: a woven-in wordmark on 25 mm webbing adds 0.20 to 0.45 USD per metre and reads at close range on a shoulder strap. Pull tabs, cord ends and strap keepers can each carry a moulded mark for a small increment, and they are the details that get photographed in reviews.
Windows, woven labels and badges: where each works
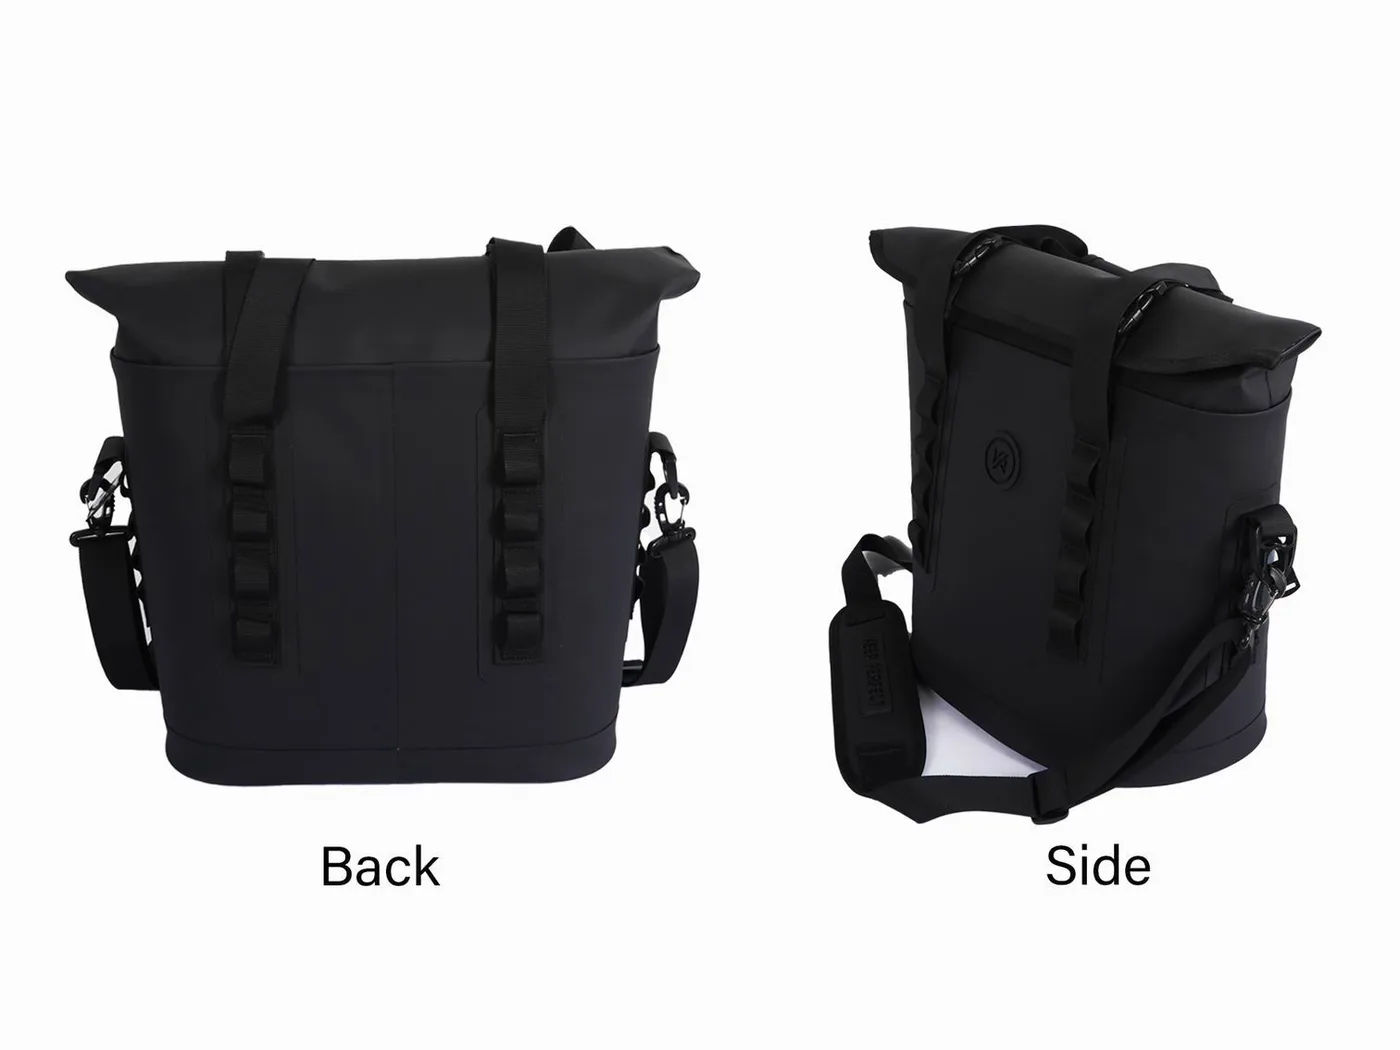
A clear TPU window is the most requested addition and the most frequently mis-designed. It adds a fourth weld line to the panel, which is one more path for water, so it belongs on a bag that will be splashed rather than submerged. Where it earns its place is a hatch bag or a travel tote whose contents need identifying without opening the closure. A window film of 0.3 to 0.4 mm keeps enough flexibility; anything thicker crazes at the weld within a season.
Woven labels are the heritage option and carry one hidden cost: every stitch through a waterproof shell is a potential leak path, so a sewn label goes on a webbing tab or a trim piece and never through the main panel. Heat-transfer badges avoid needle holes entirely and are the correct choice for a small mark on the shell. Embroidered badges are heavier and stiffer and are best kept to a non-welded pocket panel or a canvas trim piece rather than the welded body.
Artwork rules for welded TPU panels
Three rules cover almost every rejection at sampling. Keep artwork at least 25 mm below the top fold line and 15 mm clear of any weld. Keep solid ink coverage under 60% of the printable area, because above that the panel stops draping and the closure becomes hard to roll. Avoid hairline strokes below 0.8 mm, which a screen mesh cannot hold cleanly on a textured 500D face.
- Supply vector artwork with outlines converted; raster files below 300 dpi at final size lose edge quality.
- Specify ink by system rather than brand: a flexible TPU-compatible ink with an adhesion promoter.
- Leave a 3 mm bleed on any panel printed before welding, since the weld consumes 8 to 12 mm of material.
- Ask for a draw-down on the actual fabric rather than on paper; perceived colour shifts 5 to 10% between the two.
Adhesion is the failure mode that appears late. A print that passes a fingernail scratch test at sampling can lift after 200 hours of salt spray, which is why the meaningful check is a cross-hatch tape test run after conditioning, using the coating and adhesion methods published by the ASTM. Request that report with the sample, not with the bulk shipment, so a change of ink system is caught before 2,000 pieces are printed.
Colour matching across a size range
The same reference colour looks different on a 420D face than on a 500D face, because weave texture changes how light scatters. On a range that mixes both, which is common when a 5L and a 10L use a lighter fabric than a 40L, perceived colour drifts by Delta E 1.0 to 2.0 between sizes even with identical ink. The fix is to approve one physical standard per fabric weight rather than per colour, and to keep those standards under controlled light.
Batch-to-batch drift is the larger risk over a multi-season programme. Fabric lots vary, and a laminated TPU film from a different roll can shift perceived colour by Delta E 0.8 before any ink is applied. Hold a retained sample from the first bulk run, compare every later run against it in a D65 light box, and agree the tolerance band in writing. The colour-measurement vocabulary for that agreement sits in the standards published by ISO.
One practical detail drives cost more than any other: six colourways across four sizes is 24 SKUs. If each needs its own screen, setup dominates the unit price. Designing one neutral ink that works across the whole set, white on dark faces and black on light faces, cuts screens to two and makes reorders economic at 500 pieces per colourway instead of 2,000.
Packaging, hang tags and the unboxing moment
Packaging is where personalisation cost is most often missed. A printed hang tag with a barcode, a care card and a recycled mailer adds 0.37 to 0.85 USD per unit and two to three days, and it is the first thing a retail buyer handles. A folded card inside the bag protects the shape in transit and doubles as the care instructions, which measurably reduces the returns caused by owners machine-washing a welded shell.
Plastic-free packaging is now a specification rather than a preference in several markets. A kraft mailer with a paper tape closure costs 0.25 to 0.55 USD more than a poly mailer and adds no schedule time if artwork is ready. Barcode placement matters too: a scannable EAN on the reverse of the hang tag, with quiet zones intact, avoids rework at the distribution centre. Programme-level detail is covered in our packaging guide.
Sampling, minimums and what moves unit cost
A sample of a personalised bag is not a stock bag with a print added. It is your artwork on your fabric, in your colourway, with your hardware, and it takes 6 to 10 working days on a stock construction or 10 to 15 when a print plate or a sublimation file is involved. Budget two rounds: the first to confirm colour and adhesion, the second to confirm registration against the real panel geometry.
The table below stacks the decisions by unit cost. Note that the two options with the highest piece price, full-coverage digital print and moulded hardware, are also the two with the largest commitments, which is exactly why a first programme is usually a screen print on a stock construction with a laser-marked buckle.
| Decision | Added cost per piece | Added lead time | Effect on minimum order | Notes |
|---|---|---|---|---|
| Extra spot colour | 0.18-0.32 USD | 0 days | None | Screens are reusable for reorder |
| Digital full-coverage print | 1.10-2.80 USD | 4-6 days | +200 pieces | Only route for gradients and photos |
| Sublimated camo panel | 1.60-2.80 USD | 5-8 days | +300 pieces | Requires a polyester face fabric |
| Moulded branded buckle | 0.45-0.90 USD | 15-25 days | +2,000 pieces | Tooling 1,800-3,500 USD |
| Laser-marked stock buckle | 0.15-0.30 USD | 1-2 days | None | Subtle, permanent, no tooling |
| Printed window panel | 0.60-1.10 USD | 3-5 days | None | Adds a weld line; splash use only |
| Retail hang tag and barcode | 0.12-0.30 USD | 2-3 days | None | Artwork must be print-ready |
Compliance and labelling on branded waterproof bags
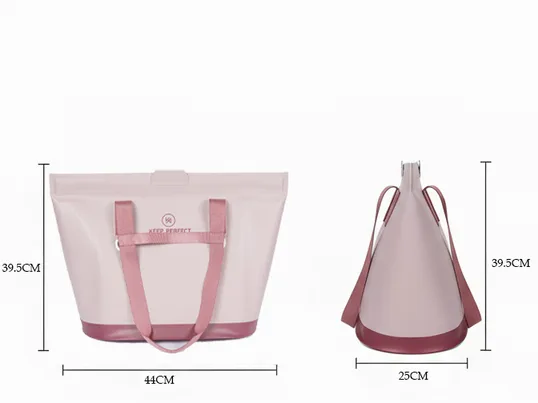
A branded bag carries legal text as well as a logo. Fibre composition, country of origin, a care code and, for the EU market, a responsible economic operator address all have to appear somewhere legible and permanent. On a welded bag with no lining the usual solution is a printed panel in the lower third or a heat-transfer label on a webbing tab, because a paper label inside a wet bag disintegrates within weeks.
Substance compliance is checked separately from the print, and the ink is the part most often overlooked. Restricted-substance screening has to name the film, the ink system, any coating and the hardware plating, not just the face fabric. Our own programmes run to REACH and Prop 65 screening with AQL 2.5 inspection on bulk; the REACH guide and the Prop 65 notes set out exactly what to request from a lab report.
Personalisation ideas by use case
For a resort or beach club the best-performing combination is a bright colourway, a single white screen print on the front panel and a matching webbing wordmark, because the bag is photographed outdoors and has to read at distance. For a paddle or sailing club, olive or black with a small crest and a member number on the base panel works better, since members stack wet bags on a deck and identify them from above rather than from the front.
Hunt and field programmes want sublimated camo with a matte finish and no glossy hardware: a glossy buckle flashes in low light and the mark is deliberately restrained. Corporate gifting performs better with a neutral colourway, a small heat-transfer badge and retail packaging than with a large logo, because the bag has to be usable outside work hours. Our roll-top range is the base for most of these programmes, and the full product line shows every format.
A brief you can send to a production partner
Six lines are enough for an accurate quote: size and construction, colourway with a physical reference, artwork in vector with the printable envelope marked, print method and ink system, hardware and trim, and packaging. Add quantity per colourway and the delivery port. The line most often missing is the quantity split, and it is the single number that moves unit price the most, since 500 pieces in one colourway prices very differently from 500 split four ways.
We have produced waterproof bags since 2014 in an SGS-verified 4,950 m2 facility with 137 staff across 7 production lines, 200,000 pieces of monthly capacity and a 500-piece minimum, sampling in 6 to 10 working days and bulk in 35 to 50 days, FOB Xiamen, T/T 30/70. The path from artwork approval to a packed carton is documented and our sample-to-bulk timeline gives the same route day by day. For the artwork rules that sit behind logo sizing, see the placement guide.
Frequently asked questions
Q1. What are the best dry bag personalisation ideas?
The six with the highest return are a one-colour screen print on the front panel at about 0.35 USD, a repeating wordmark on webbing, a moulded or laser-marked buckle, a sublimated camo or gradient panel, a clear window on a splash-use bag, and retail hang tag packaging.
Q2. How much does it cost to personalise a dry bag?
From 0.15 USD per piece for a laser-marked buckle to 2.80 USD for full-coverage sublimation. A typical first programme, one screen colour plus webbing and a hang tag, lands at 0.65 to 1.10 USD added per bag on a 500-piece run.
Q3. What is the minimum order for a personalised dry bag?
500 pieces for screen printing and heat transfer on a stock construction. Digital transfers can start at 300. Moulded hardware pushes the effective minimum to about 2,000 pieces because of the 1,800 to 3,500 USD tooling cost.
Q4. Which print method lasts longest on TPU?
Screen printing with a flexible TPU-compatible ink lasts longest on abrasion, reaching 40 or more wash-and-abrasion cycles before visible fade. Sublimation lasts longer on polyester faces but needs a different fabric and costs 1.60 to 2.80 USD per piece.
Q5. Can you print on the roll-top fold?
You should not. That band is folded three times on every closure, so ink there cracks within a season. Keep artwork at least 25 mm below the top fold line, which still leaves 140 mm by 160 mm of clear face on a 20L bag.
Q6. How large can a logo be on a 20L dry bag?
Up to 140 mm wide by 160 mm tall on the front panel, assuming a 25 mm clearance below the fold and 15 mm from any weld. The lower front third allows 160 mm of width because there is no fold to avoid.
Q7. Does a clear window make a dry bag leak?
It adds one more weld line, so it slightly raises risk. Used on a splash-rated bag such as a tote or a hatch bag the risk is negligible; on a bag intended for repeated submersion, skip the window and use colour coding instead.
Q8. Can buckles and hardware carry a logo?
Yes. Laser marking on a stock buckle costs 0.15 to 0.30 USD with no tooling. A moulded buckle costs 0.45 to 0.90 USD per piece plus 1,800 to 3,500 USD in tooling and only pays off above 2,000 pieces.
Q9. How long does sampling take for a branded dry bag?
6 to 10 working days on a stock construction, 10 to 15 when a print plate or sublimation file is needed. Plan two rounds: the first checks colour and adhesion, the second checks registration against the real panel shape.
Q10. Do different colourways need different print screens?
Not necessarily. One neutral ink, white on dark faces and black on light faces, cuts a six-colourway range down to two screens and makes 500-piece reorders per colourway economic instead of 2,000.
Q11. Will a printed logo fade in salt water?
A screen print with an adhesion promoter holds 40 or more cycles in testing. The realistic enemy is abrasion from sand and decks rather than salt itself, which is why the cross-hatch tape test after salt-spray conditioning matters more than a visual check.
Q12. Can a sewn woven label be used on a waterproof bag?
Only on a webbing tab or trim piece. Every stitch through the welded shell is a potential leak path, so the main panel should carry a heat-transfer badge rather than anything sewn.
Q13. What file format should artwork be supplied in?
Vector, with outlines converted and no hairlines below 0.8 mm. Raster artwork needs 300 dpi at final size. Add a 3 mm bleed on any panel printed before welding, since the weld consumes 8 to 12 mm of material.
Q14. Is plastic-free packaging available for branded bags?
Yes. A kraft mailer with paper tape adds 0.25 to 0.55 USD per unit and no lead time if the artwork is ready. Hang tags are available recycled and unlaminated, which keeps the whole pack recyclable.
Q15. Does personalisation affect the waterproof rating?
Not if the artwork stays off the welds and the fold. A printed panel does not change seam integrity; a window panel or a stitched label does, which is why those two additions are tested separately before a rating is claimed.
Q16. Can I reorder a single colourway later?
Yes, provided a retained physical standard and the screen are kept. Screens are reusable, so a reorder of one colourway at 500 pieces works; without a retained swatch, expect Delta E drift of 0.8 or more between runs.
People also ask
How do you put a logo on a dry bag?
Choose the surface first, then the method: screen print on the front panel for wordmarks, sublimation on a polyester face for patterns, laser marking for buckles, and a heat-transfer badge for small marks. Keep everything 25 mm clear of the roll fold.
What is the cheapest way to brand a dry bag?
A single-colour screen print at 0.30 to 0.55 USD per piece, using one neutral ink that works across every colourway in the range. Adding a laser-marked buckle at 0.15 to 0.30 USD gives a second touch point for very little.
Are printed dry bags still waterproof?
Yes, as long as printing stays off the weld lines and the roll zone. Ink sits on the outer face and does not change seam integrity. A clear window or a stitched label does add risk, so those need their own test.
Can you print a photograph on a dry bag?
Yes, by digital transfer at 1.10 to 1.90 USD per piece, or by sublimation at 1.60 to 2.80 USD on a polyester face. Photographic art needs 300 dpi at final size and should stay inside the printable envelope.
Do branded dry bags need a care label?
Yes. Fibre content, origin, care code and, for the EU, an operator address must appear permanently. On a welded bag the practical answer is a printed panel in the lower third or a heat-transfer tab on webbing.
Why does my printed logo crack on the fold?
Because it sits inside the roll zone, which is folded three times on every closure. A rigid ink with a high plasticiser load cannot take that radius. Move the artwork 25 mm lower and specify a flexible TPU-compatible ink system.
Need this in production volume?
QUANZHOU JUNYUAN BAGS has produced waterproof bags since 2014 in an SGS-verified 4,950 m2 facility in Fujian, China. Minimum order 500 pieces, sampling in 6–10 working days, bulk in 35–50 days, FOB Xiamen — write to service@junyuanbags.com with your spec and target market.